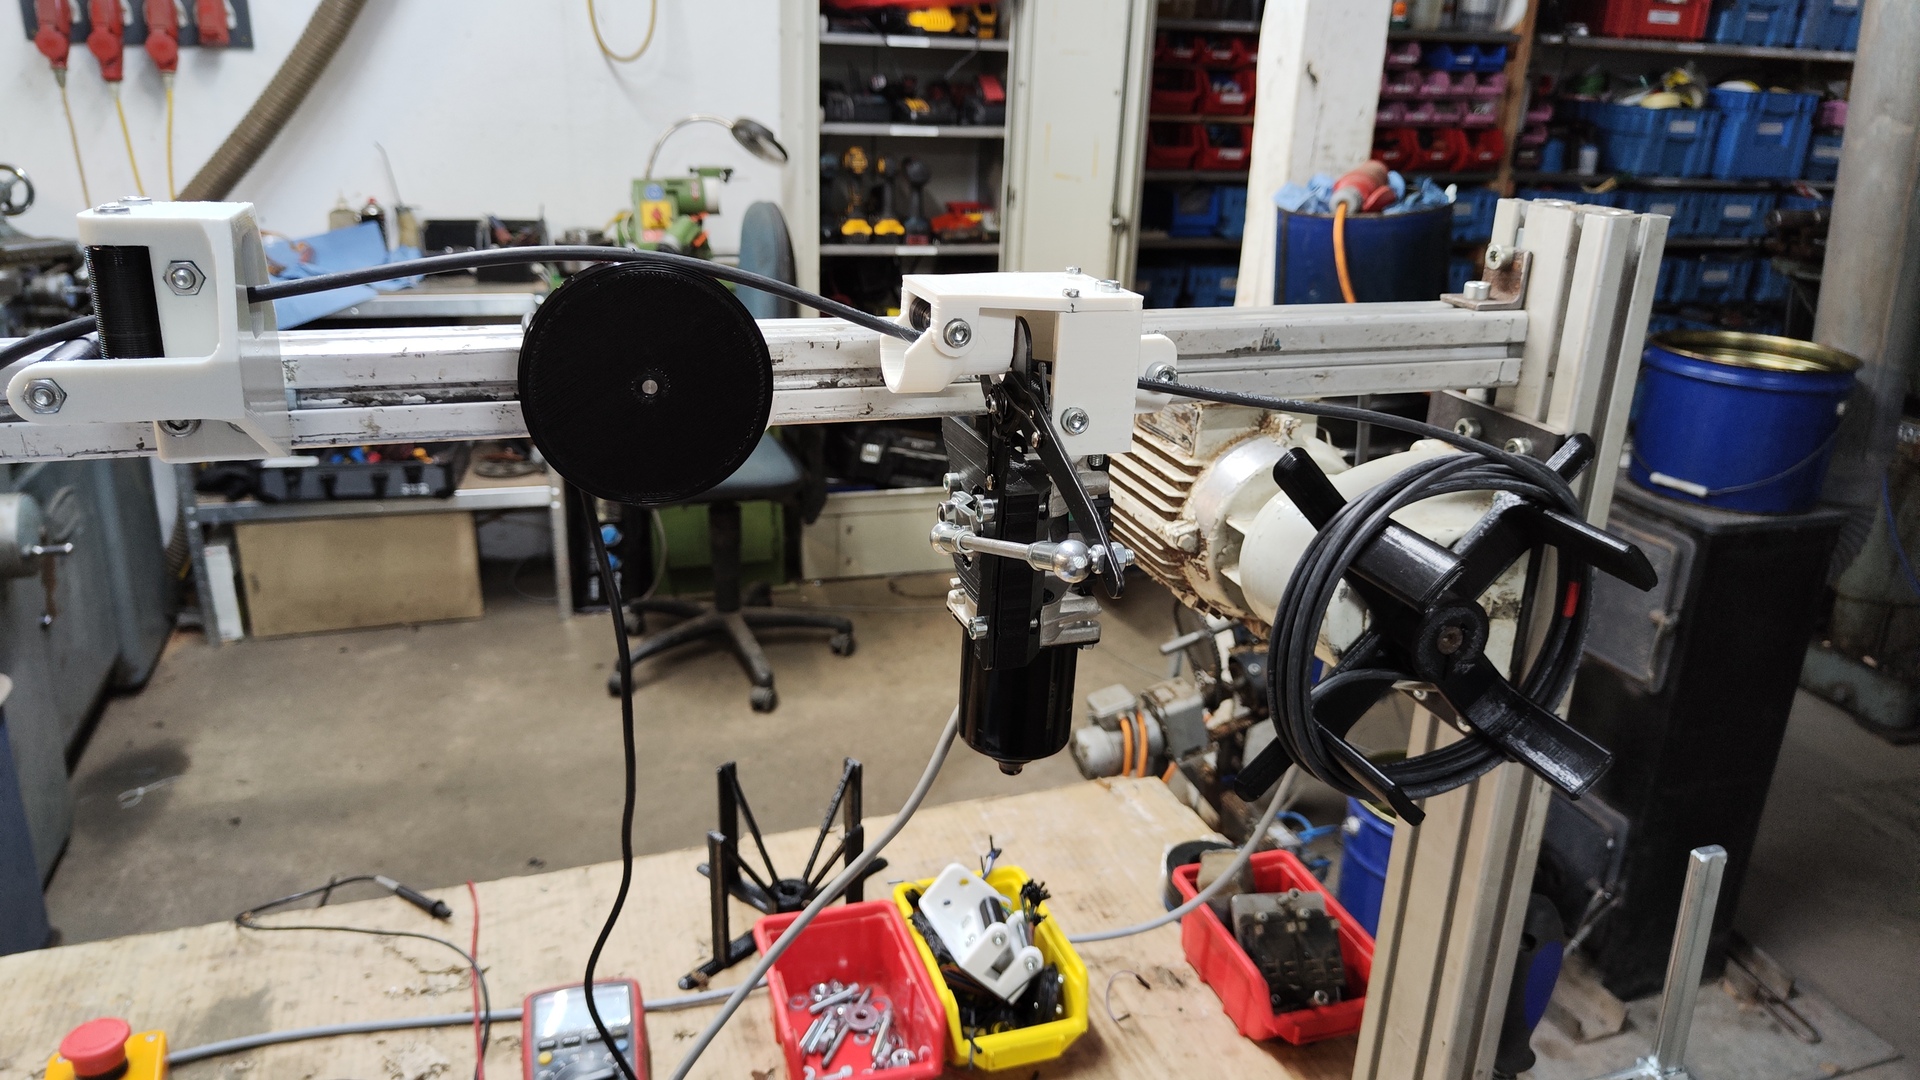
A custom built system that winds and cuts cable to a specified length. It is used for automating the repetitive process of creating multiple smaller cable packages from large 500 m spools for redistribution.
Details
- Power supply: 230 V 800 W
- Measuring accuracy: 0.0005 m
- Min Length: 0.5 m
- Max Length: 100 m
- Max Cable Diameter: 14 mm
- Speed: 2 m/s
-
Features:
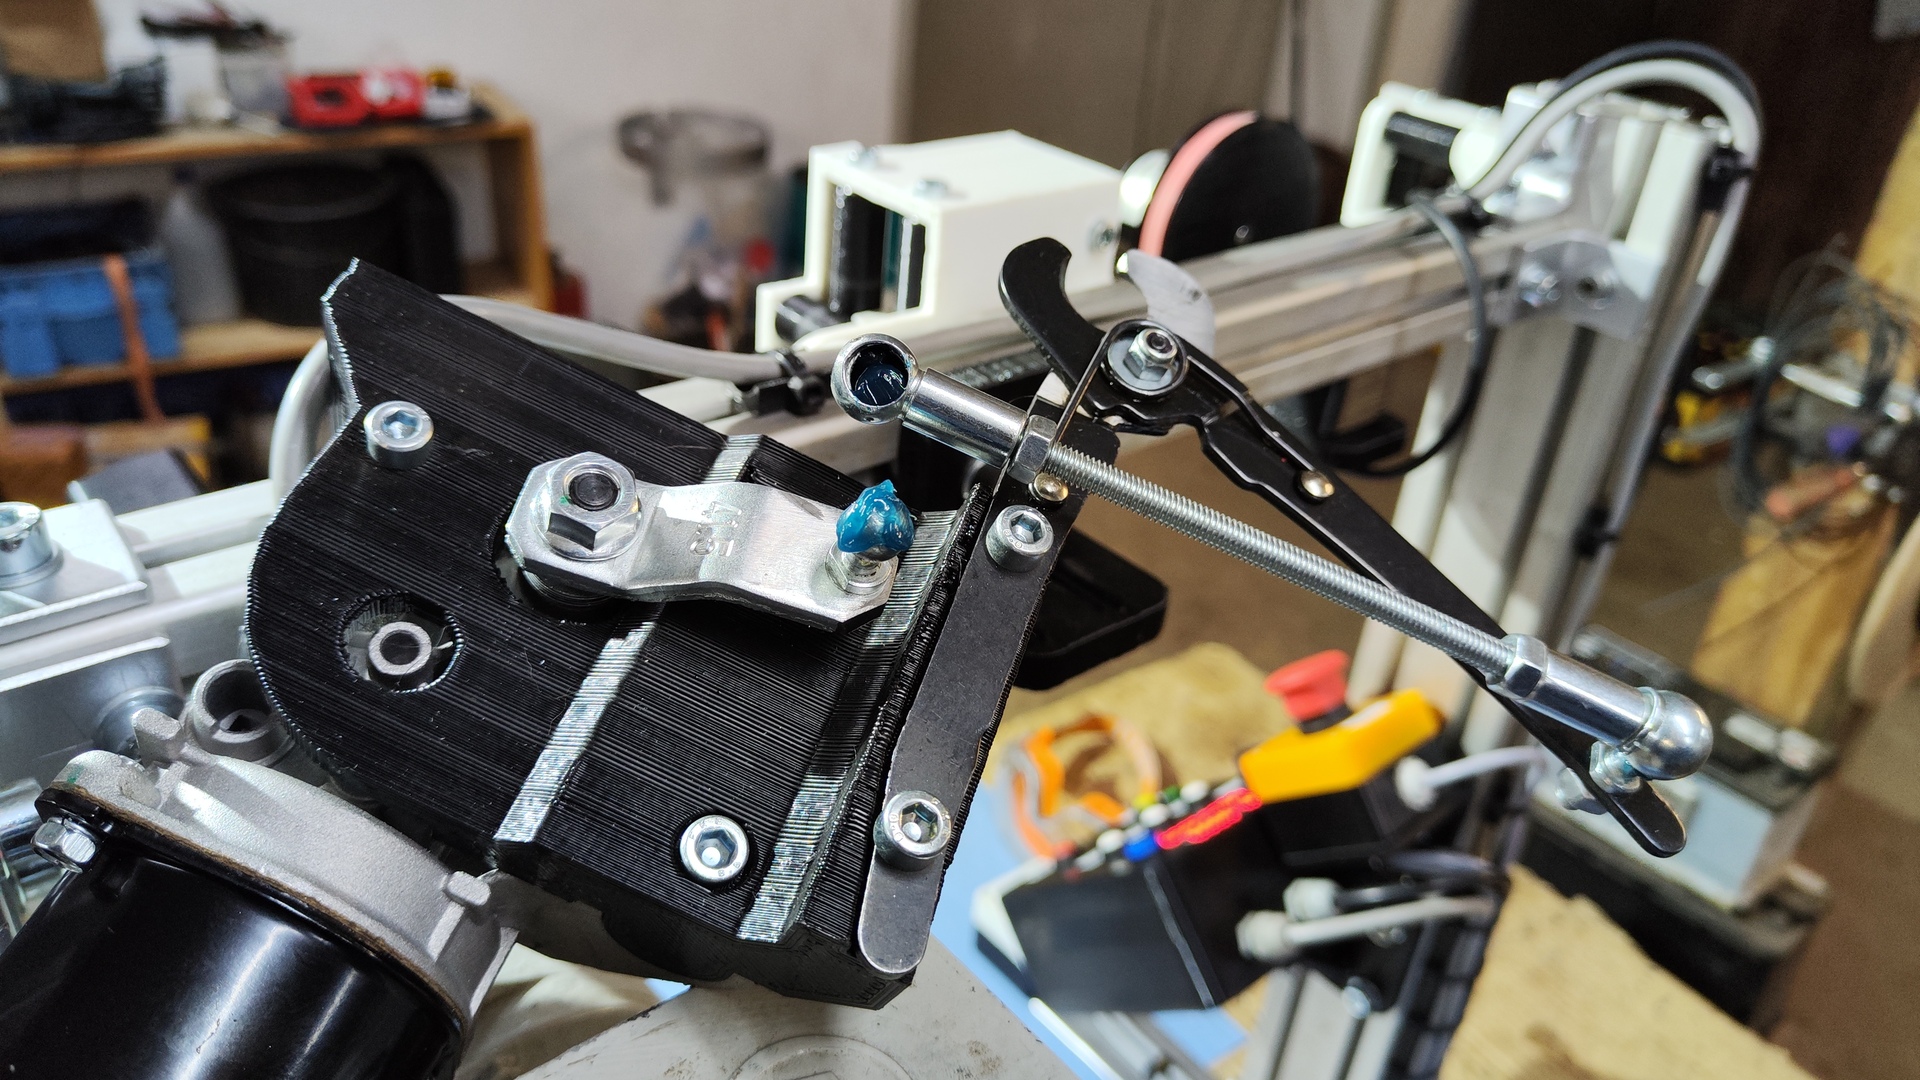
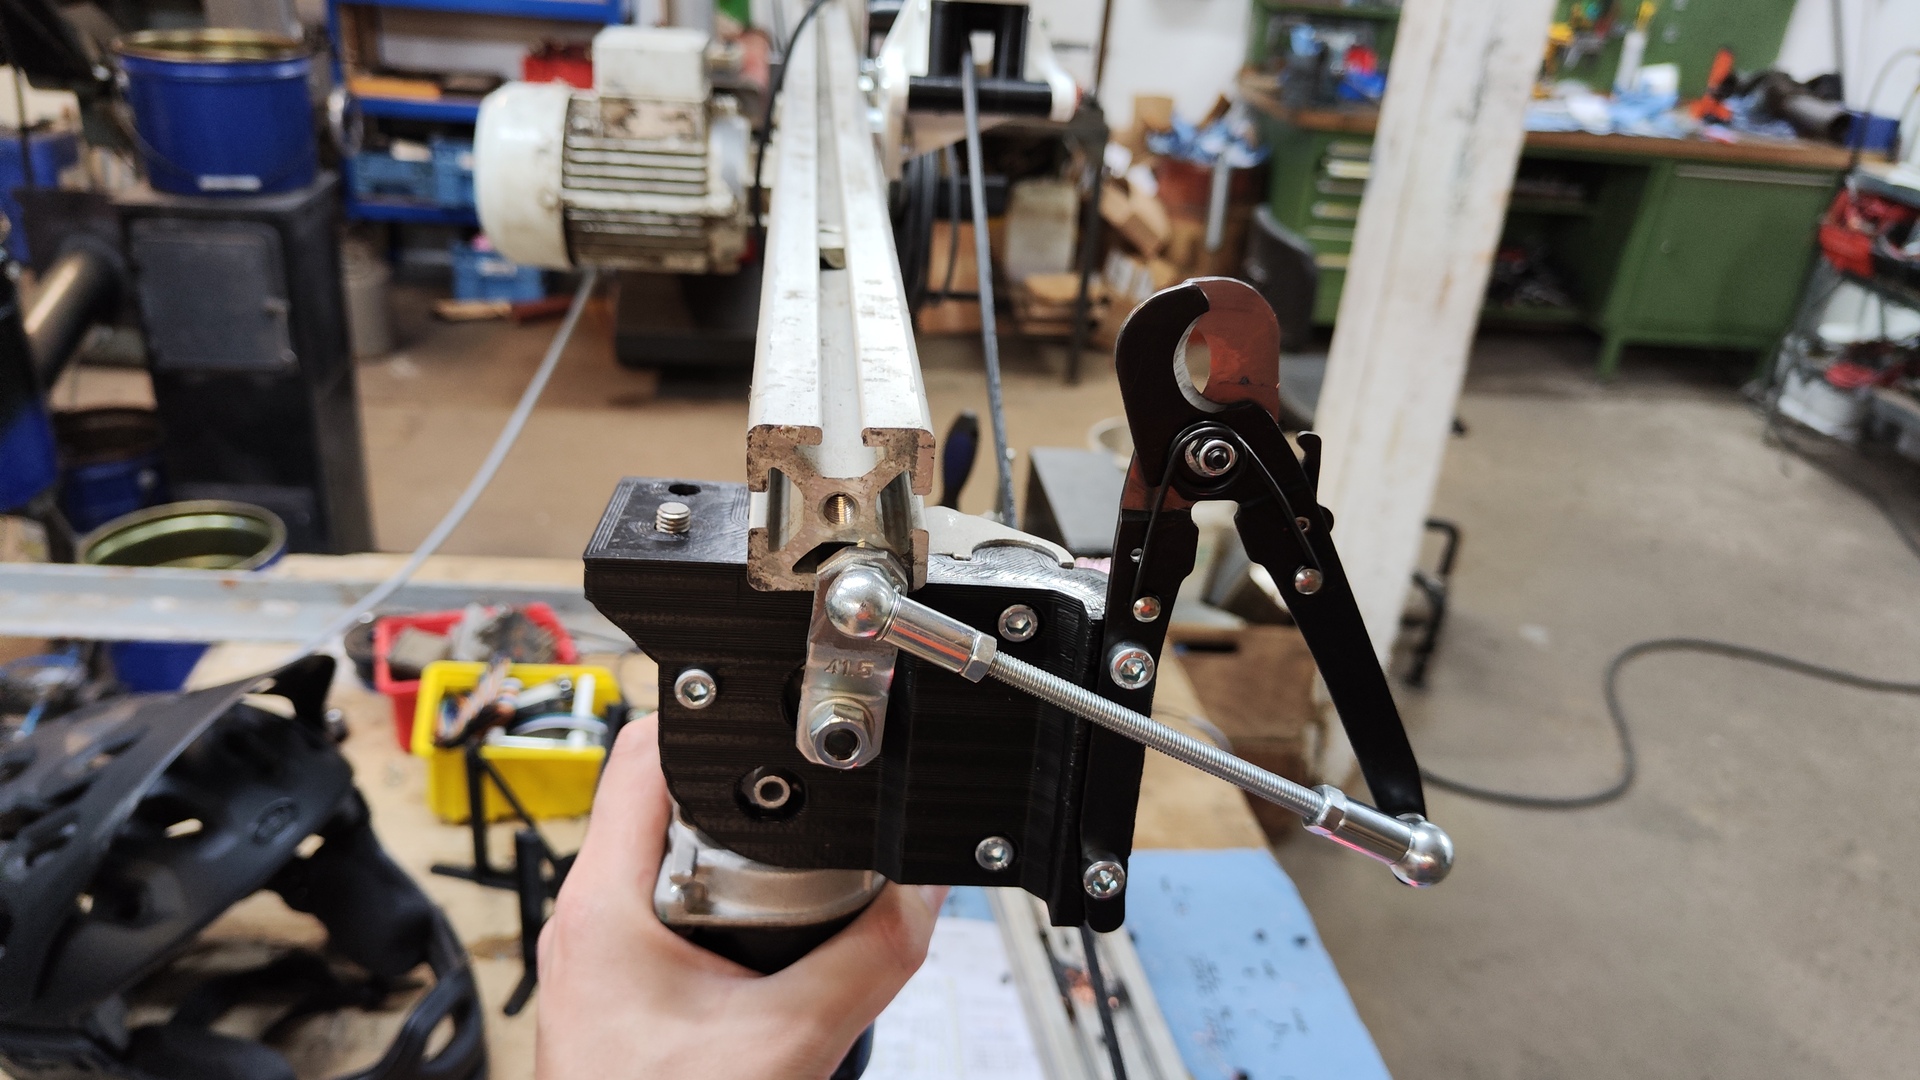
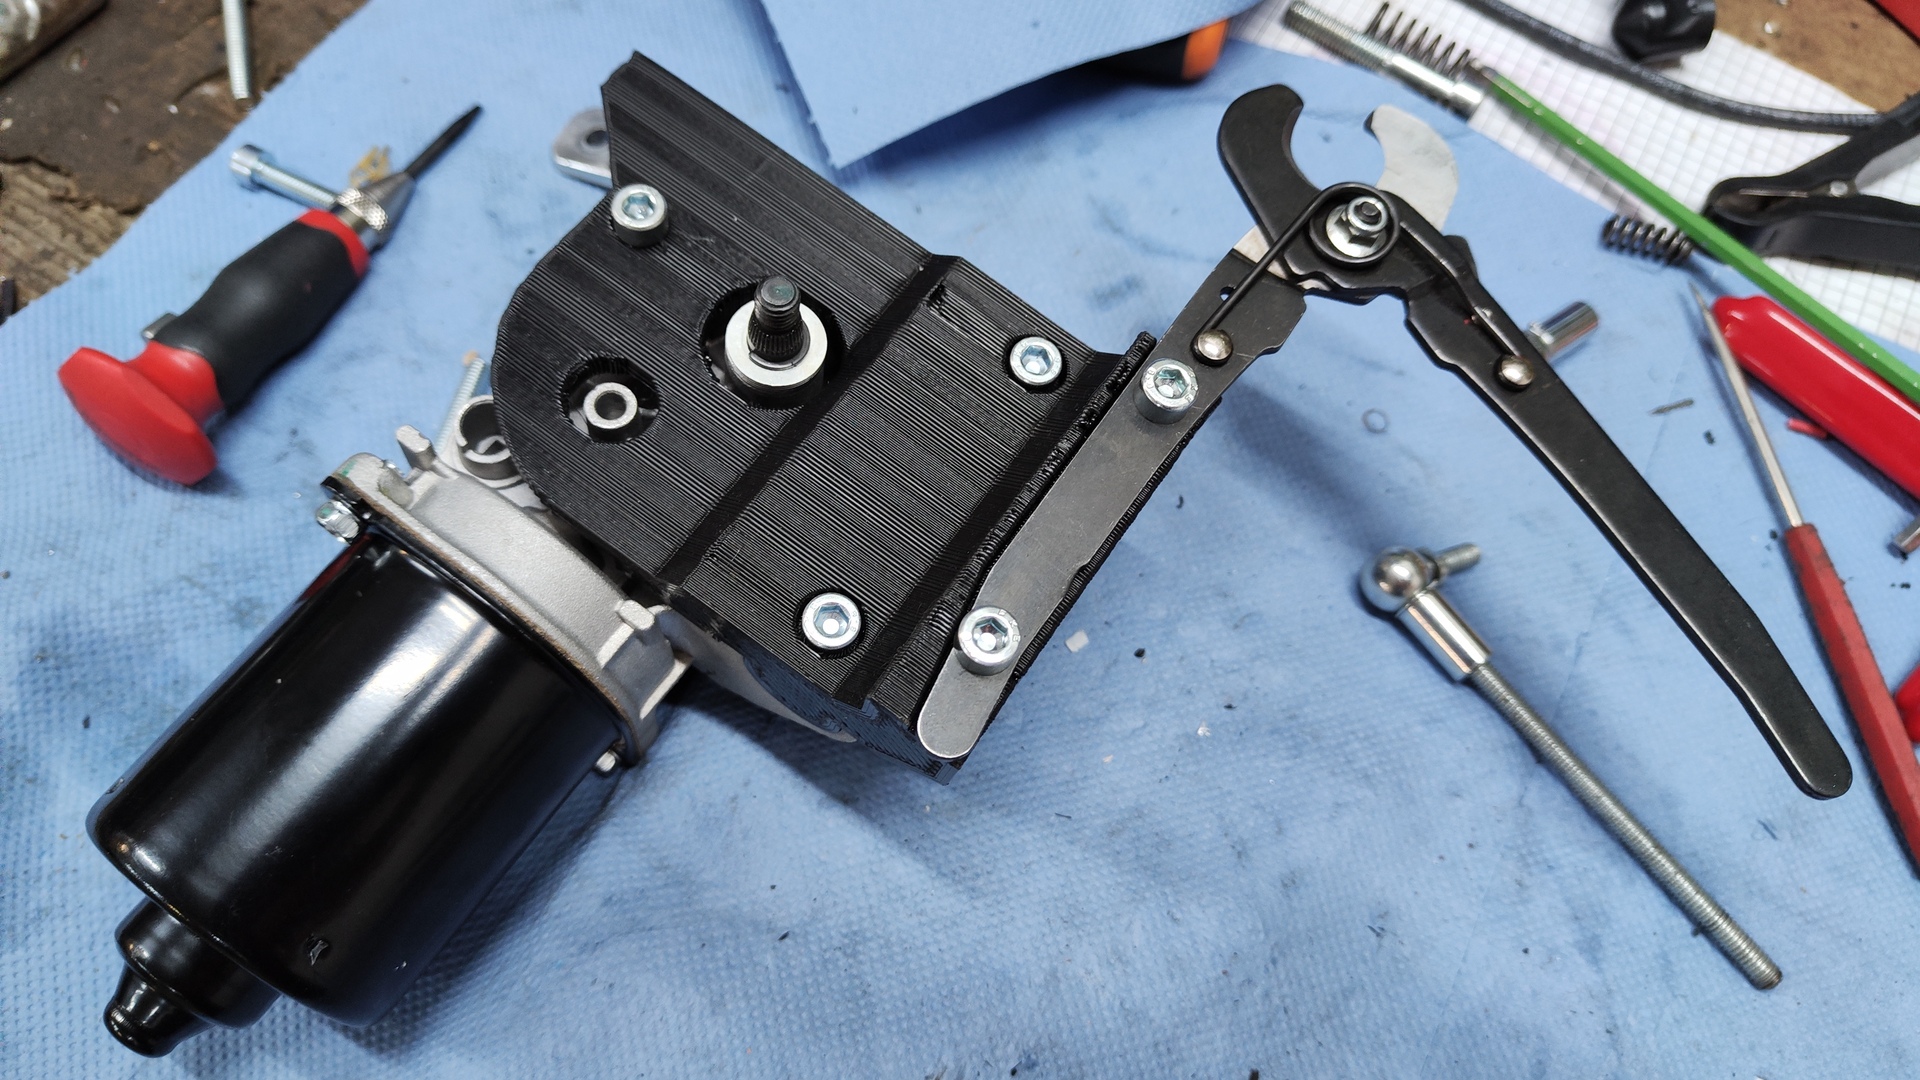
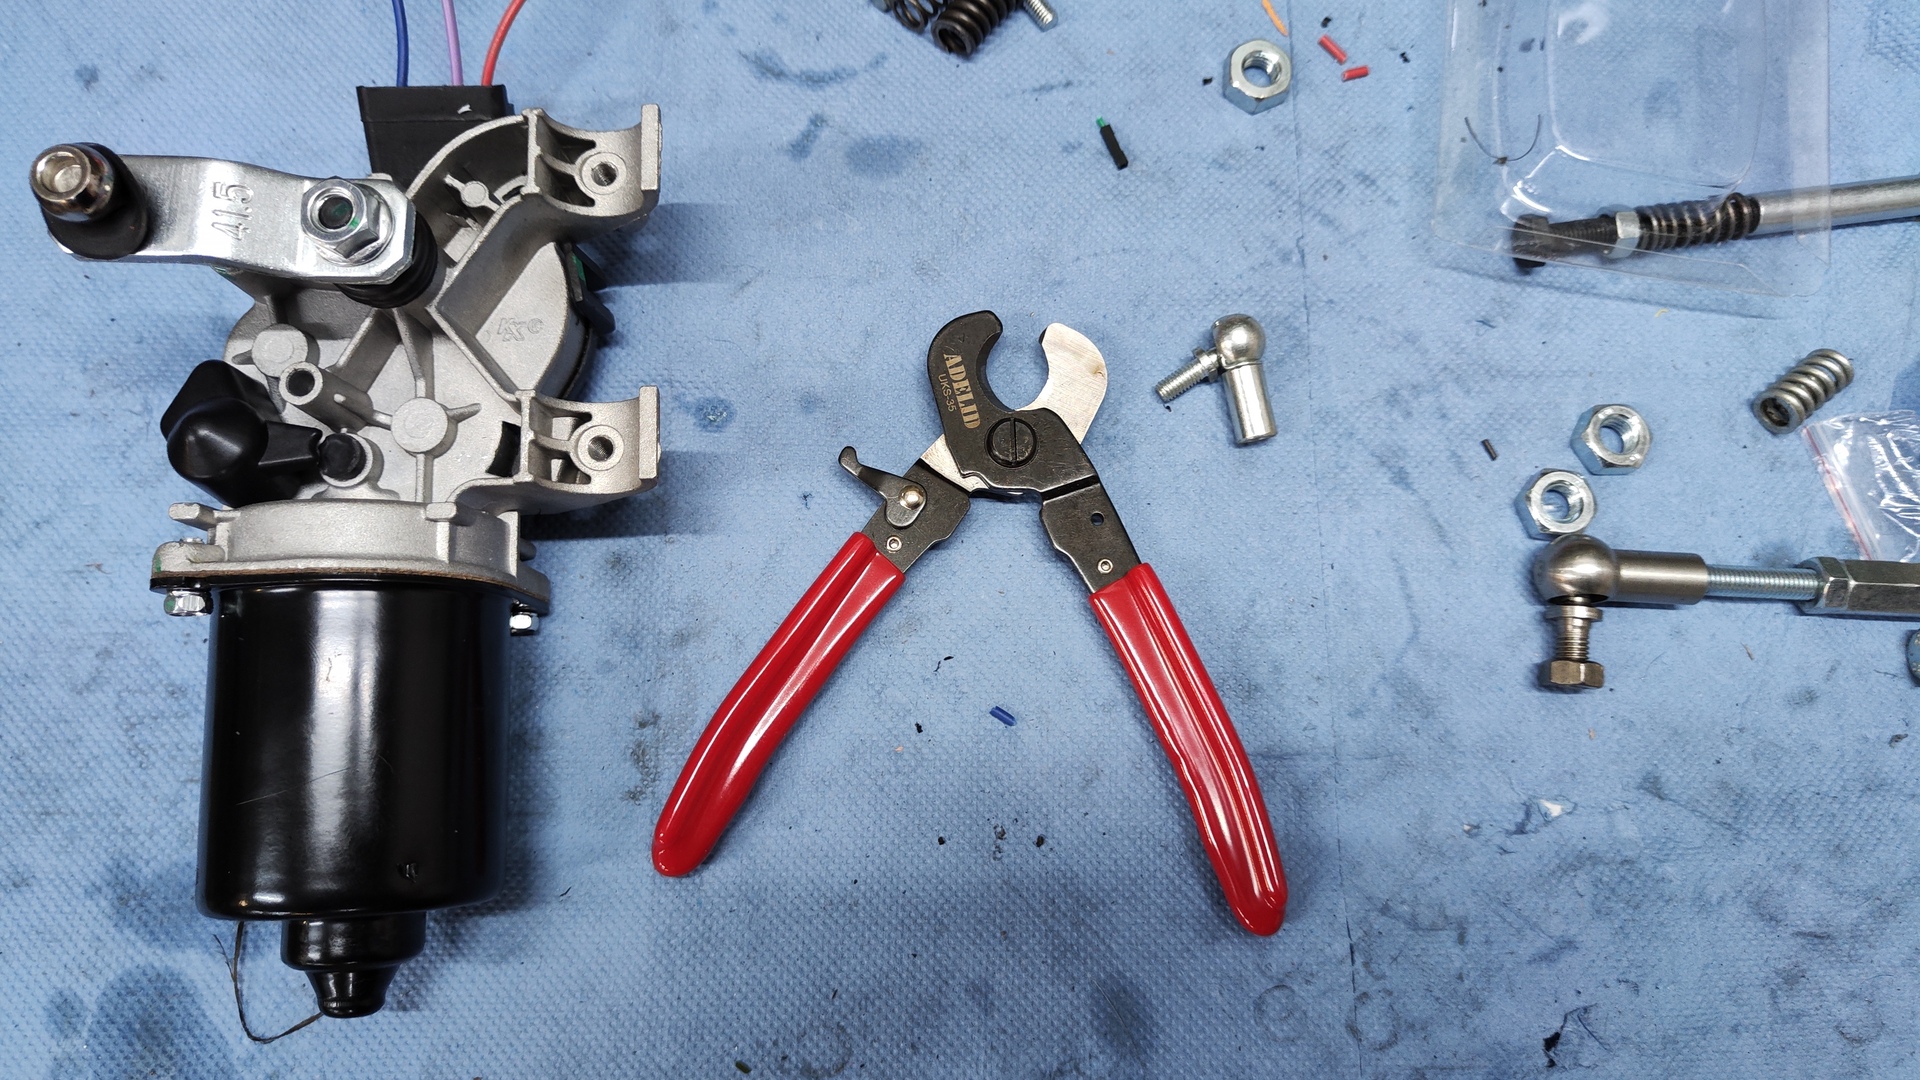
- Custom electric cable cutter
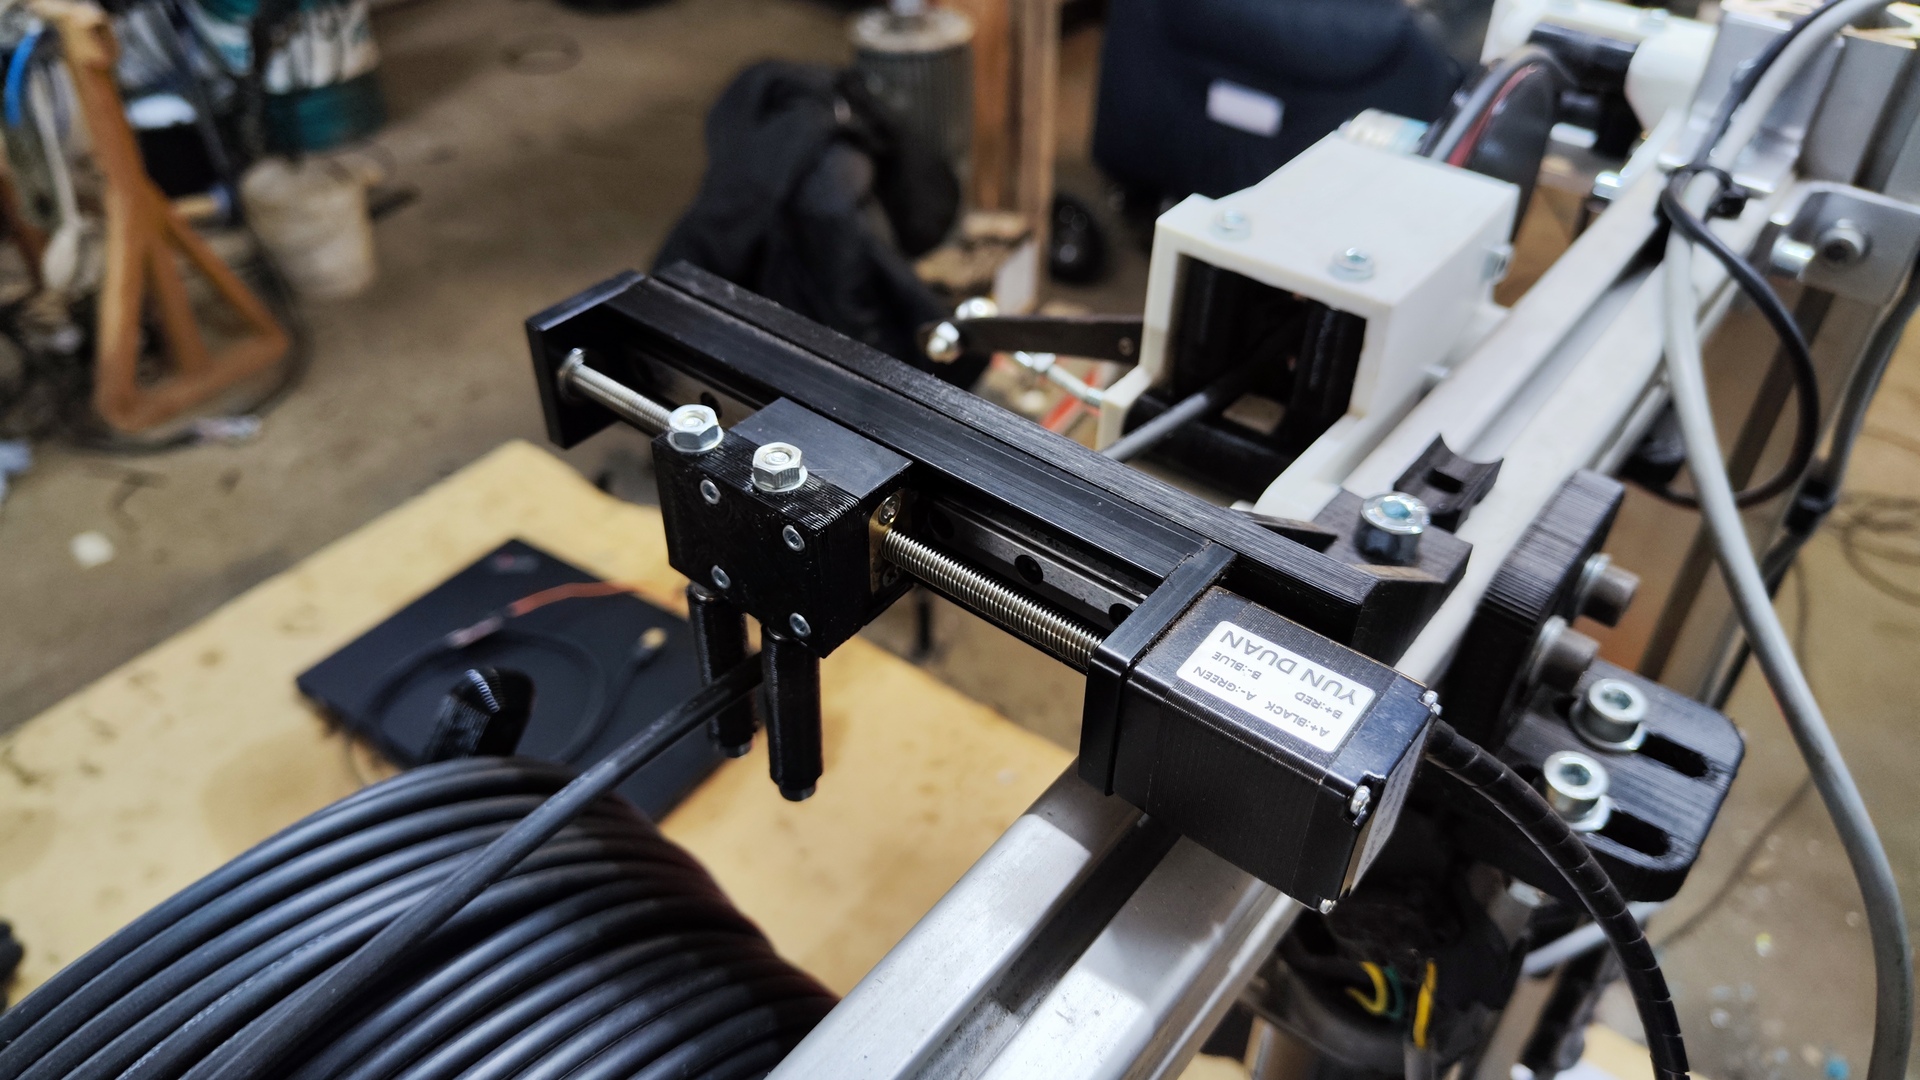
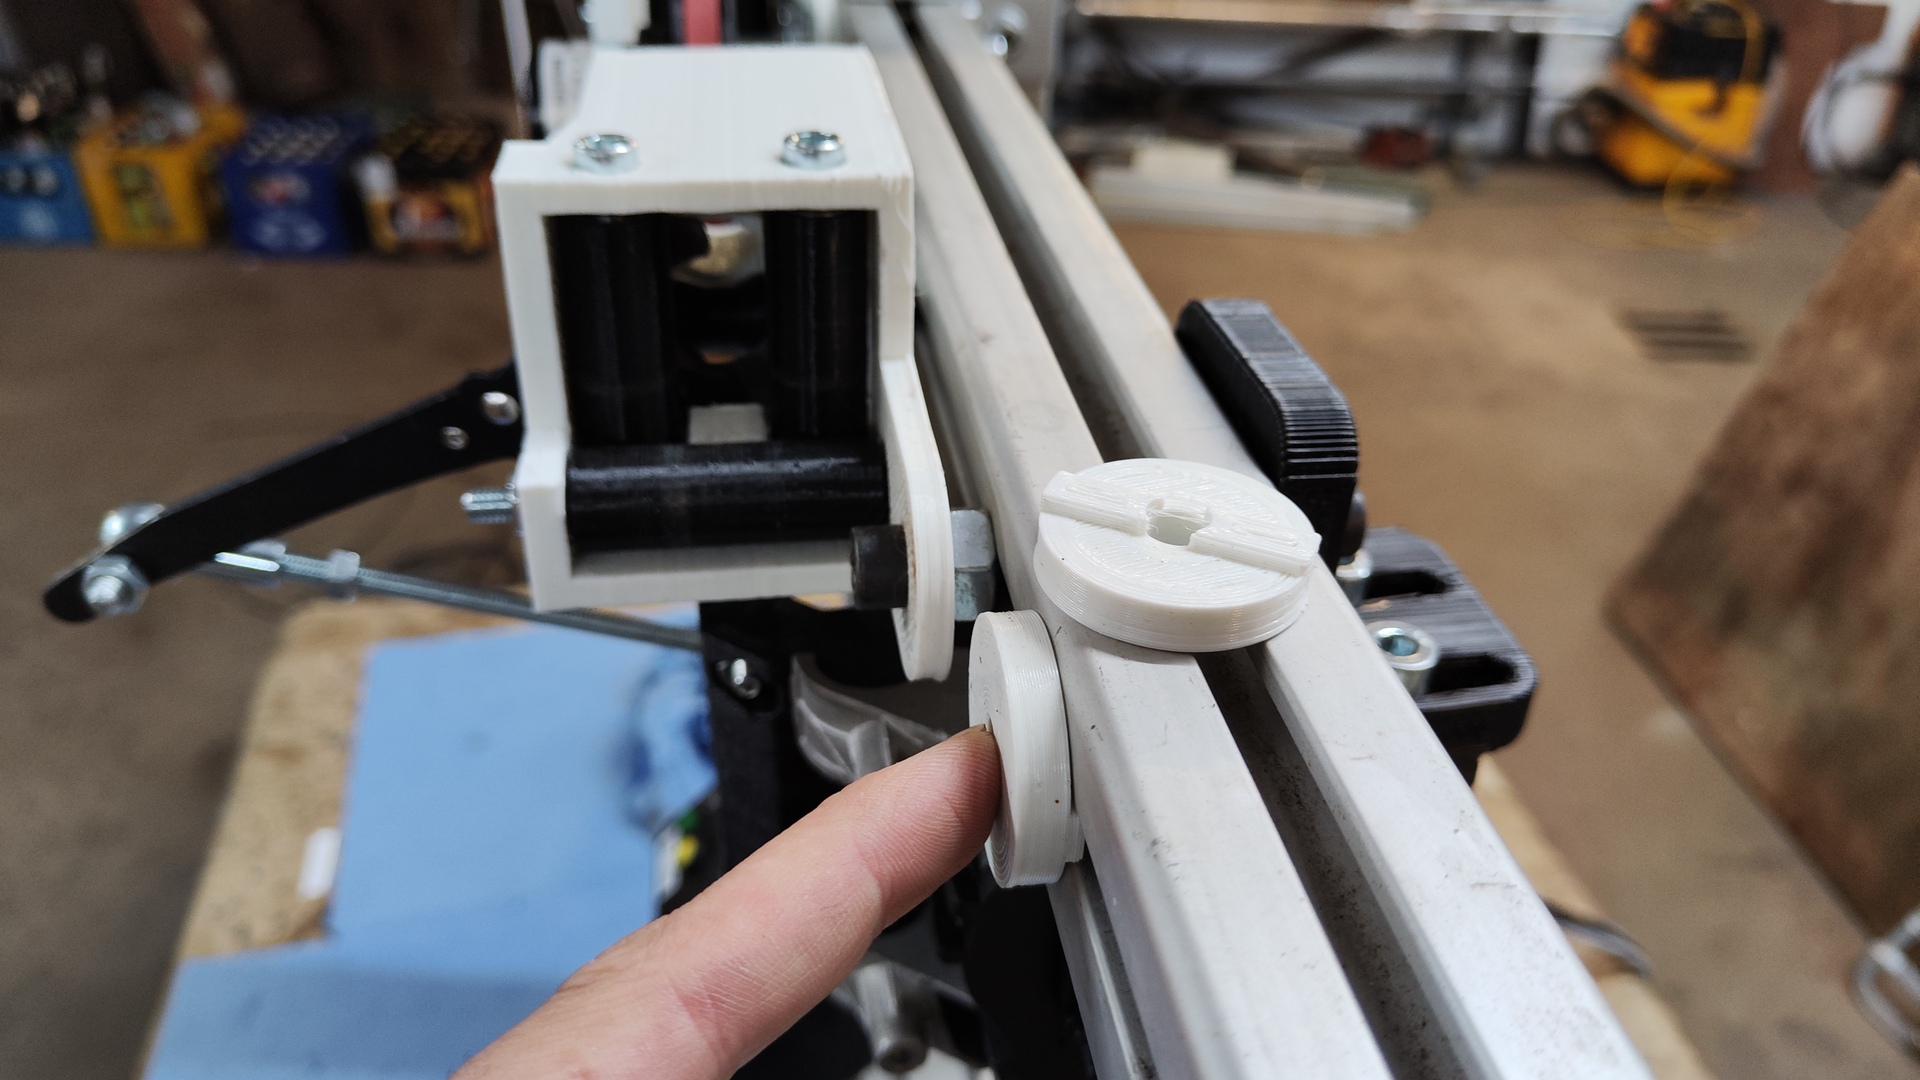
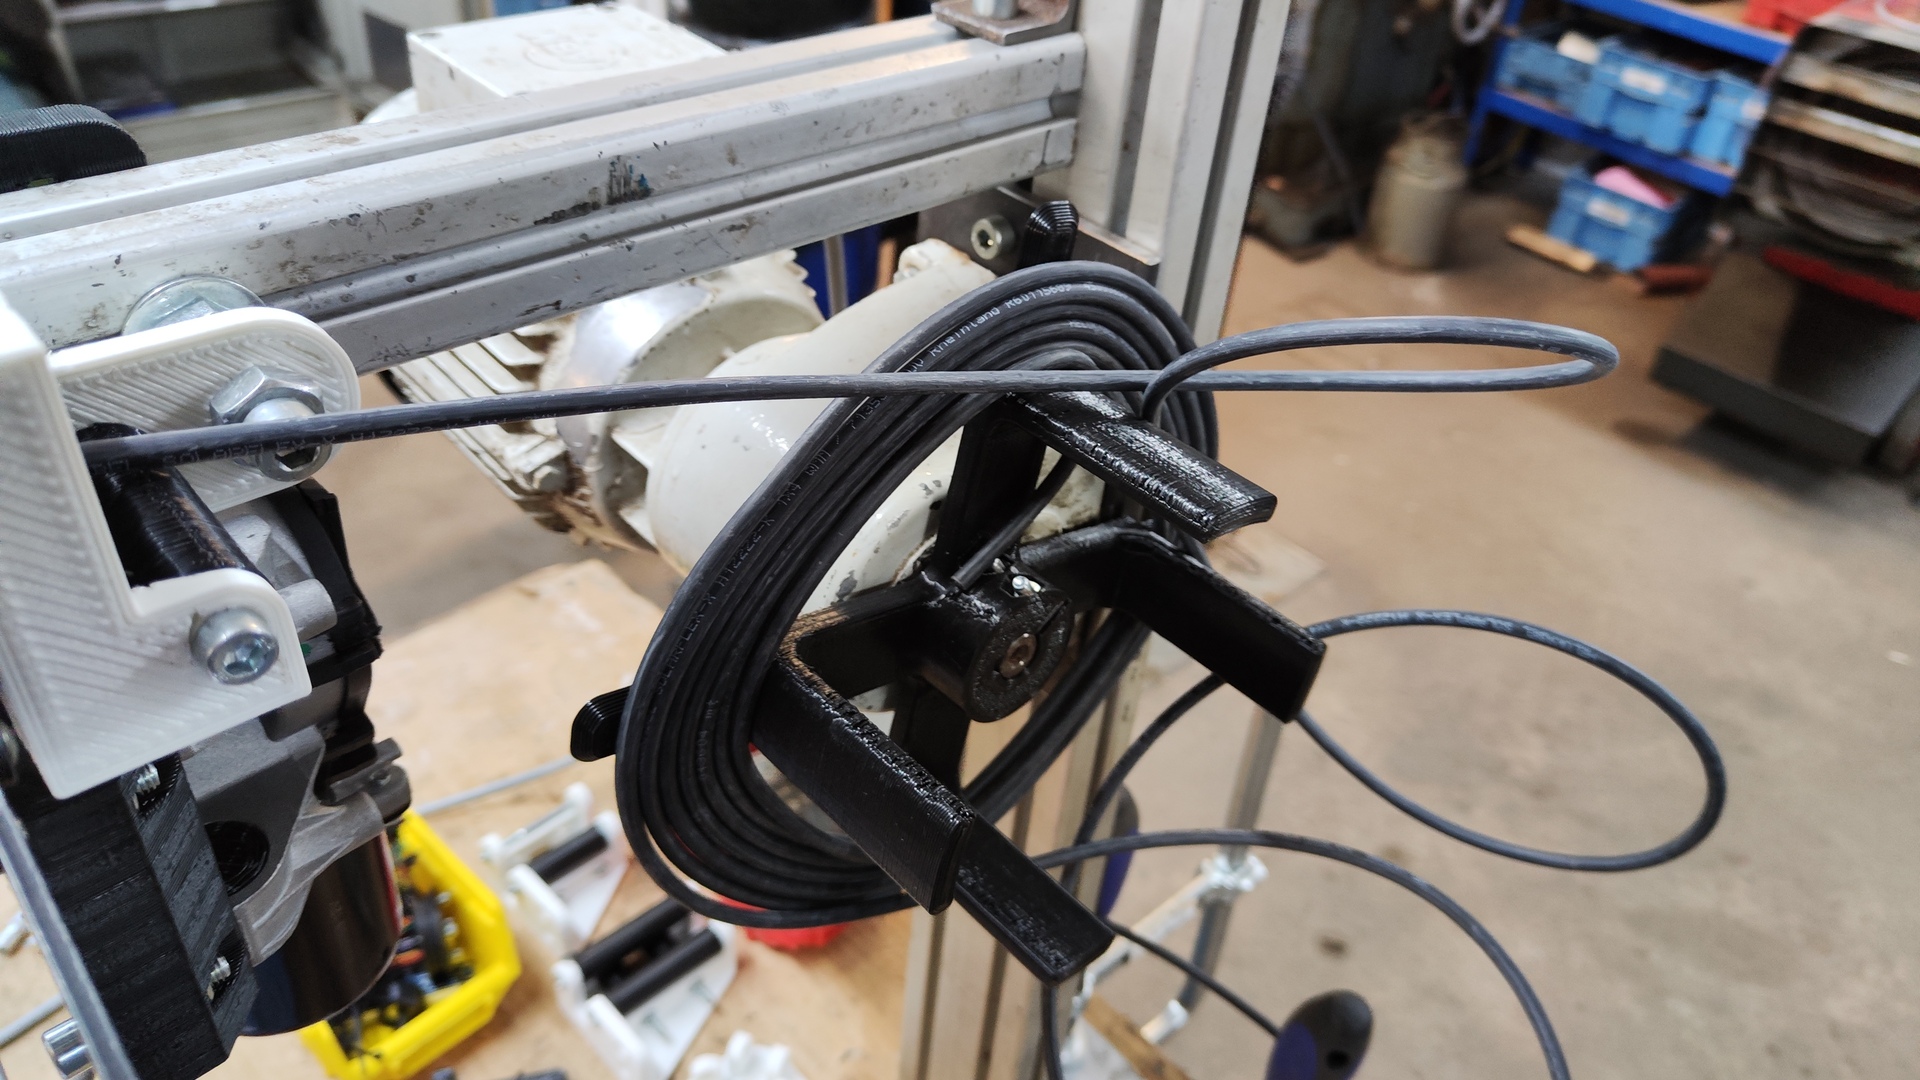
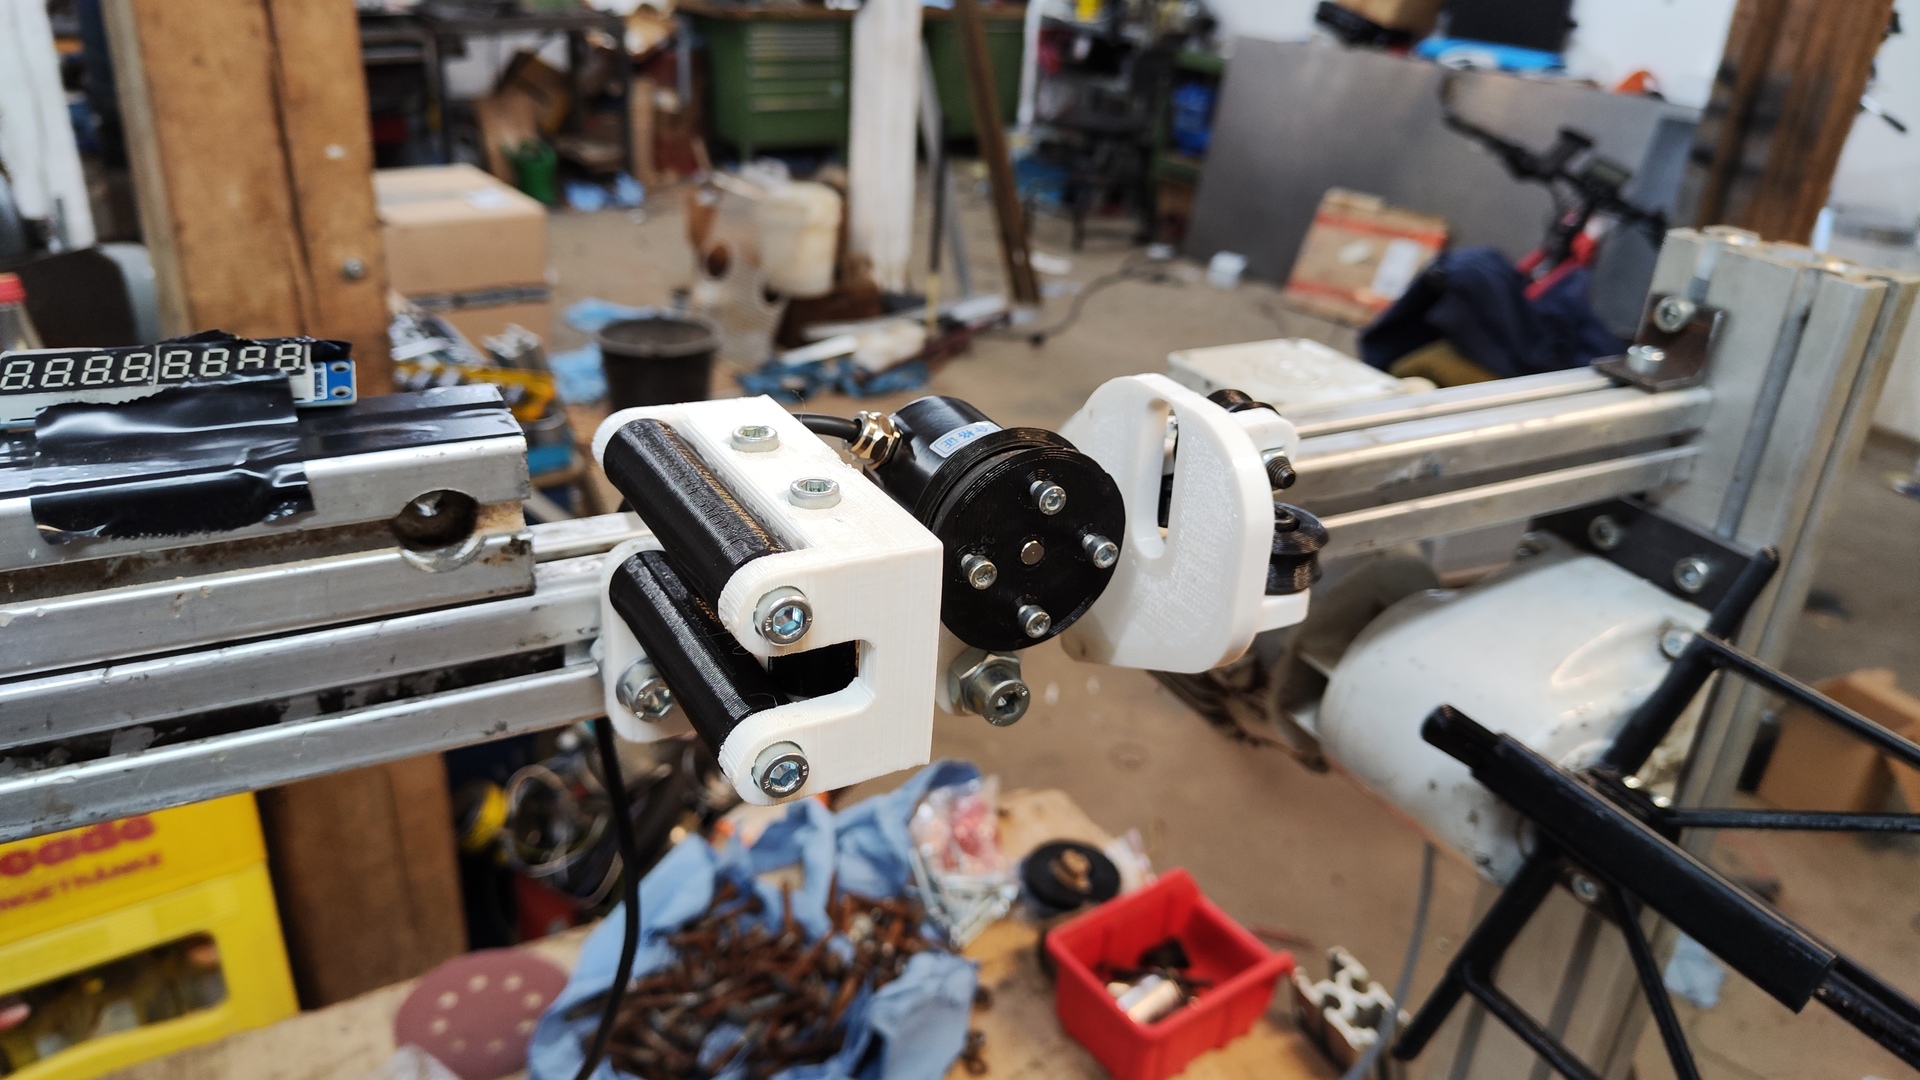
- Linear axis as guide for even winding
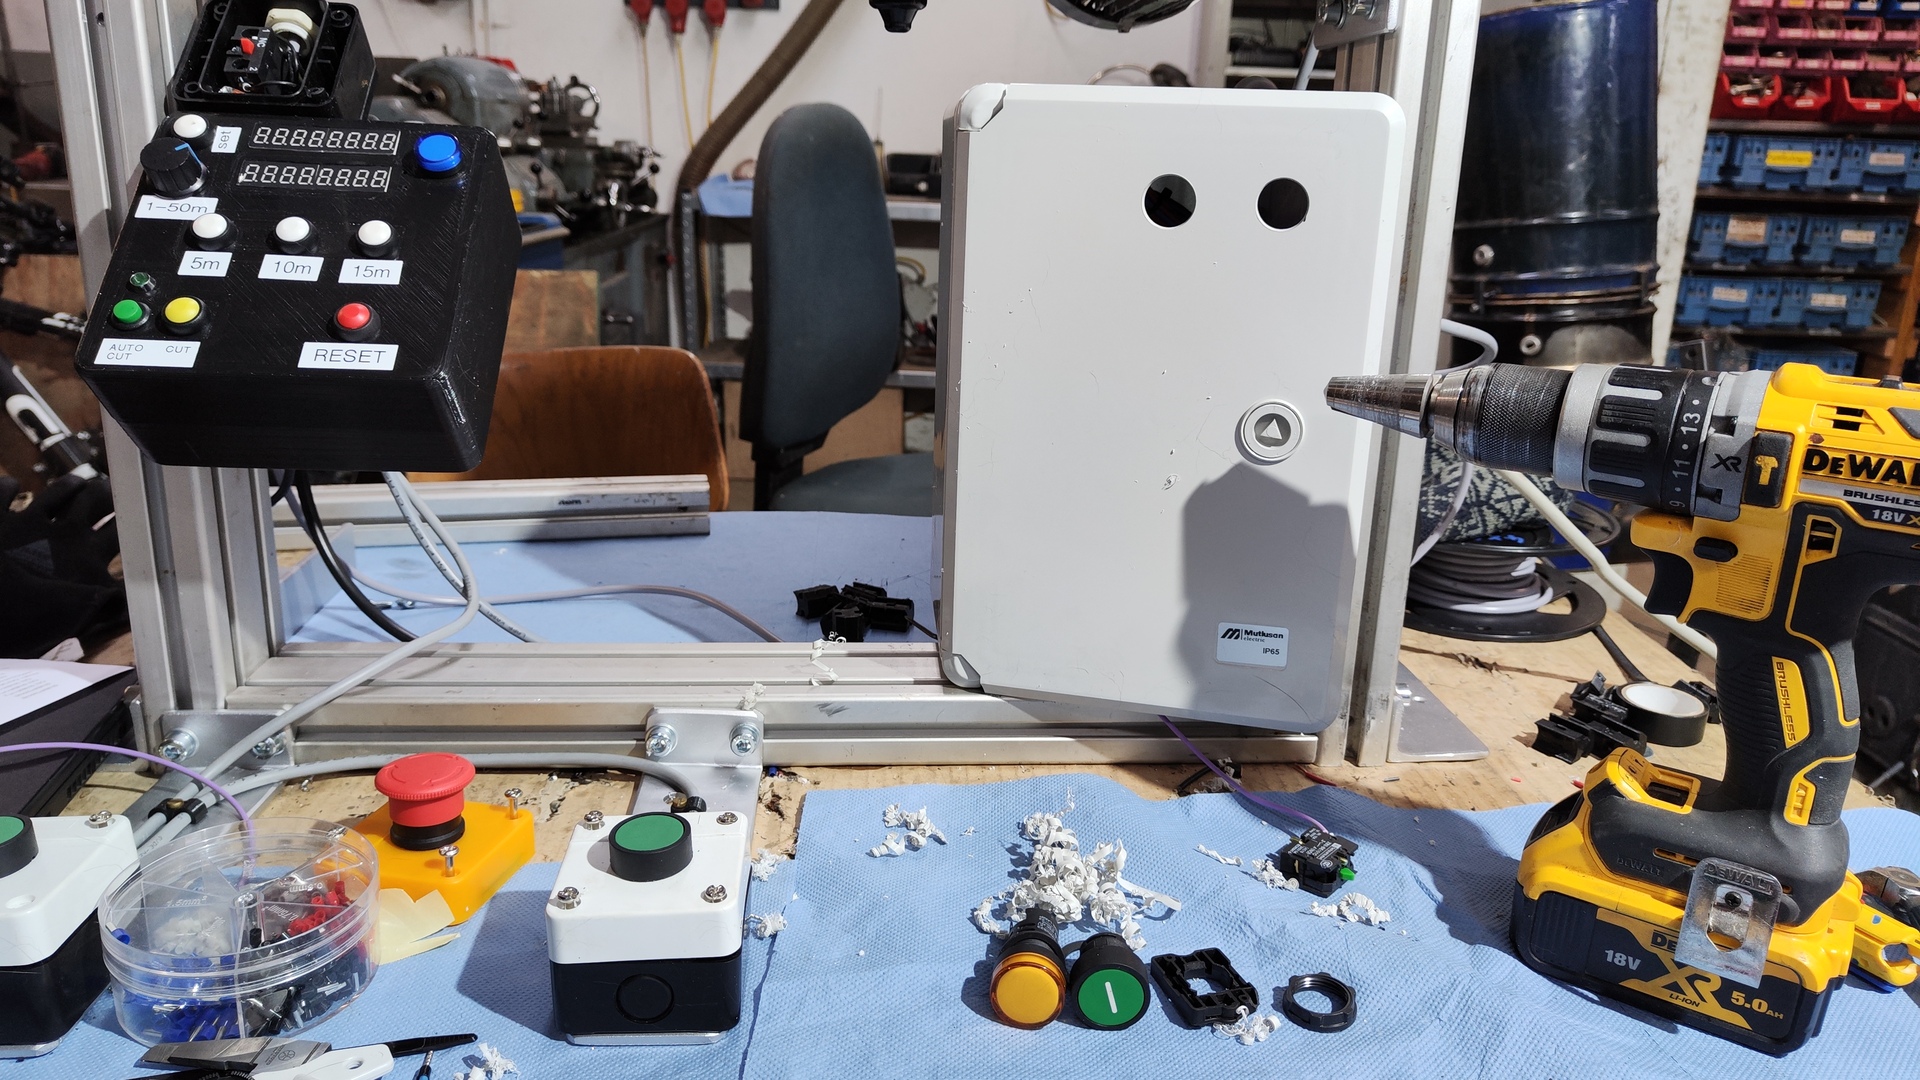
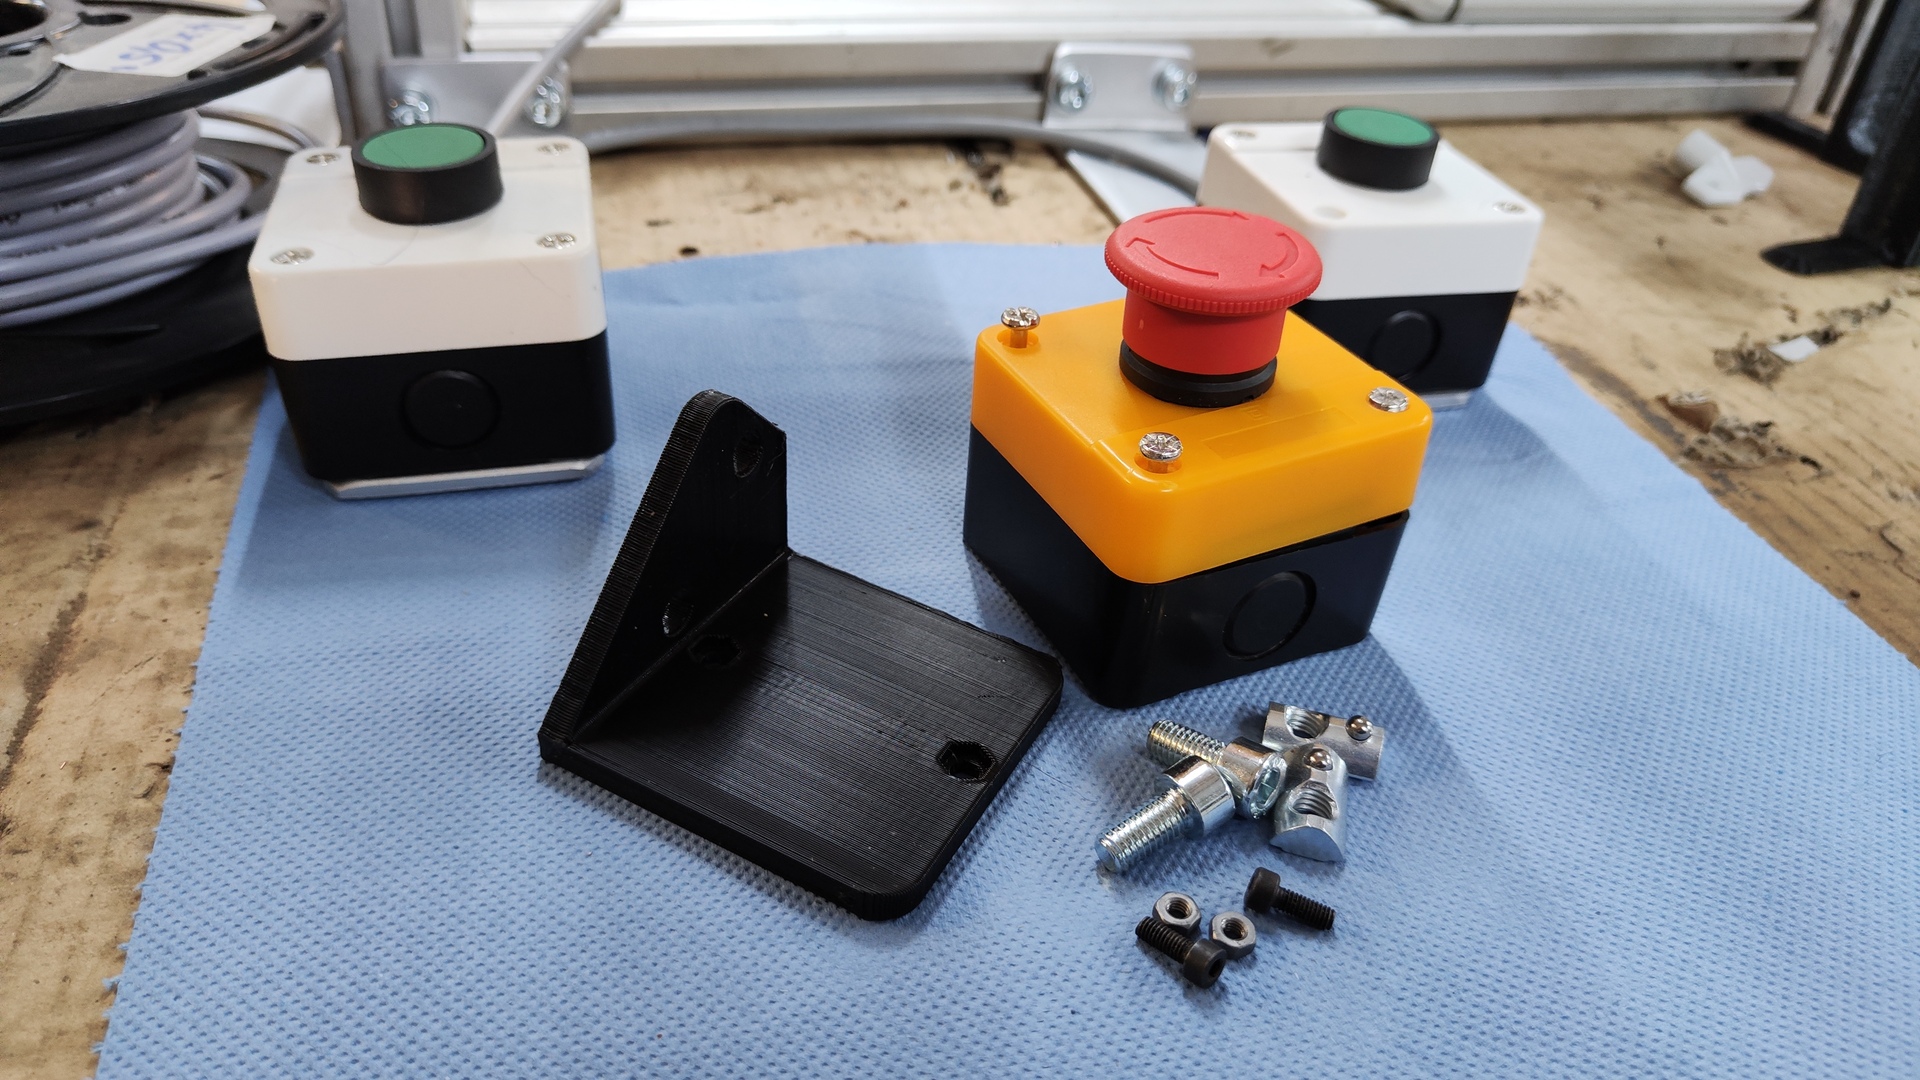
- 2-hand operation
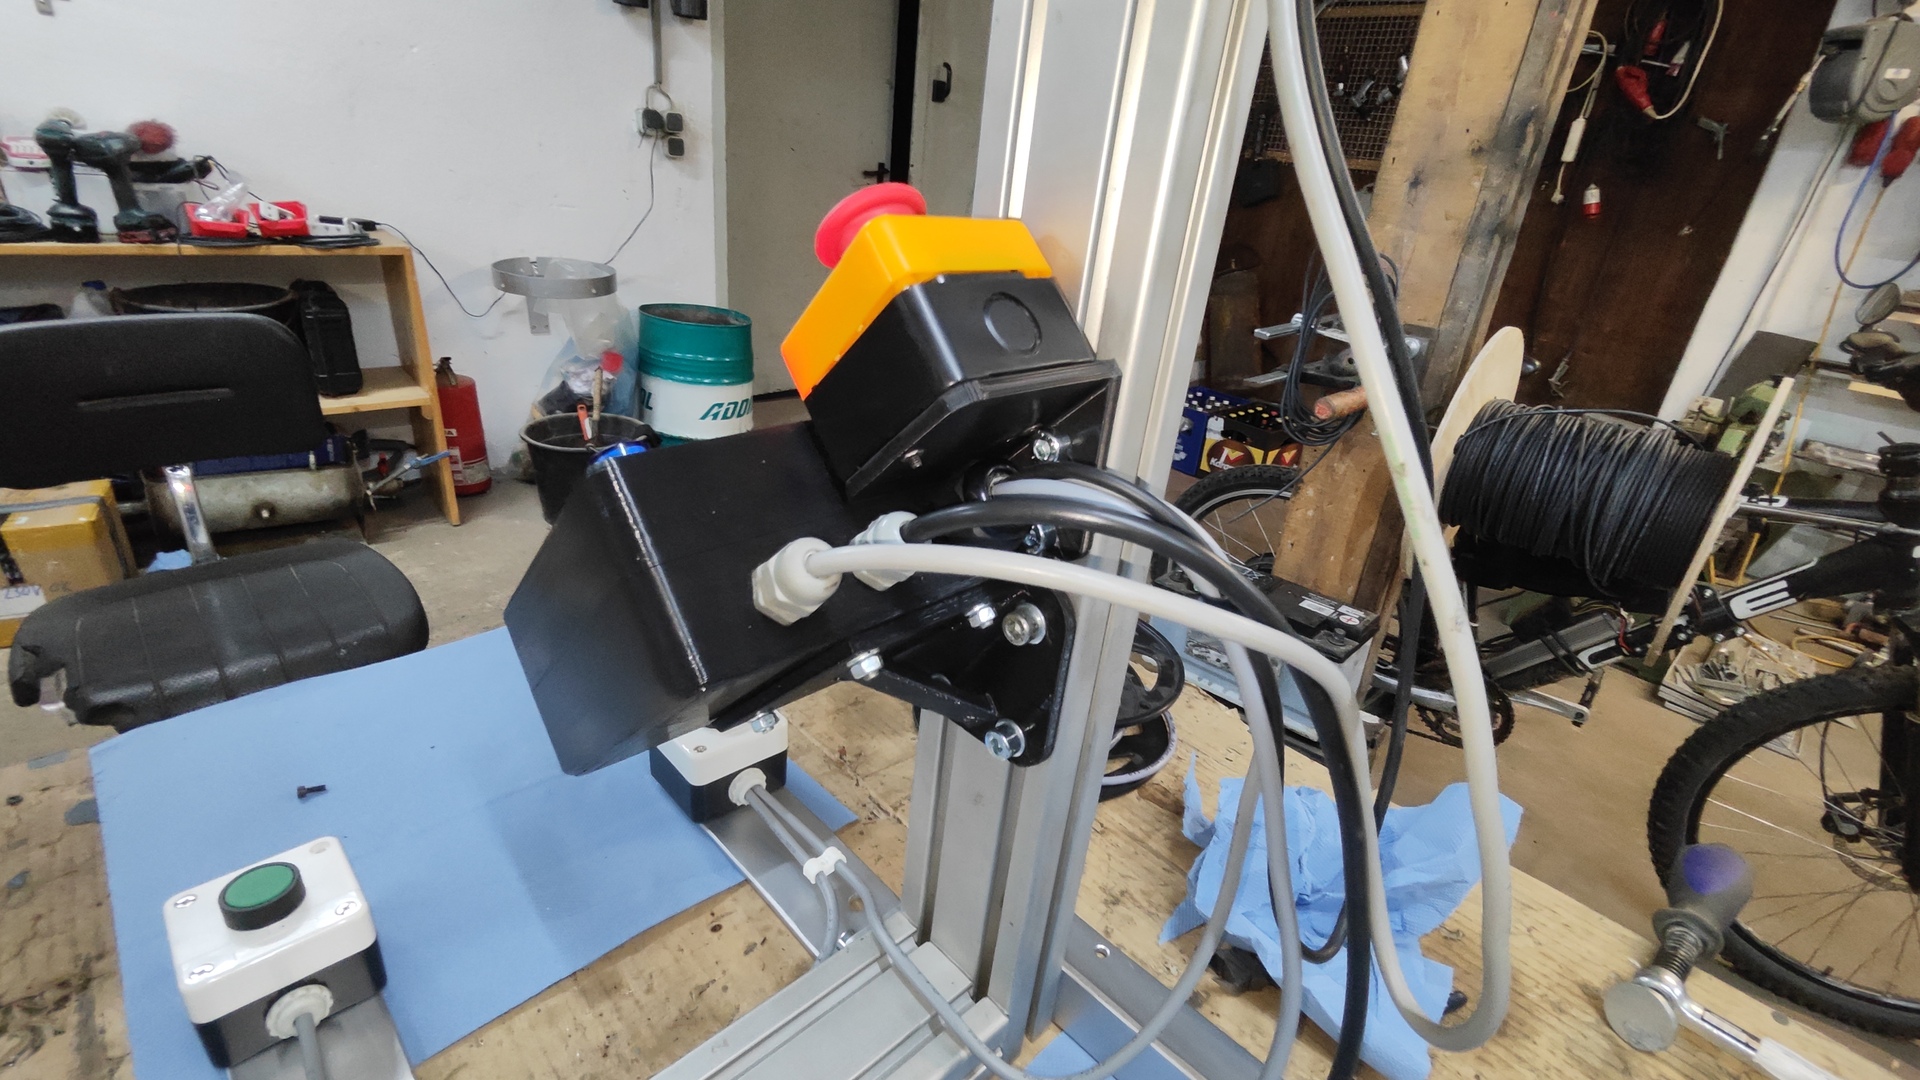
- Emergency switch
- Changeable cable reel
- Silent guide rolls with ball bearings
- Dynamic speed (slow start, slow end)
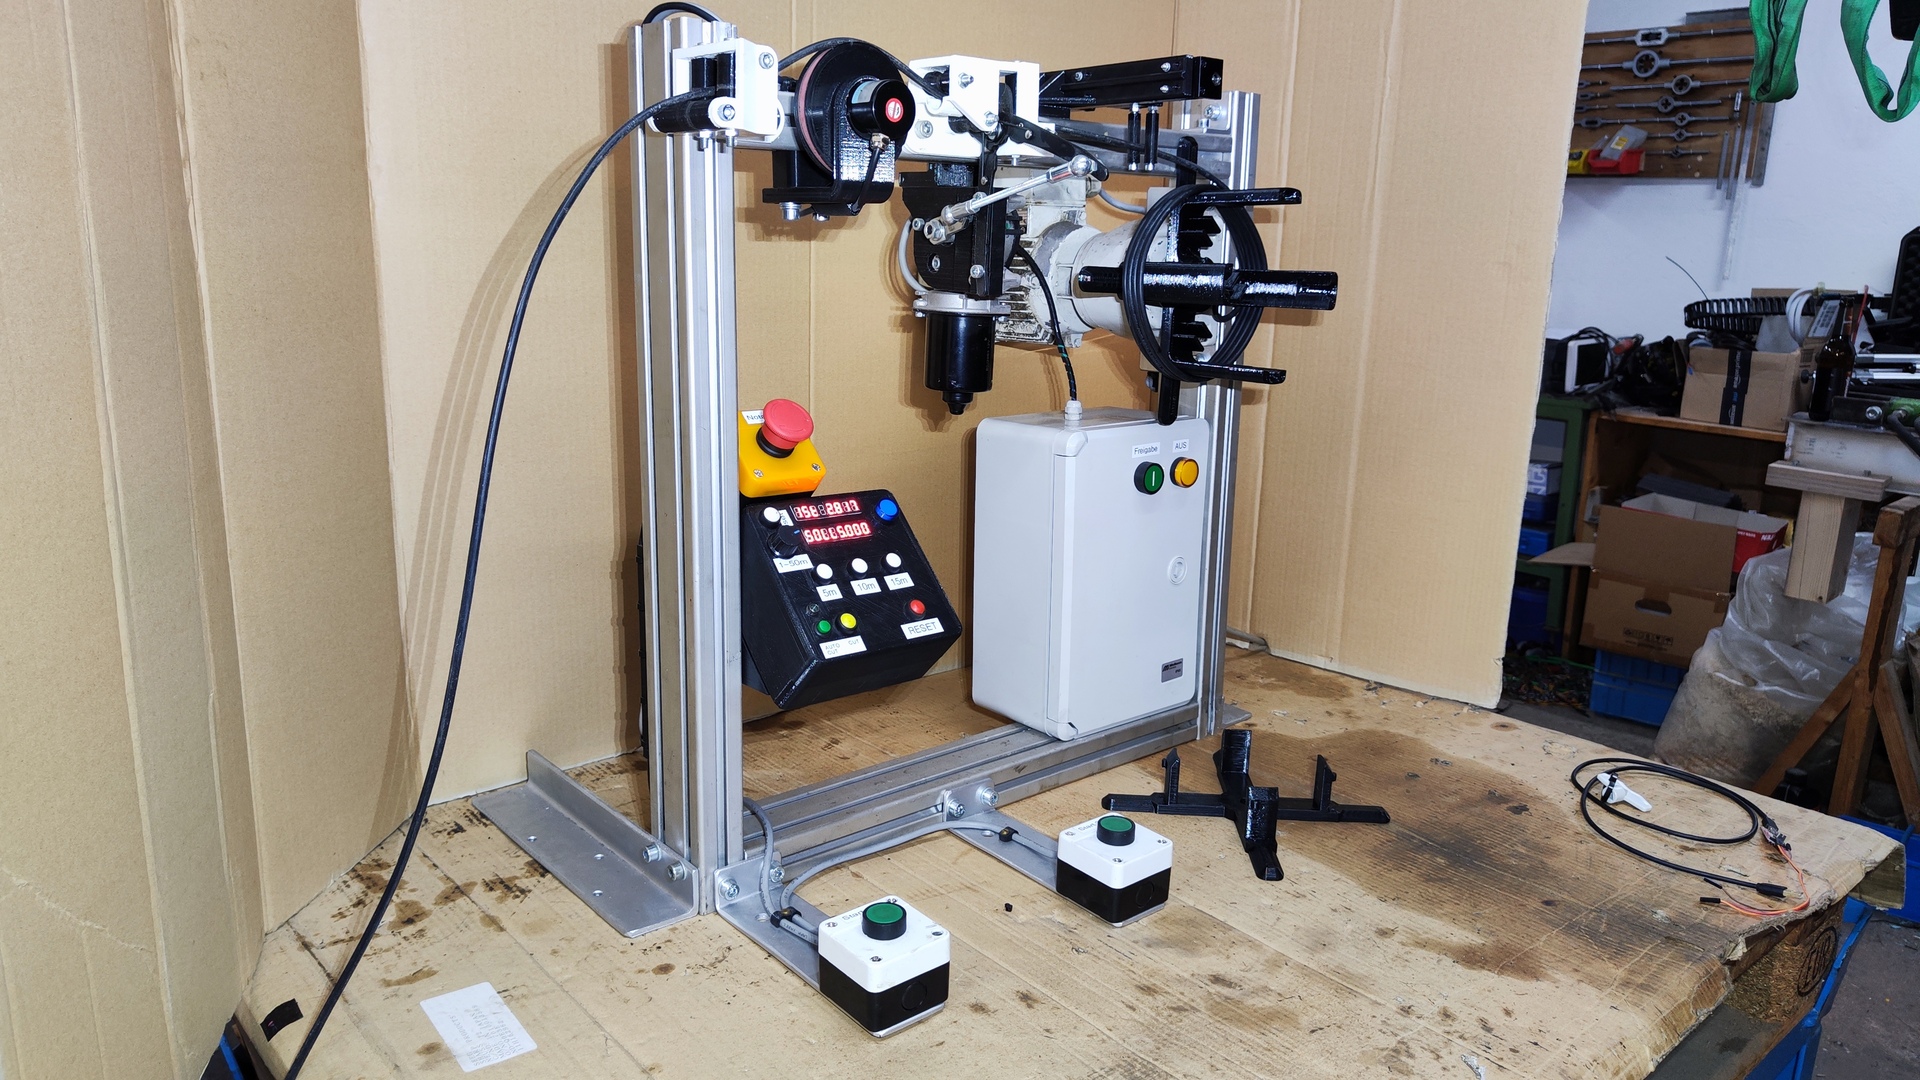
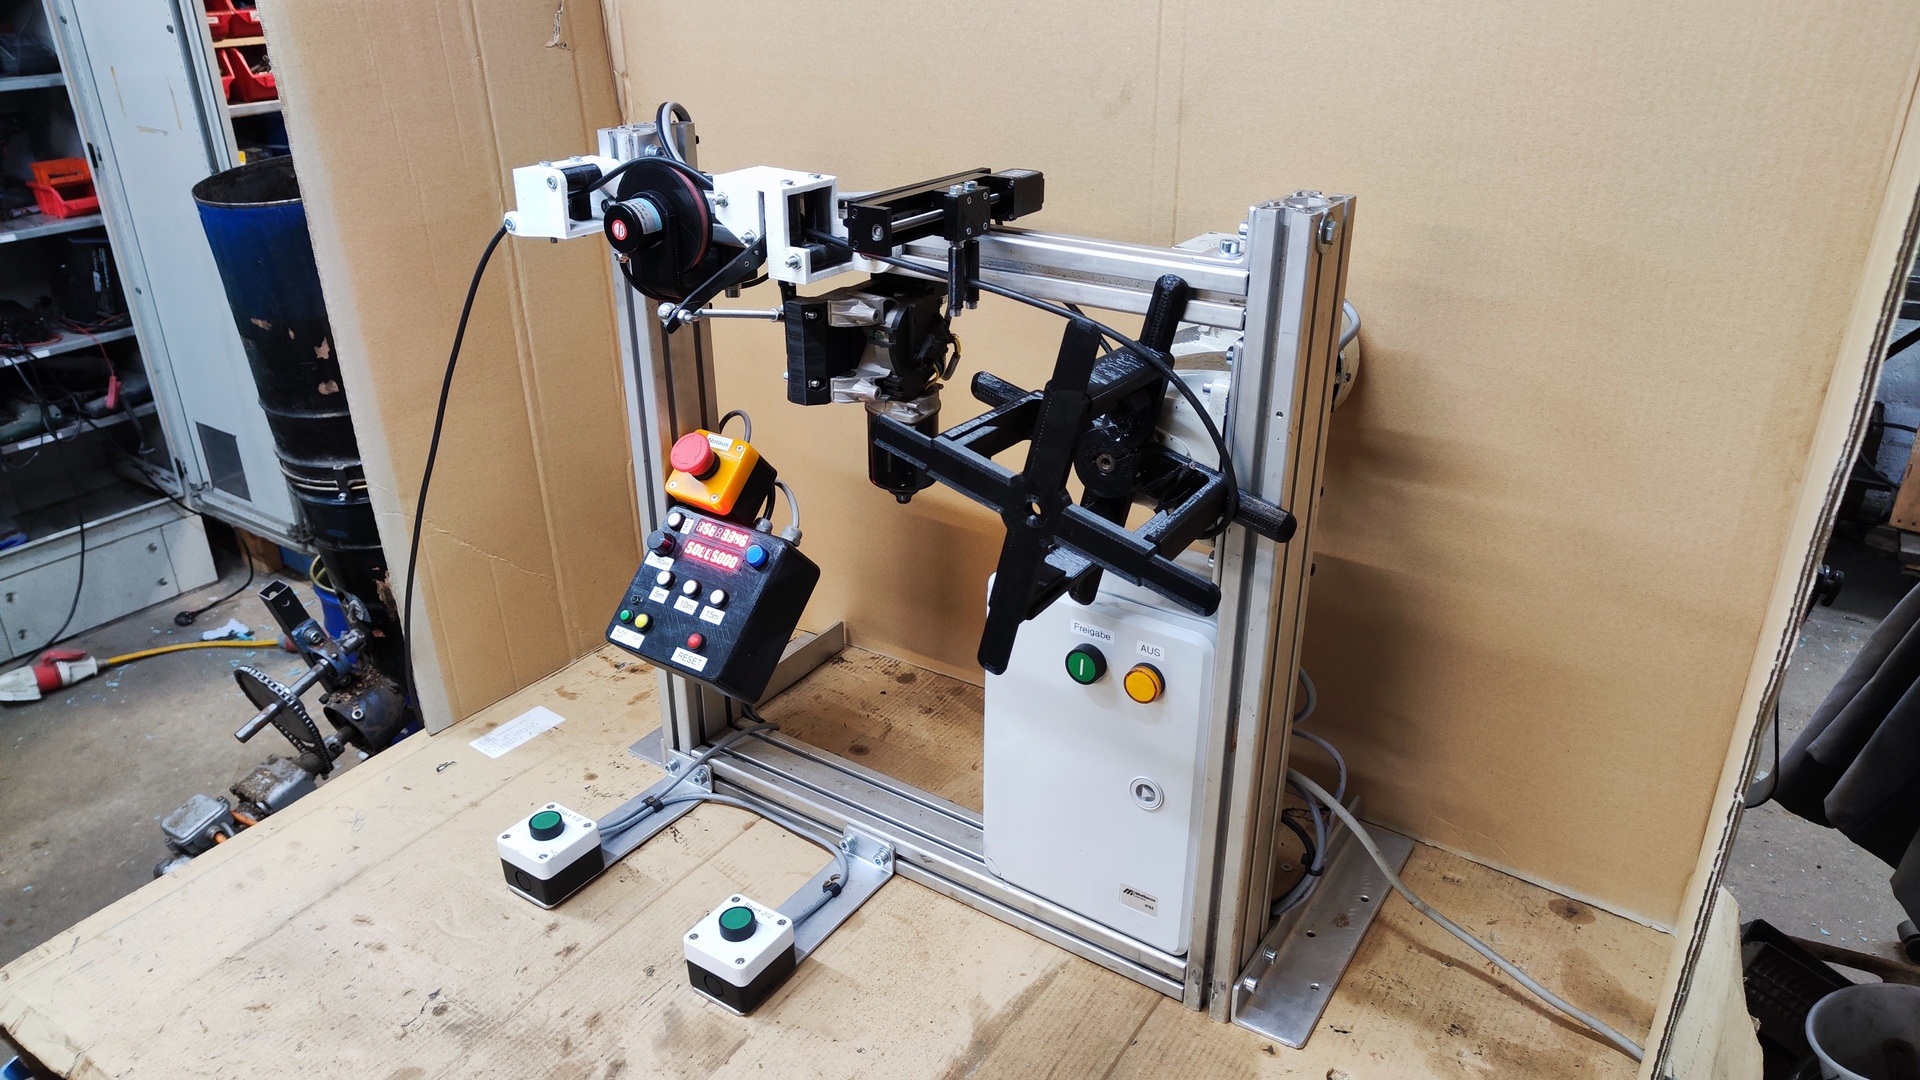
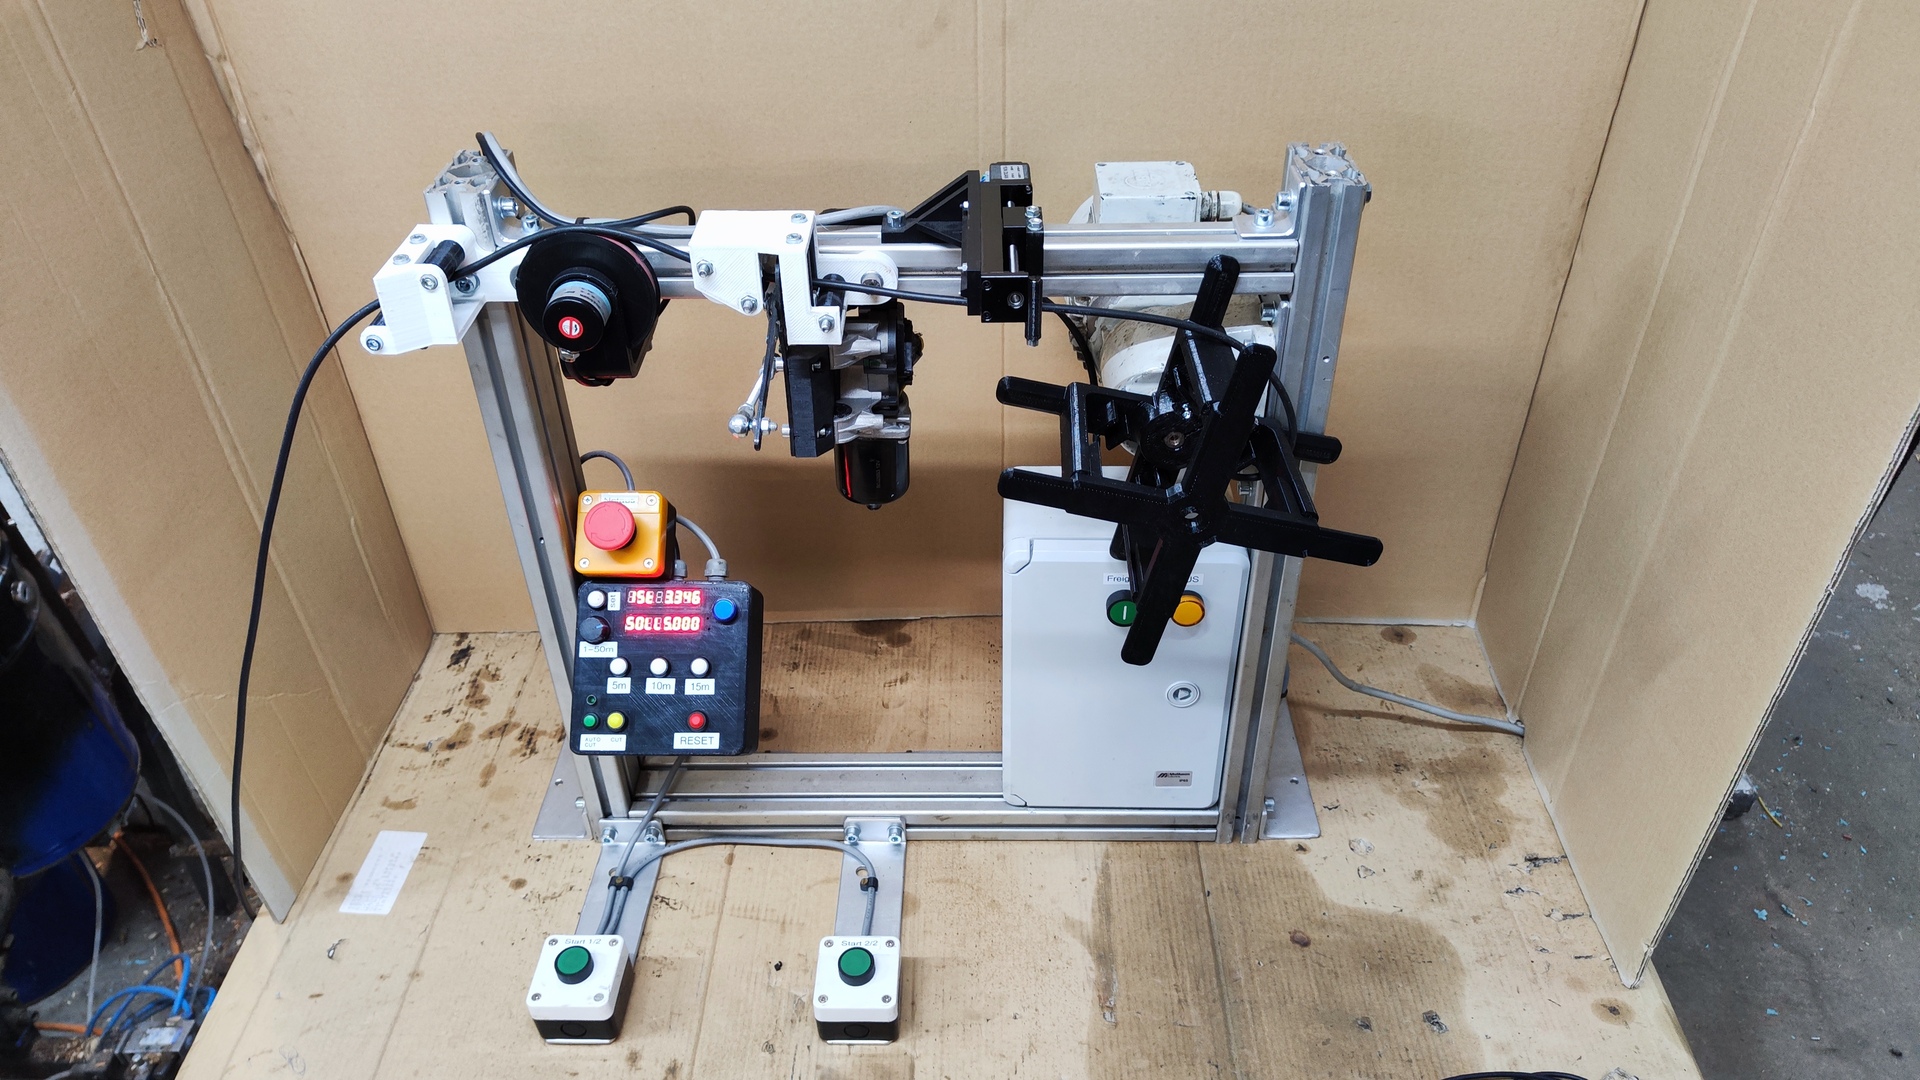
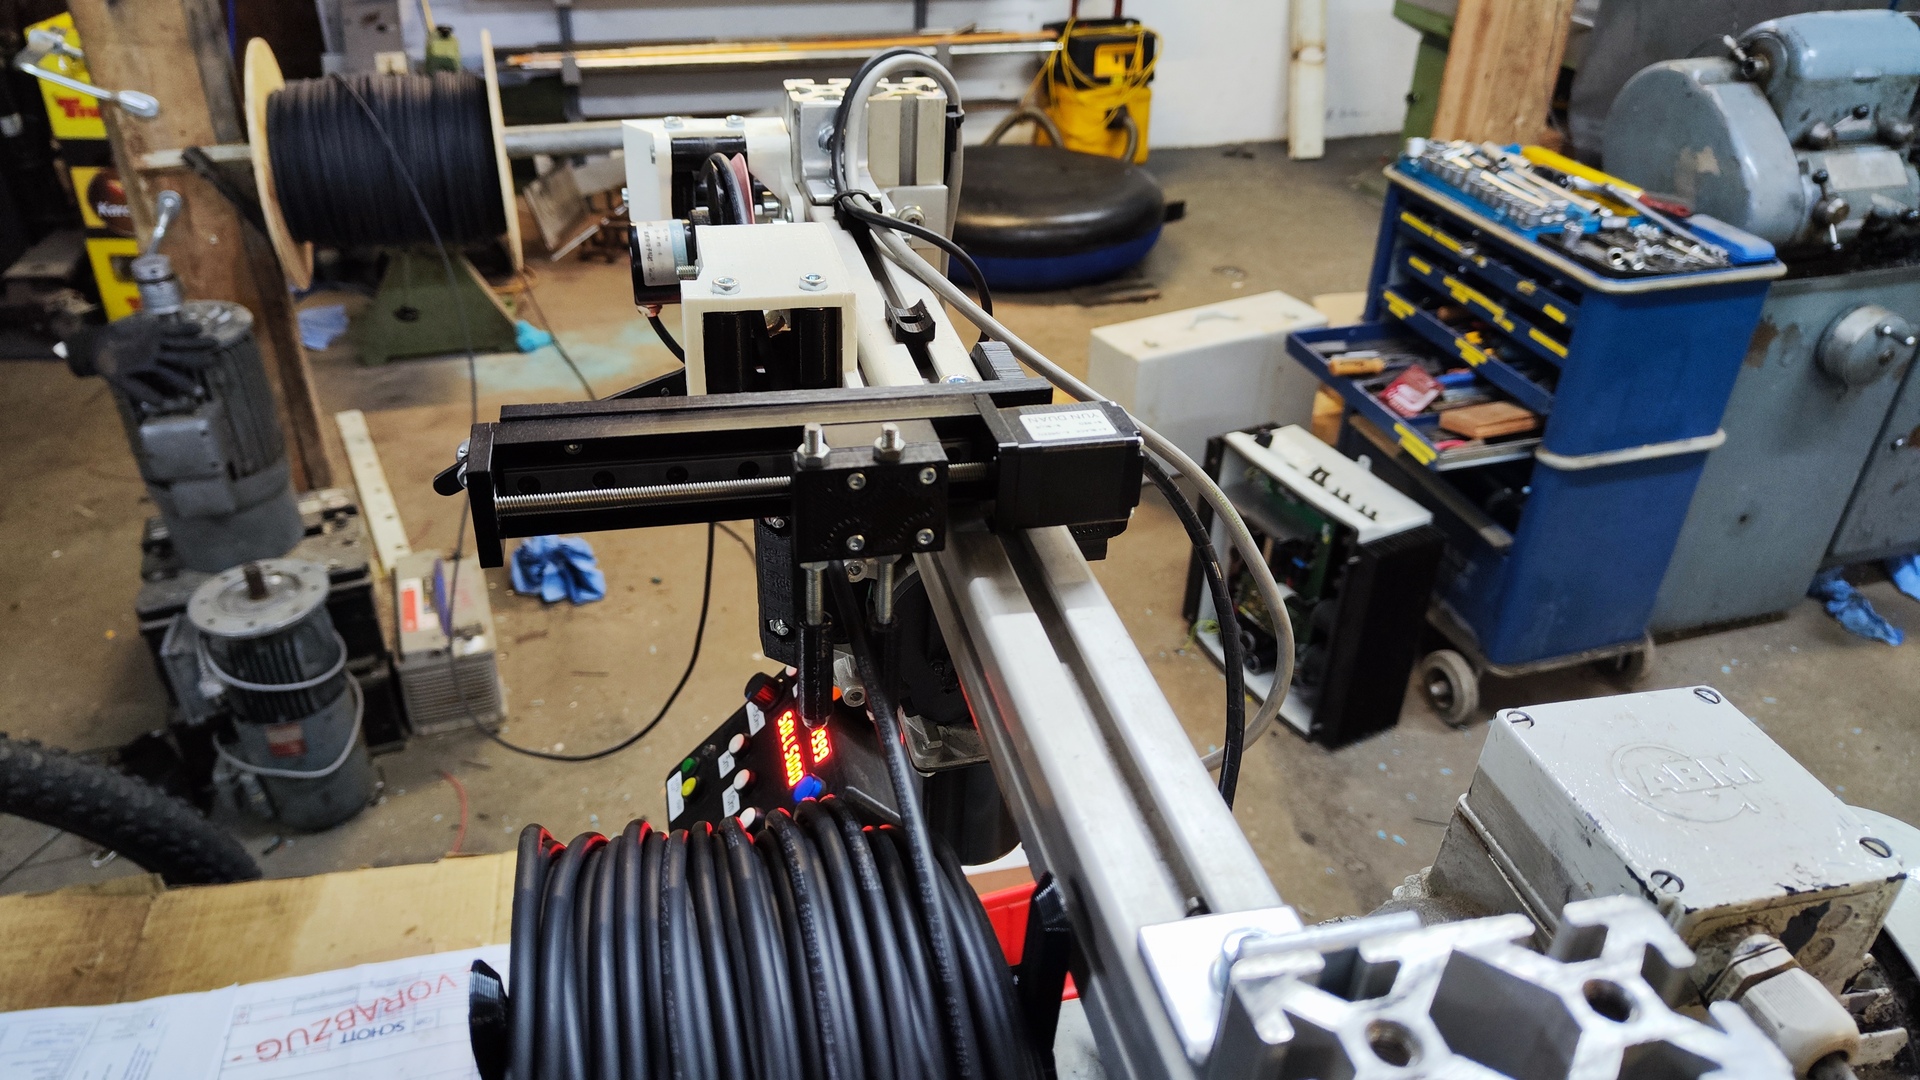
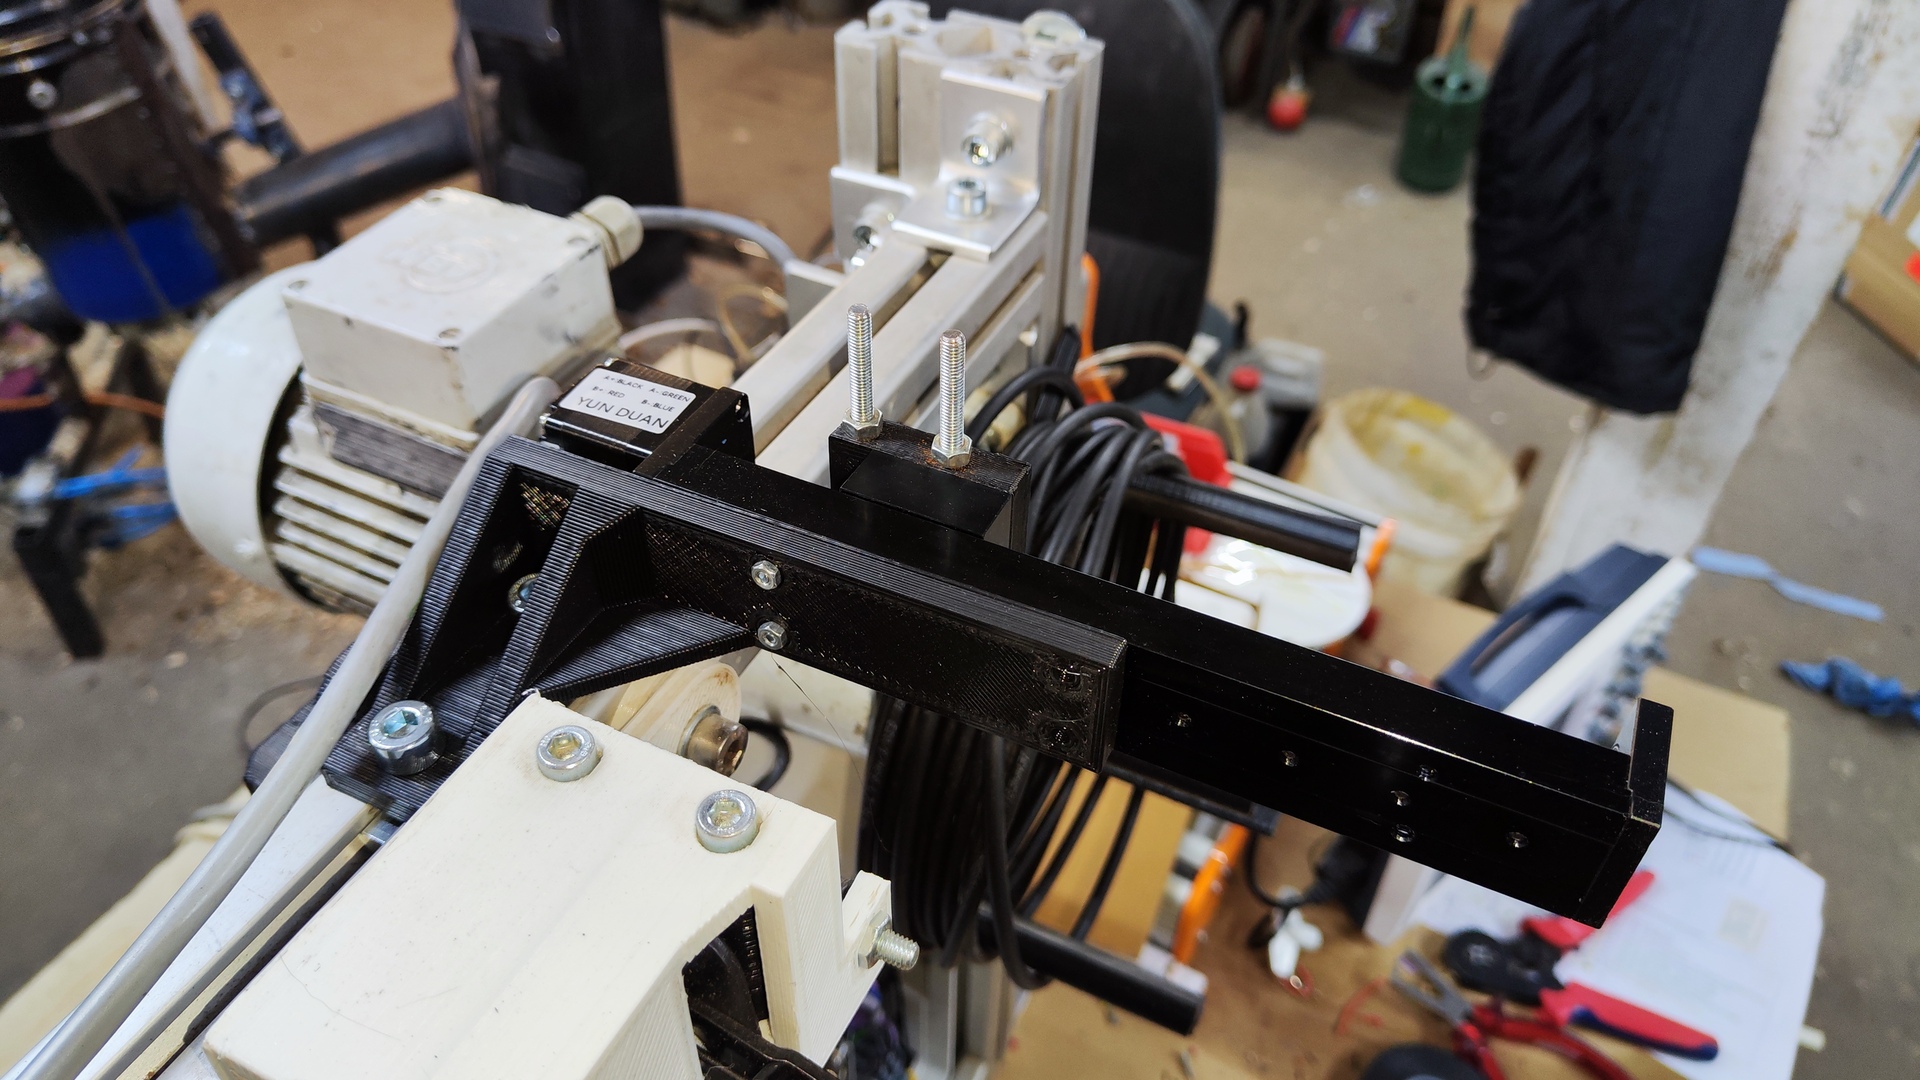
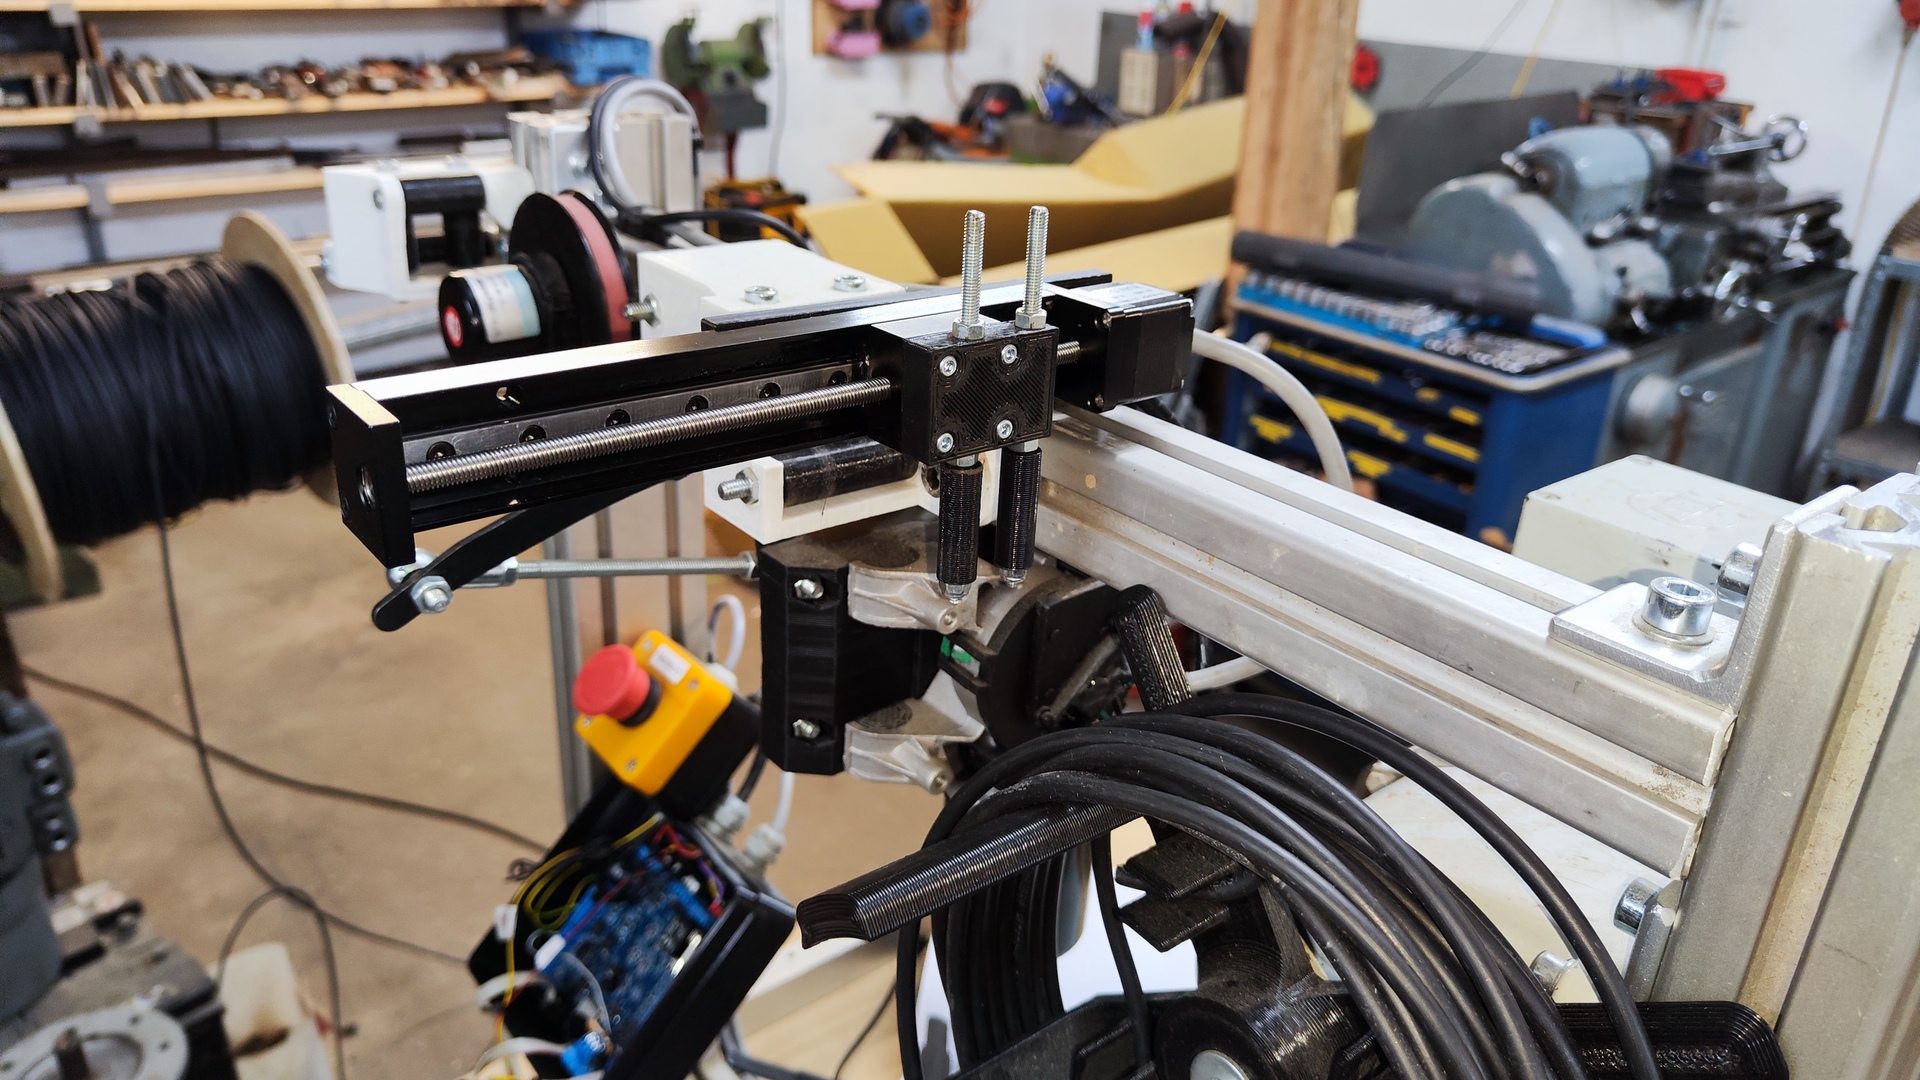
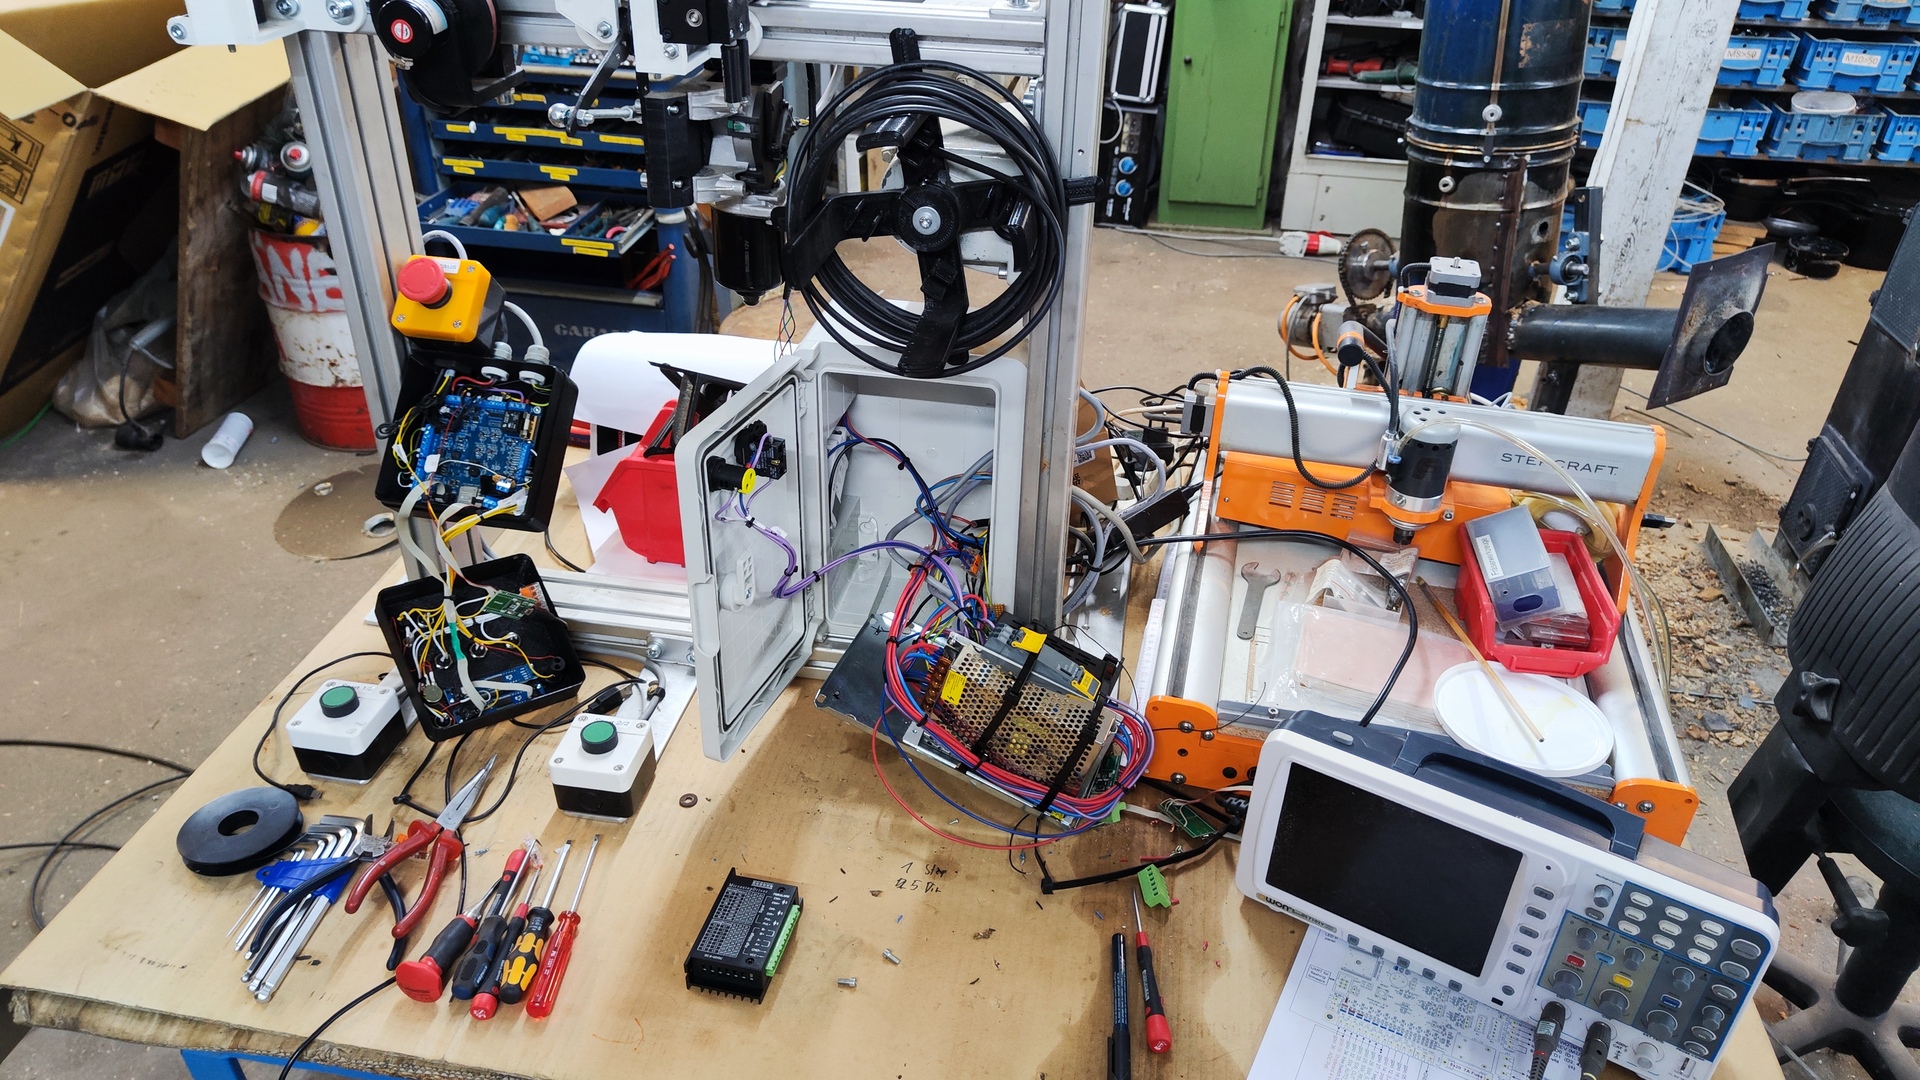
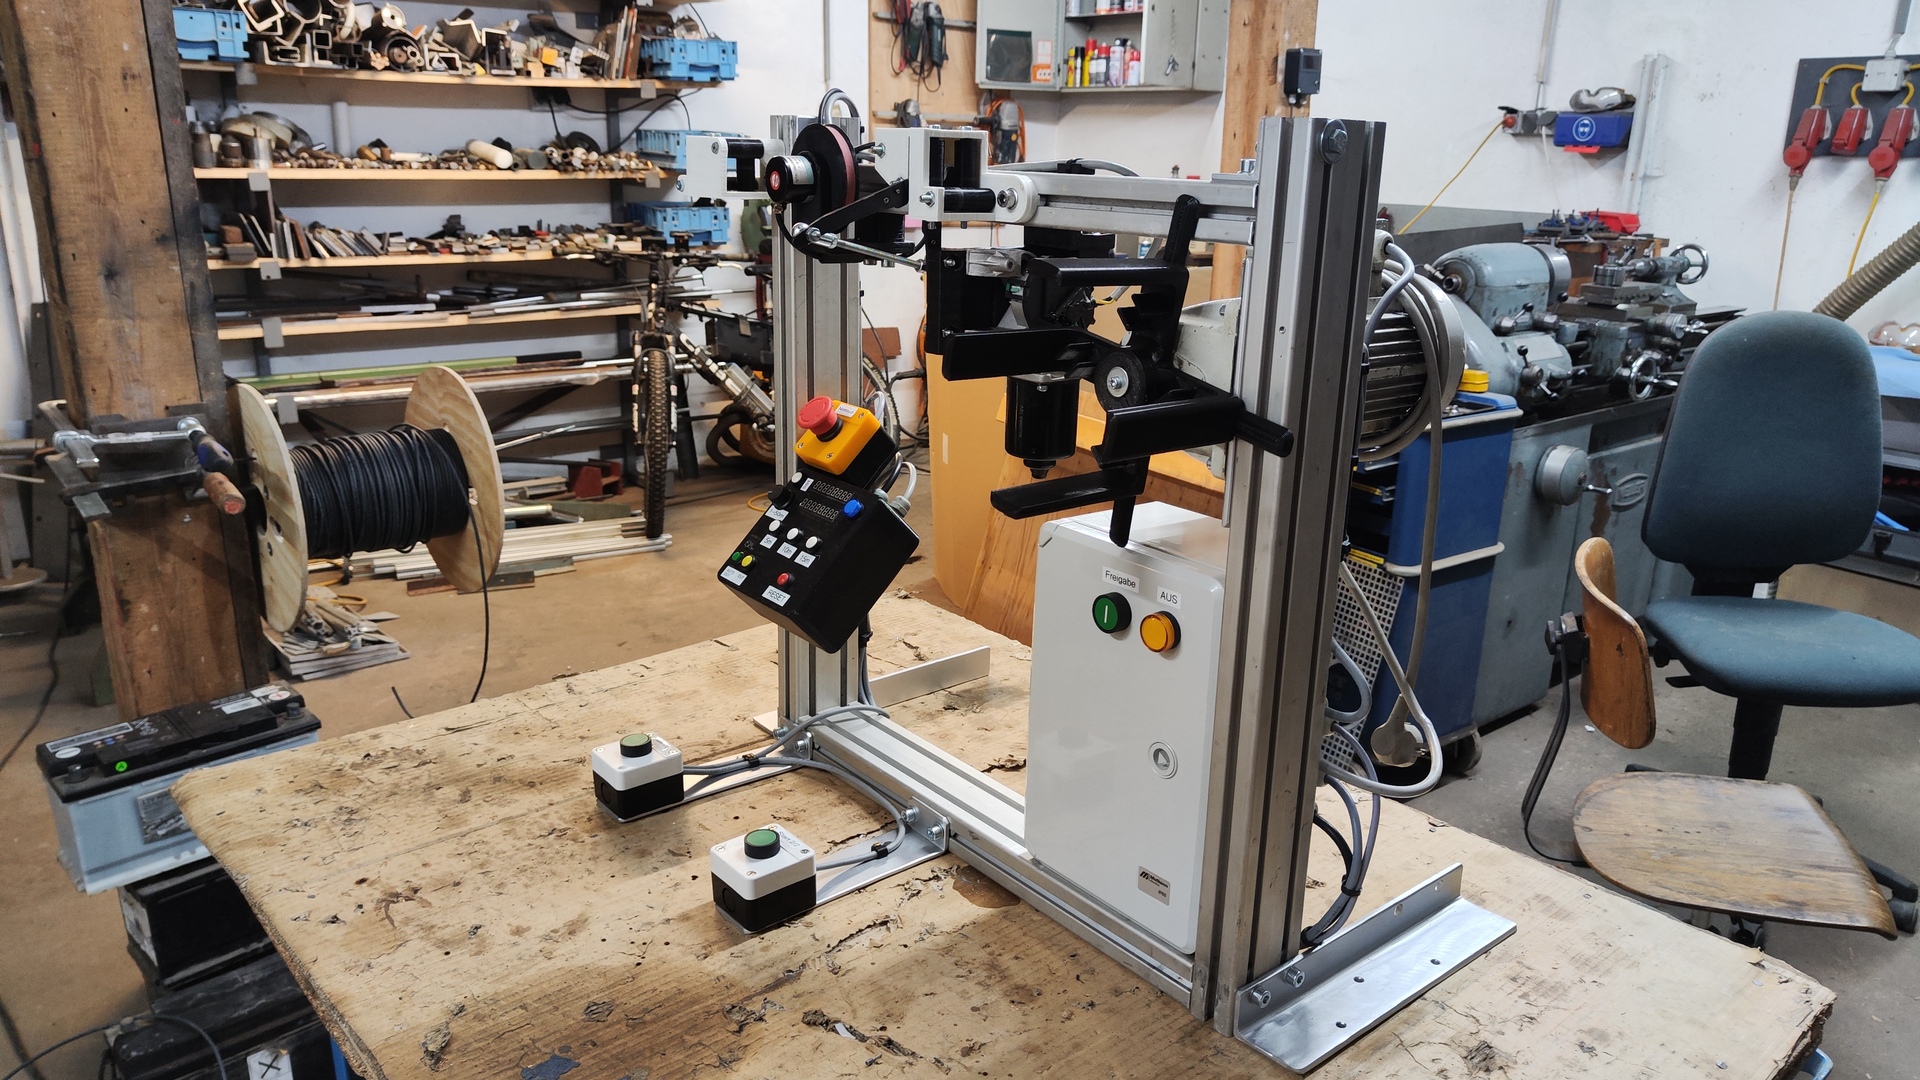
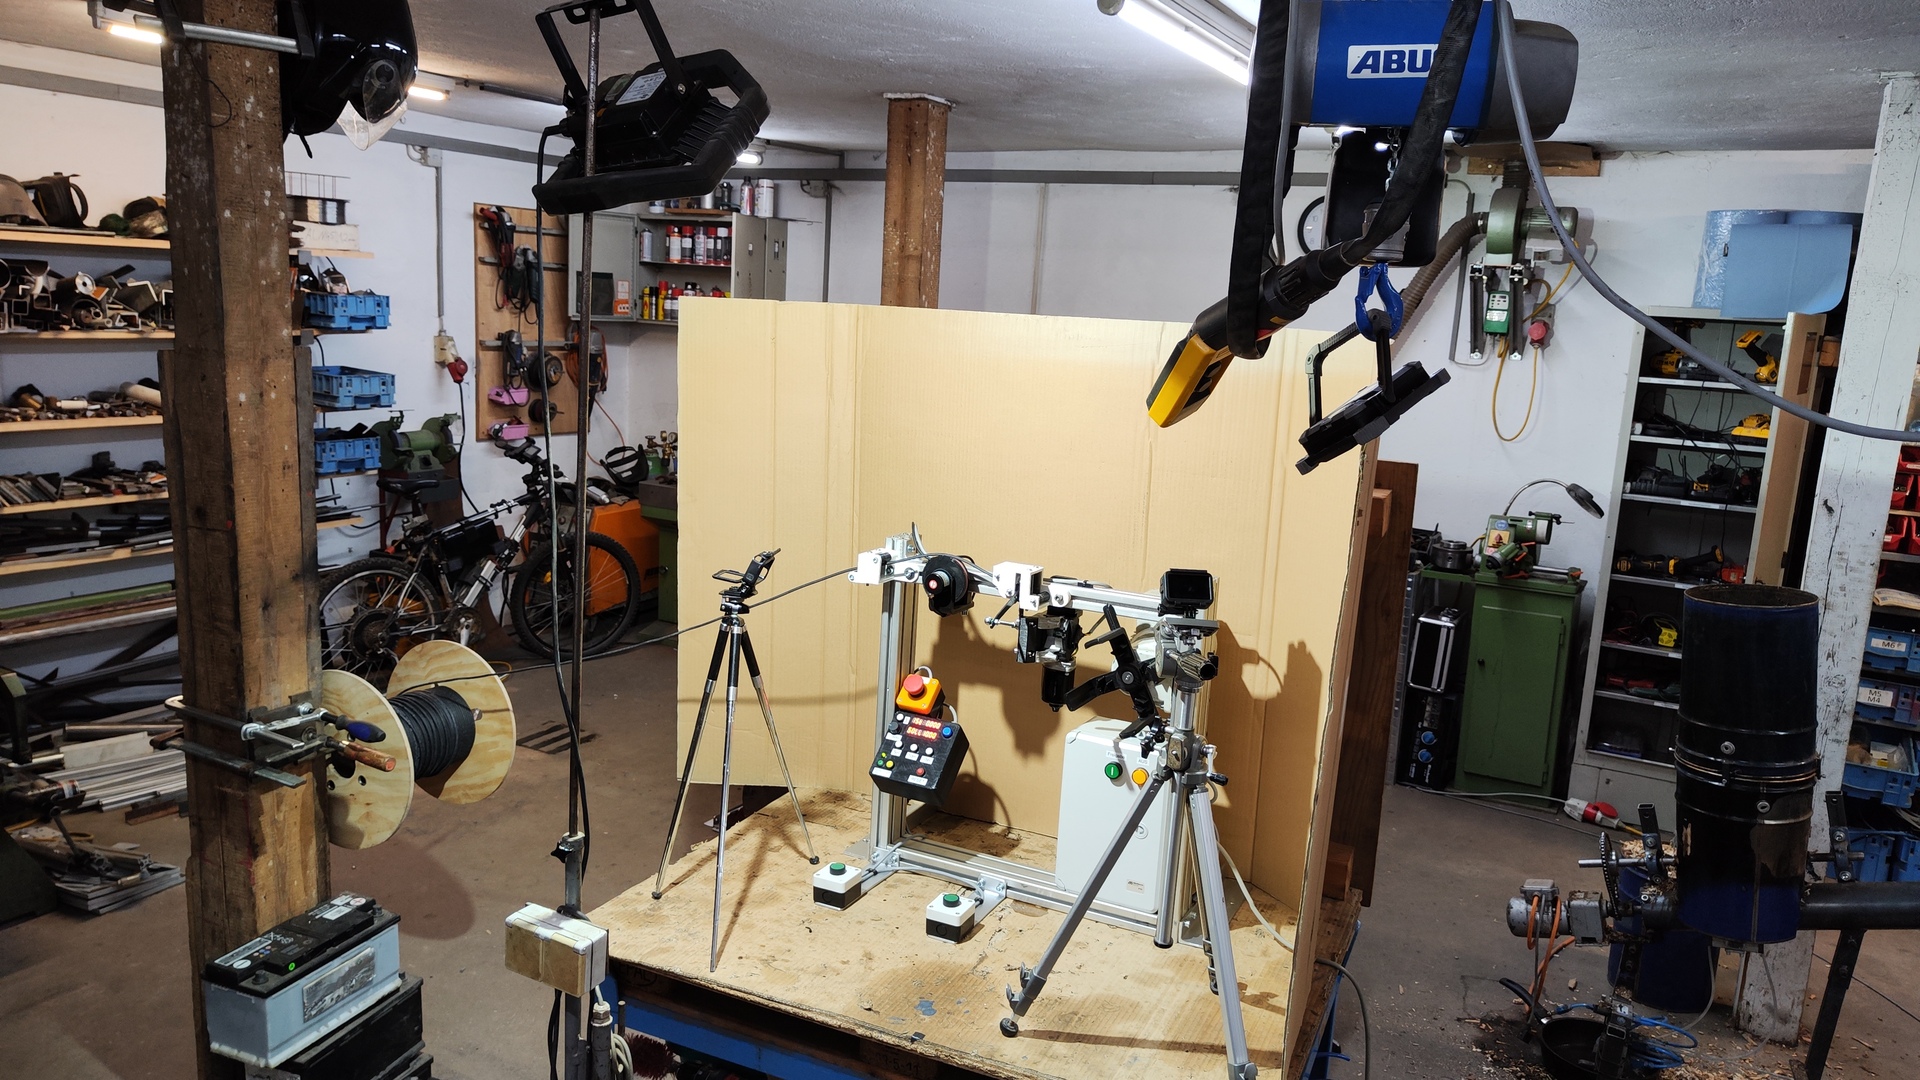
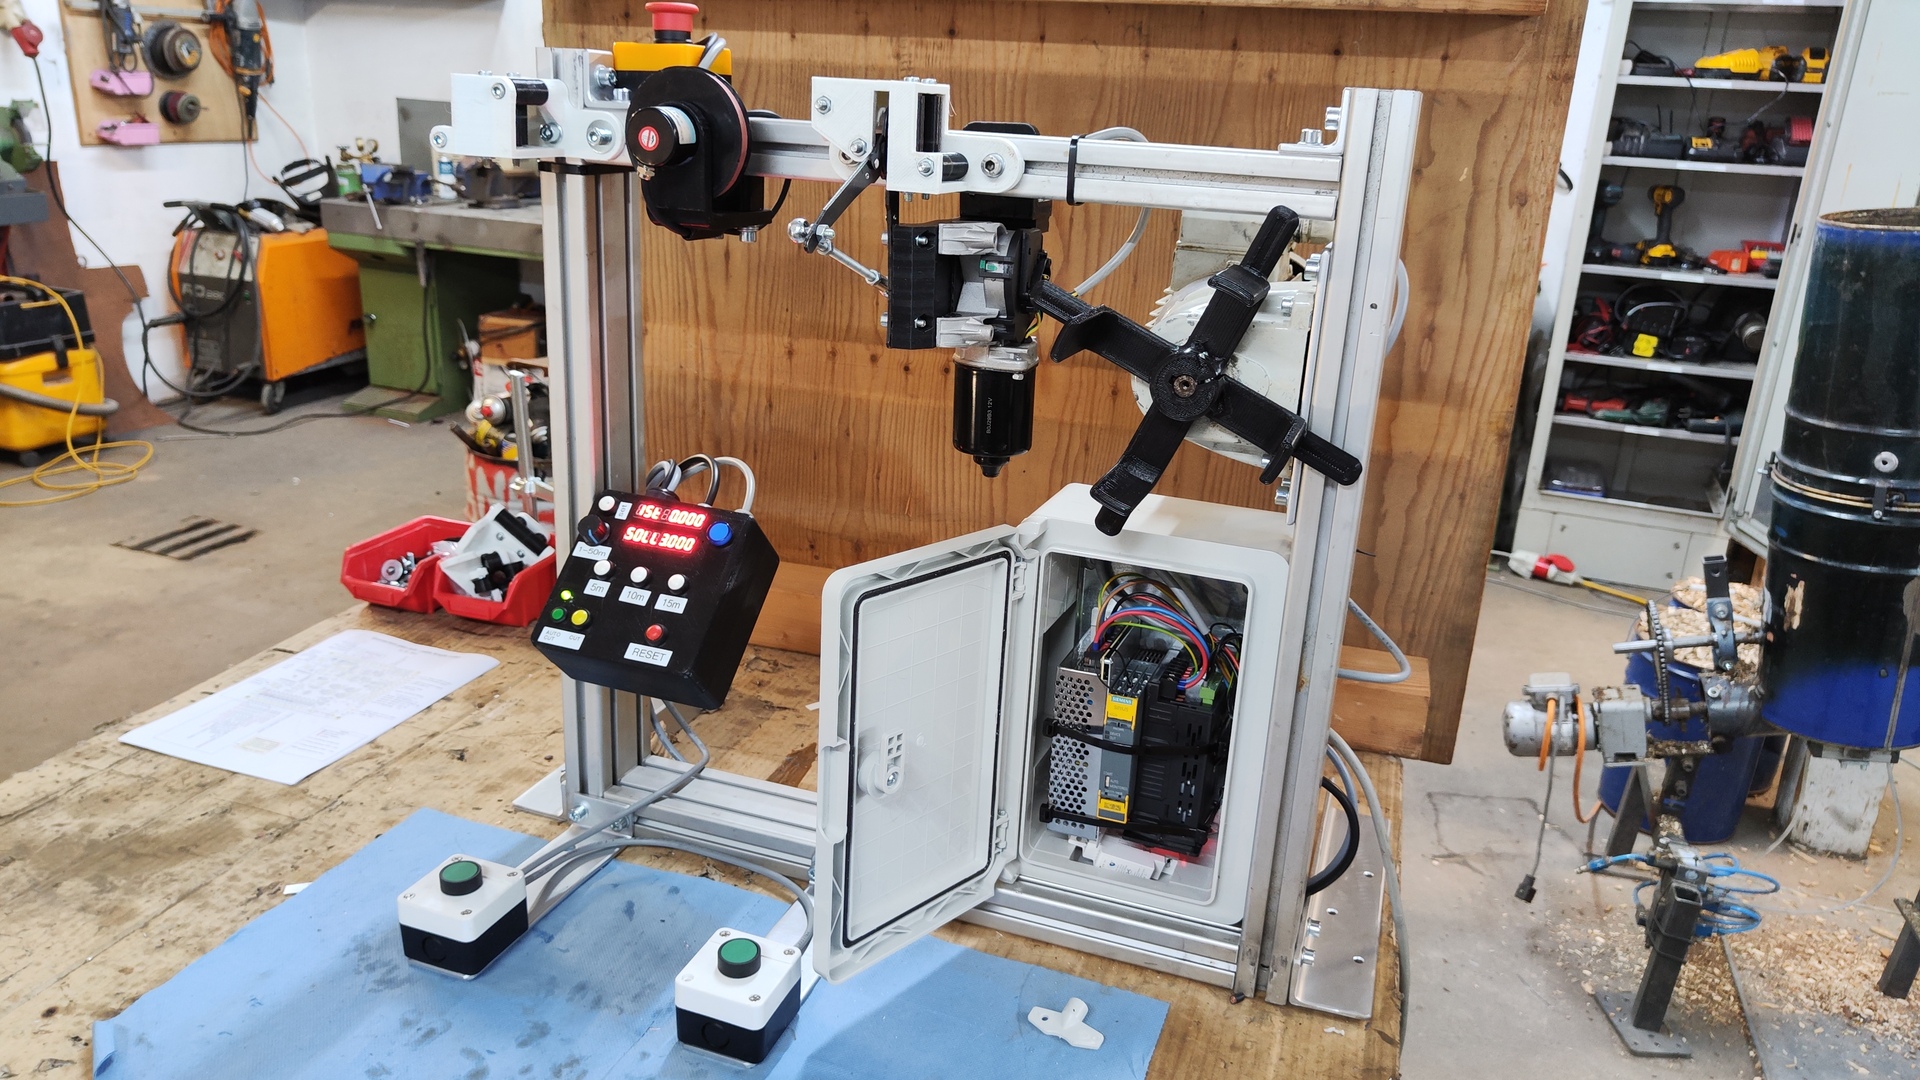
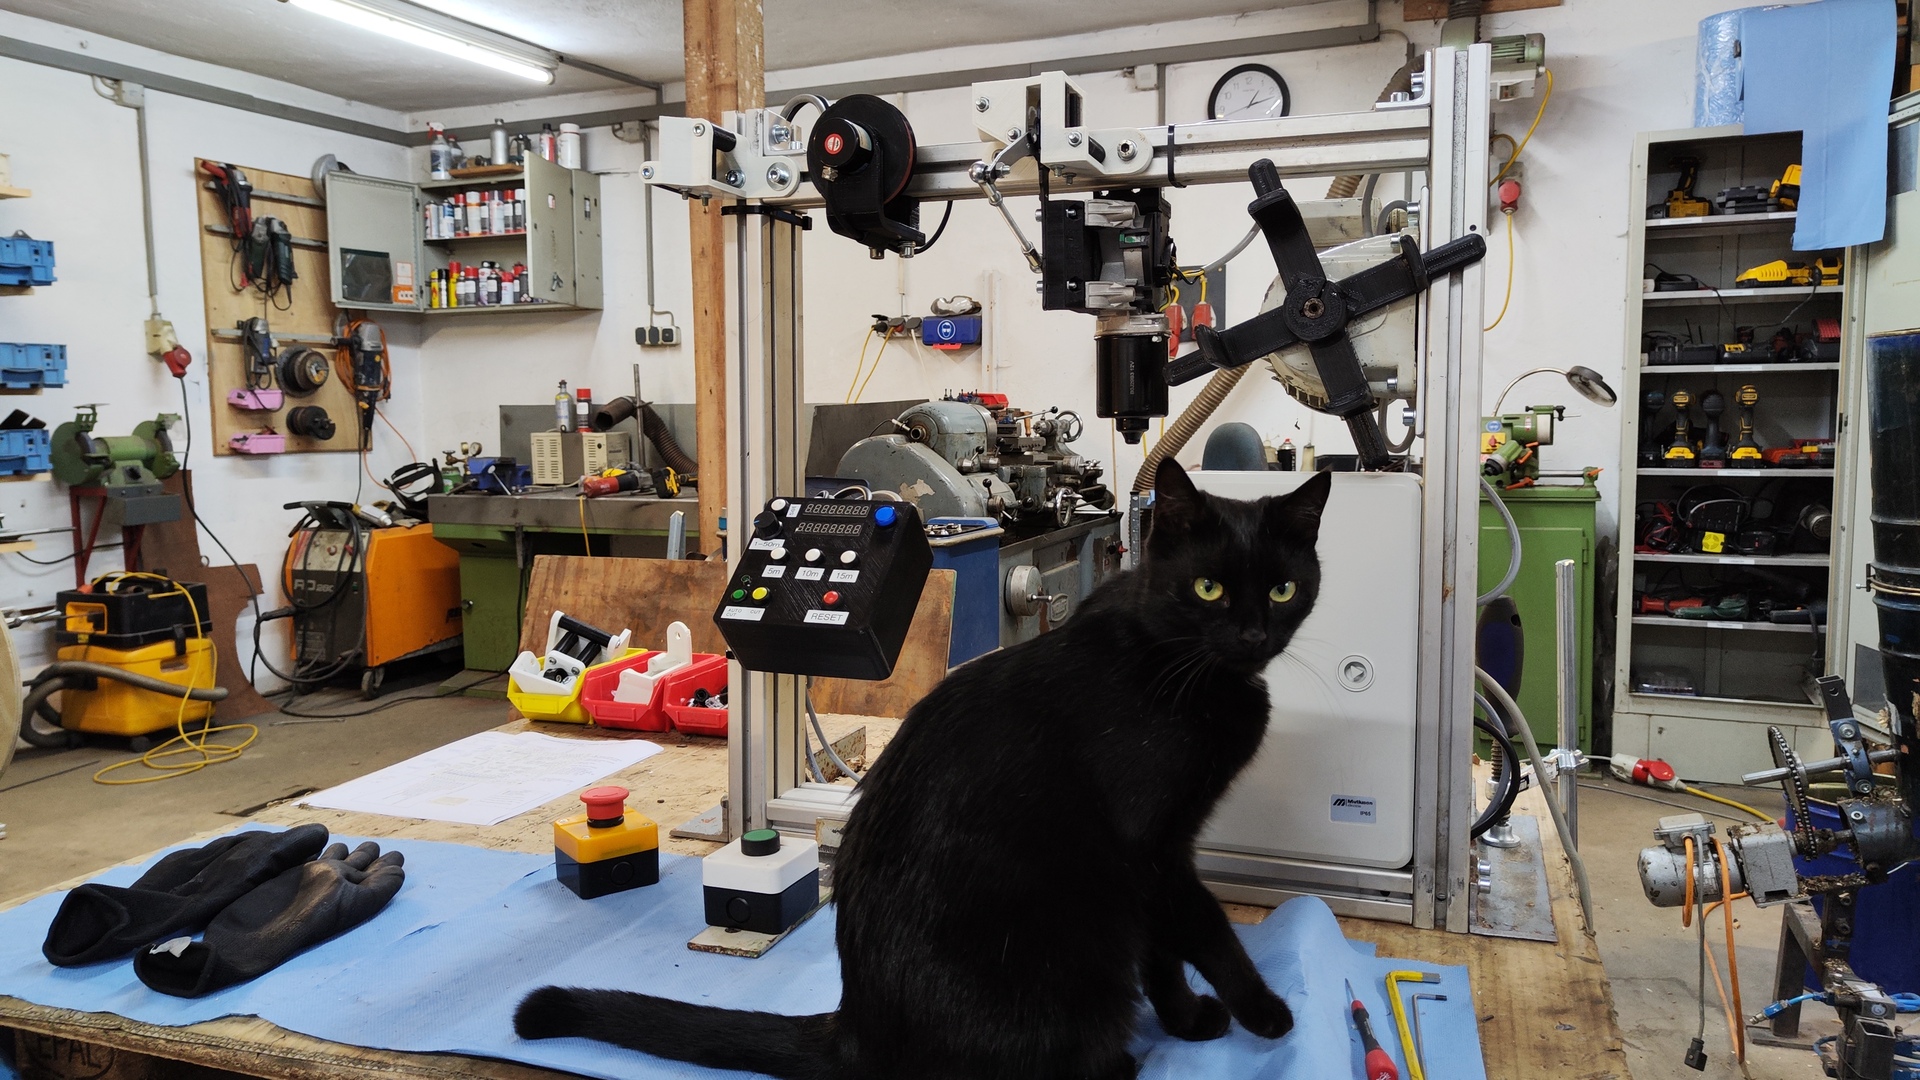
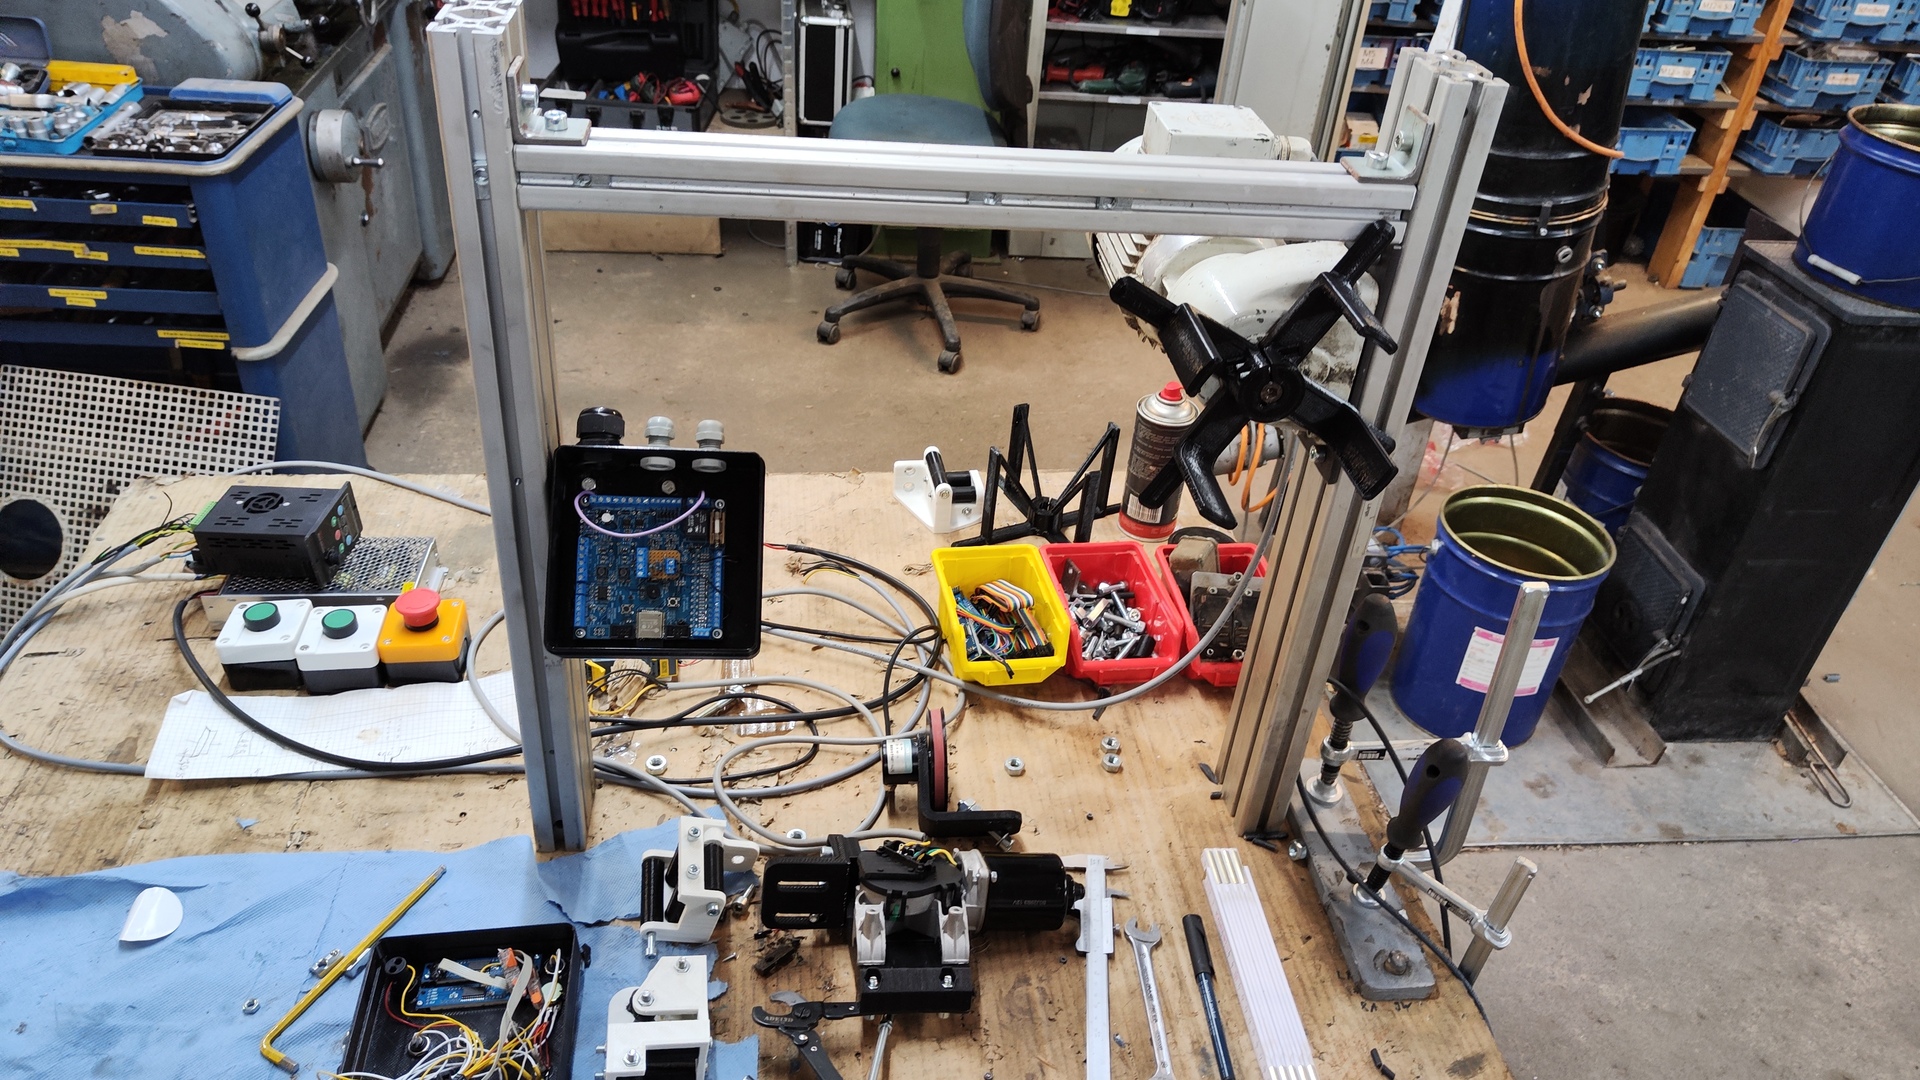
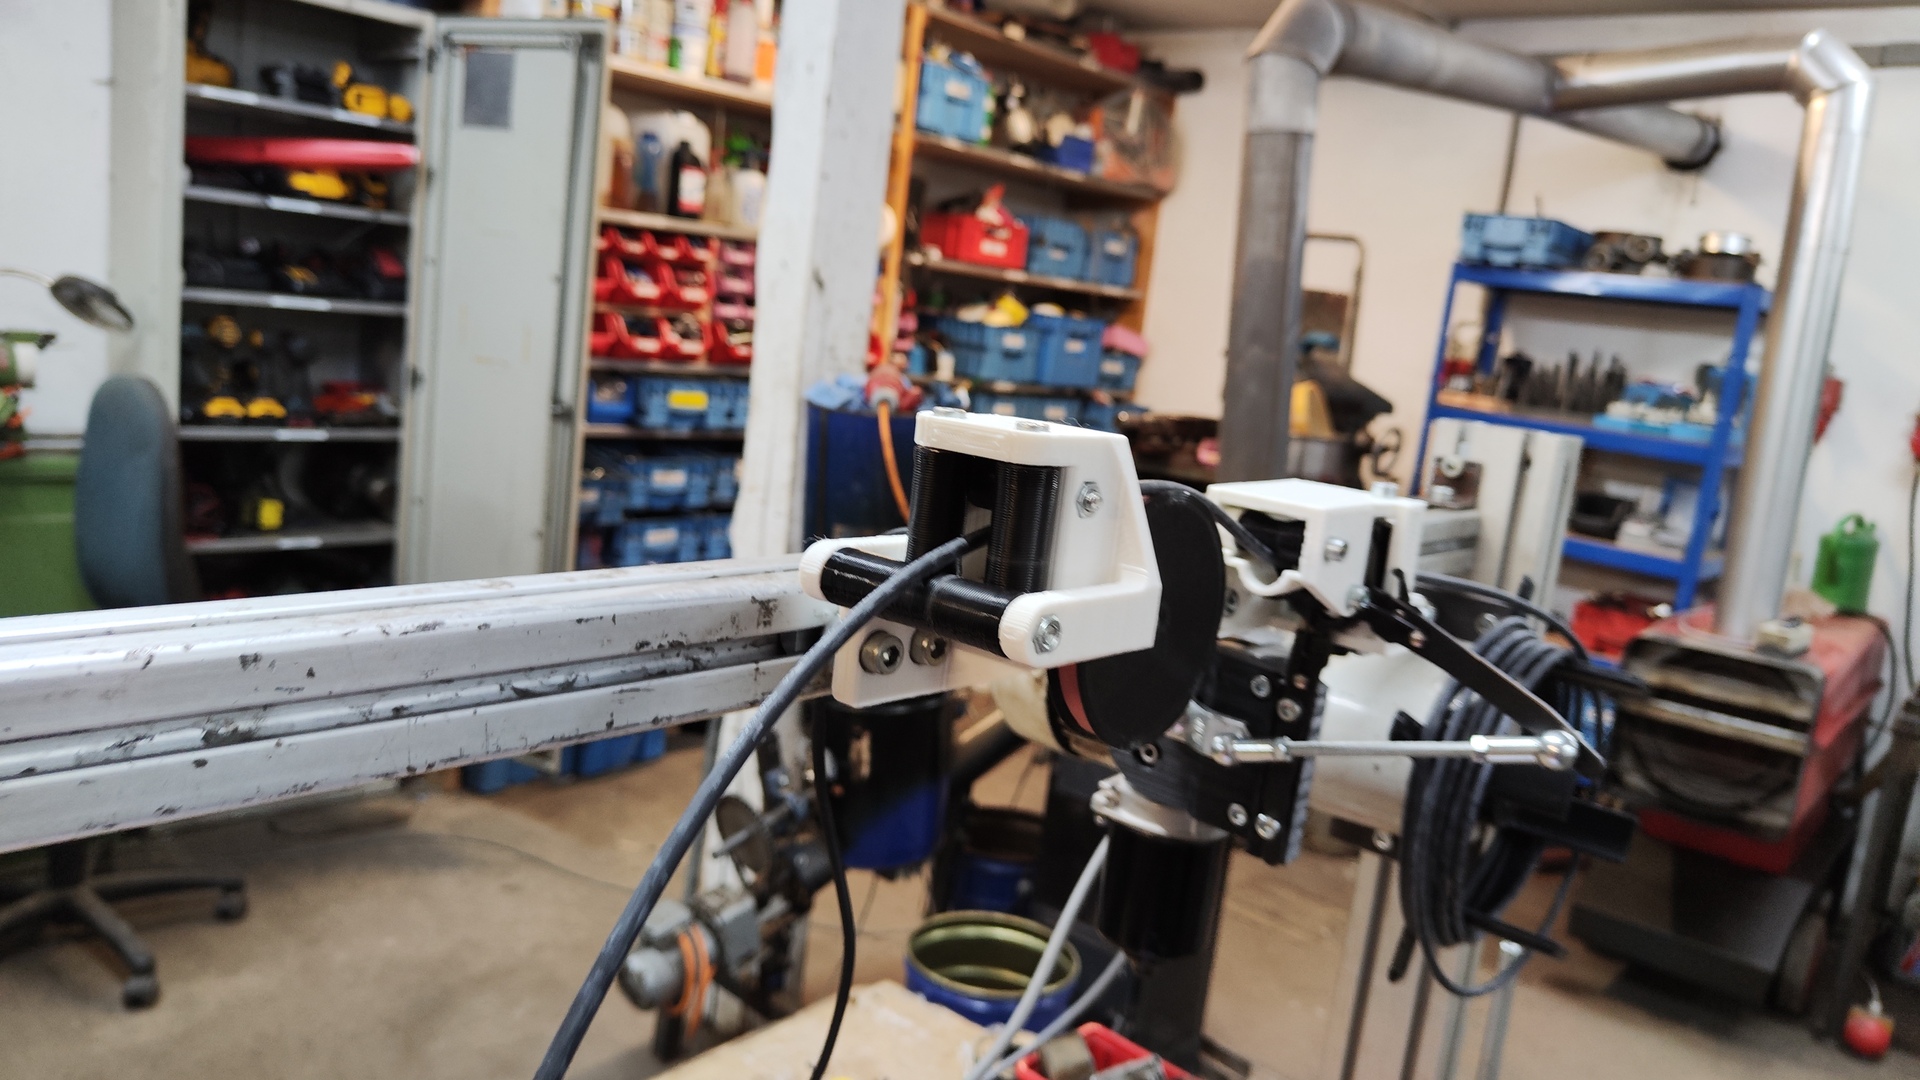
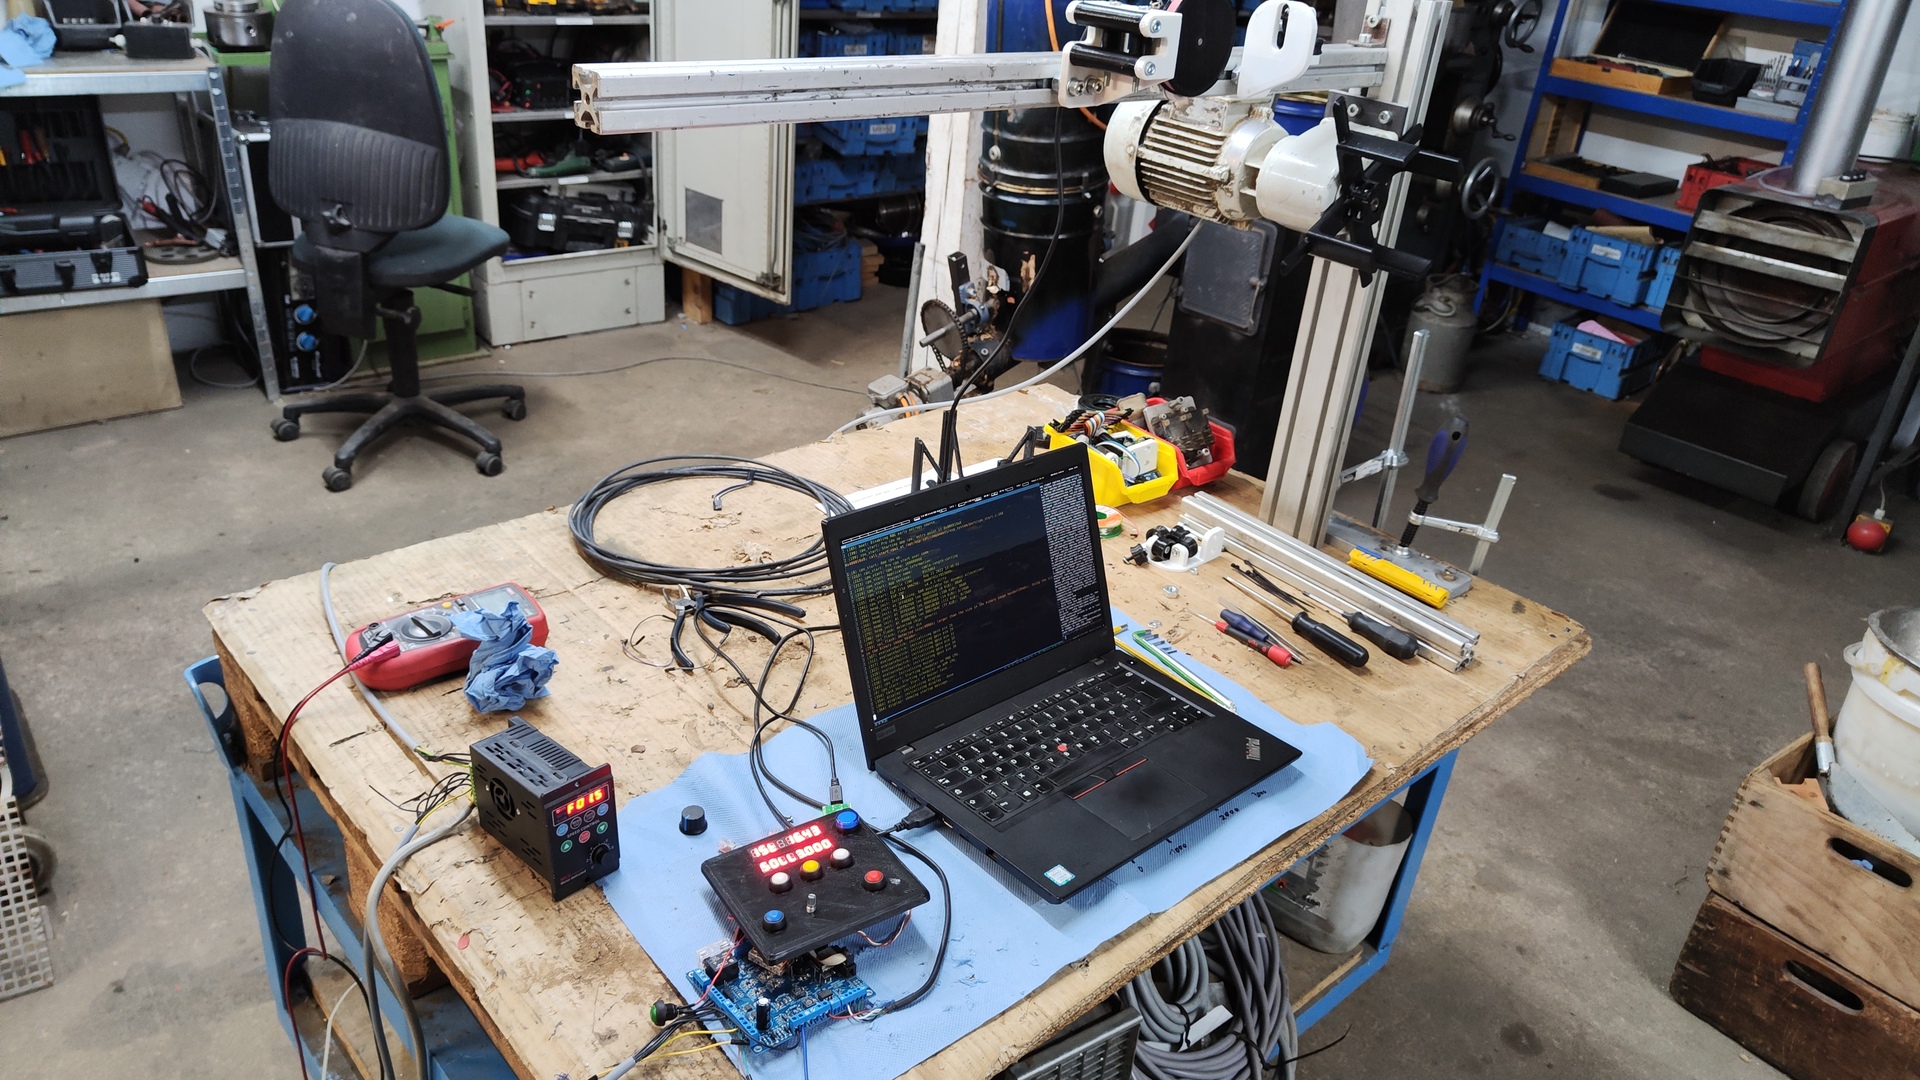
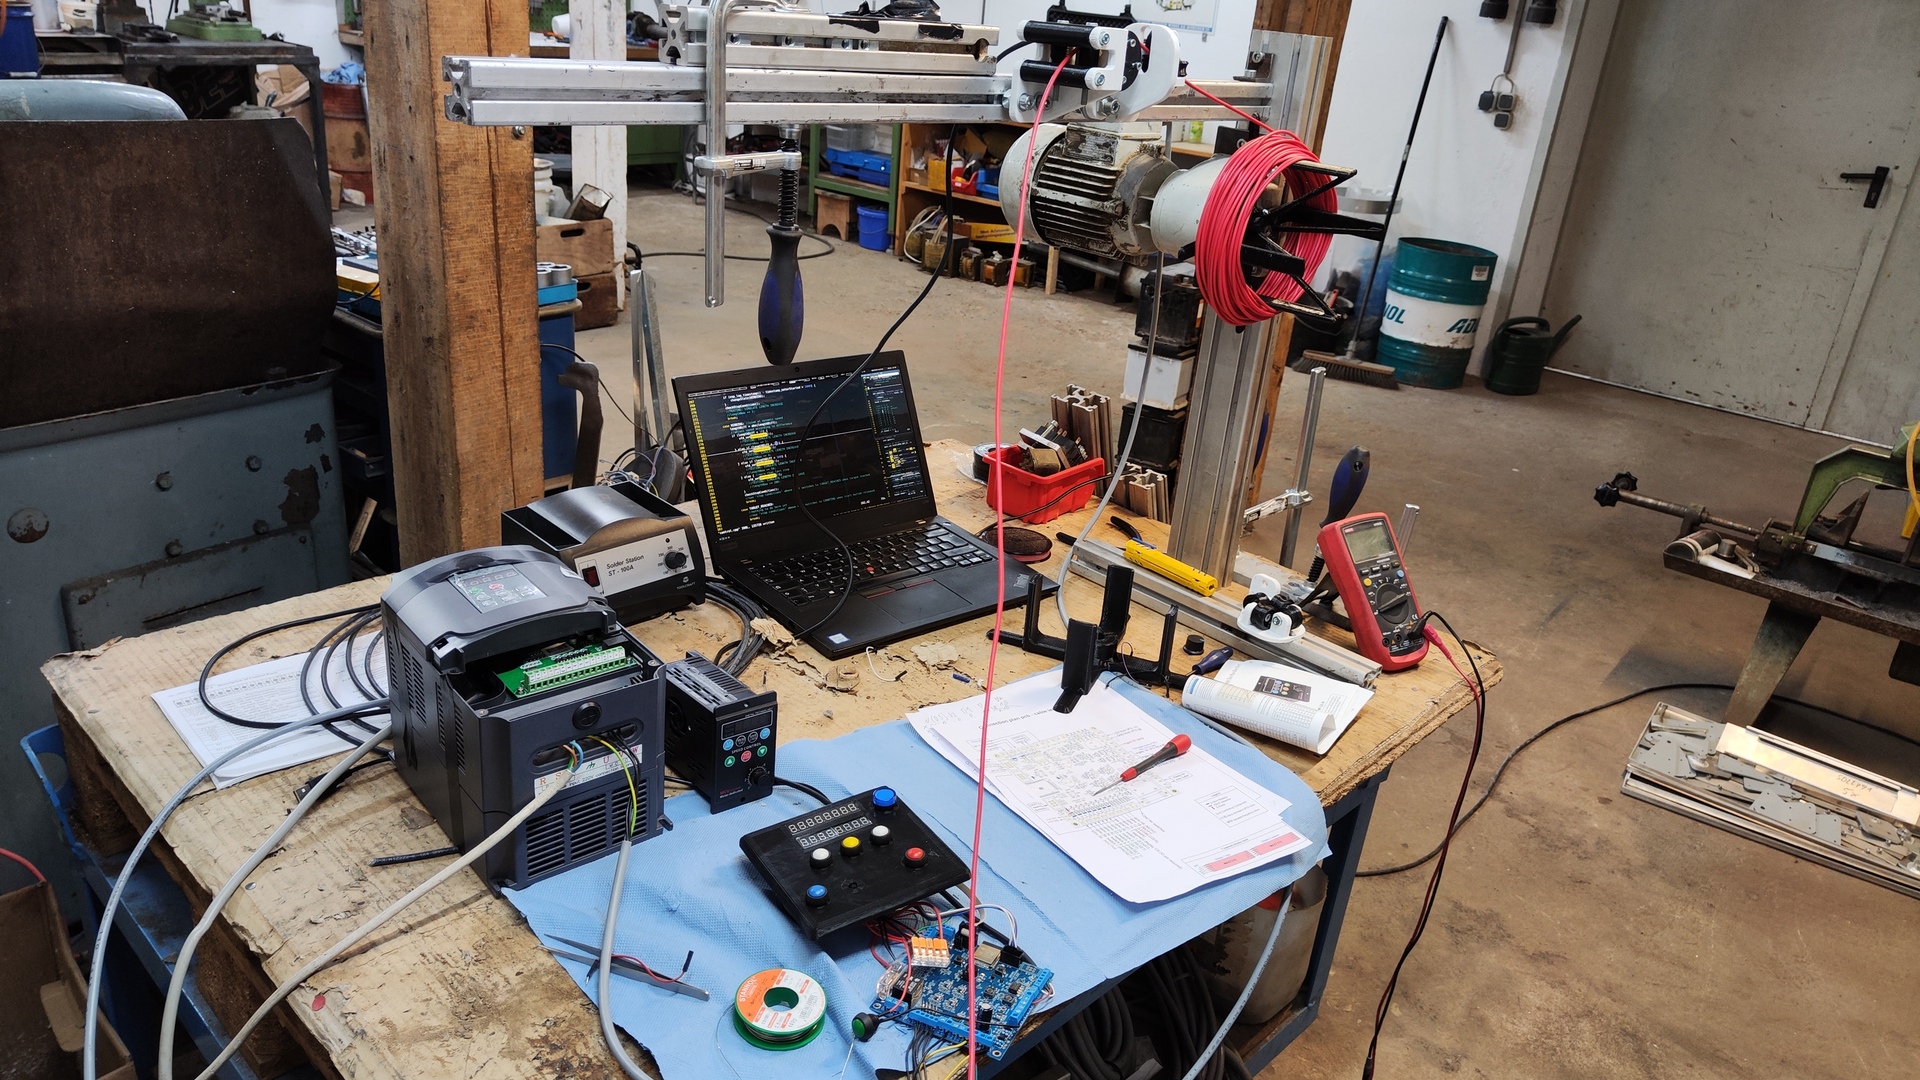
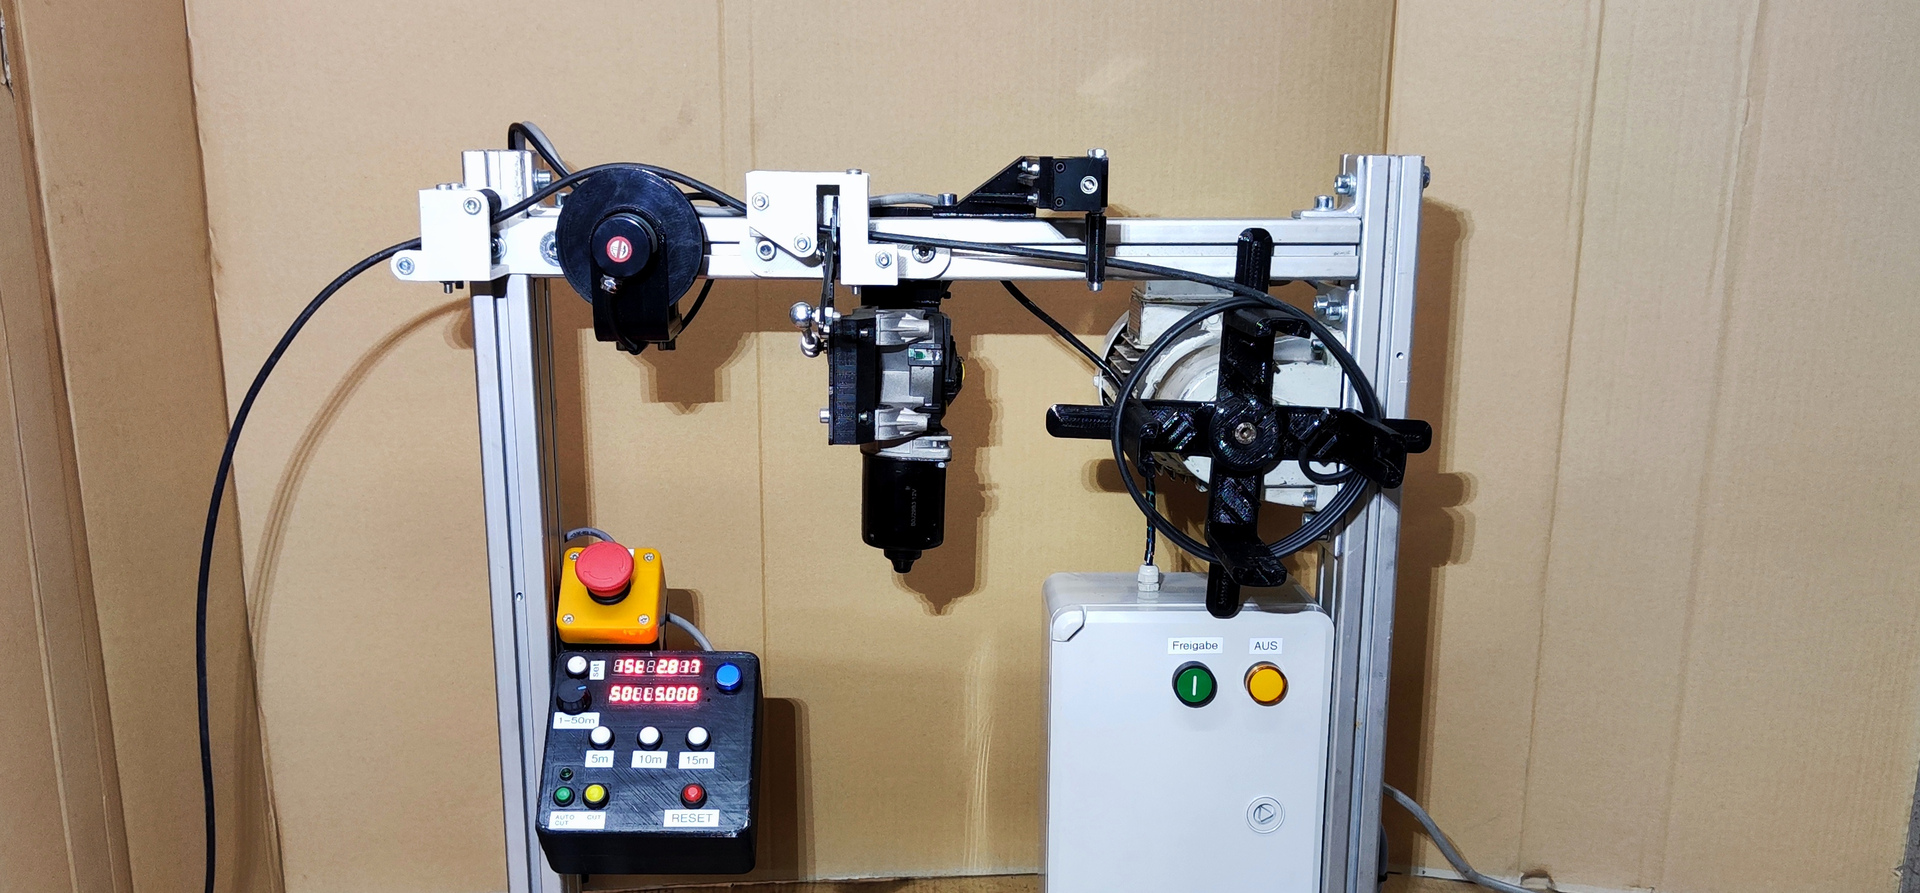
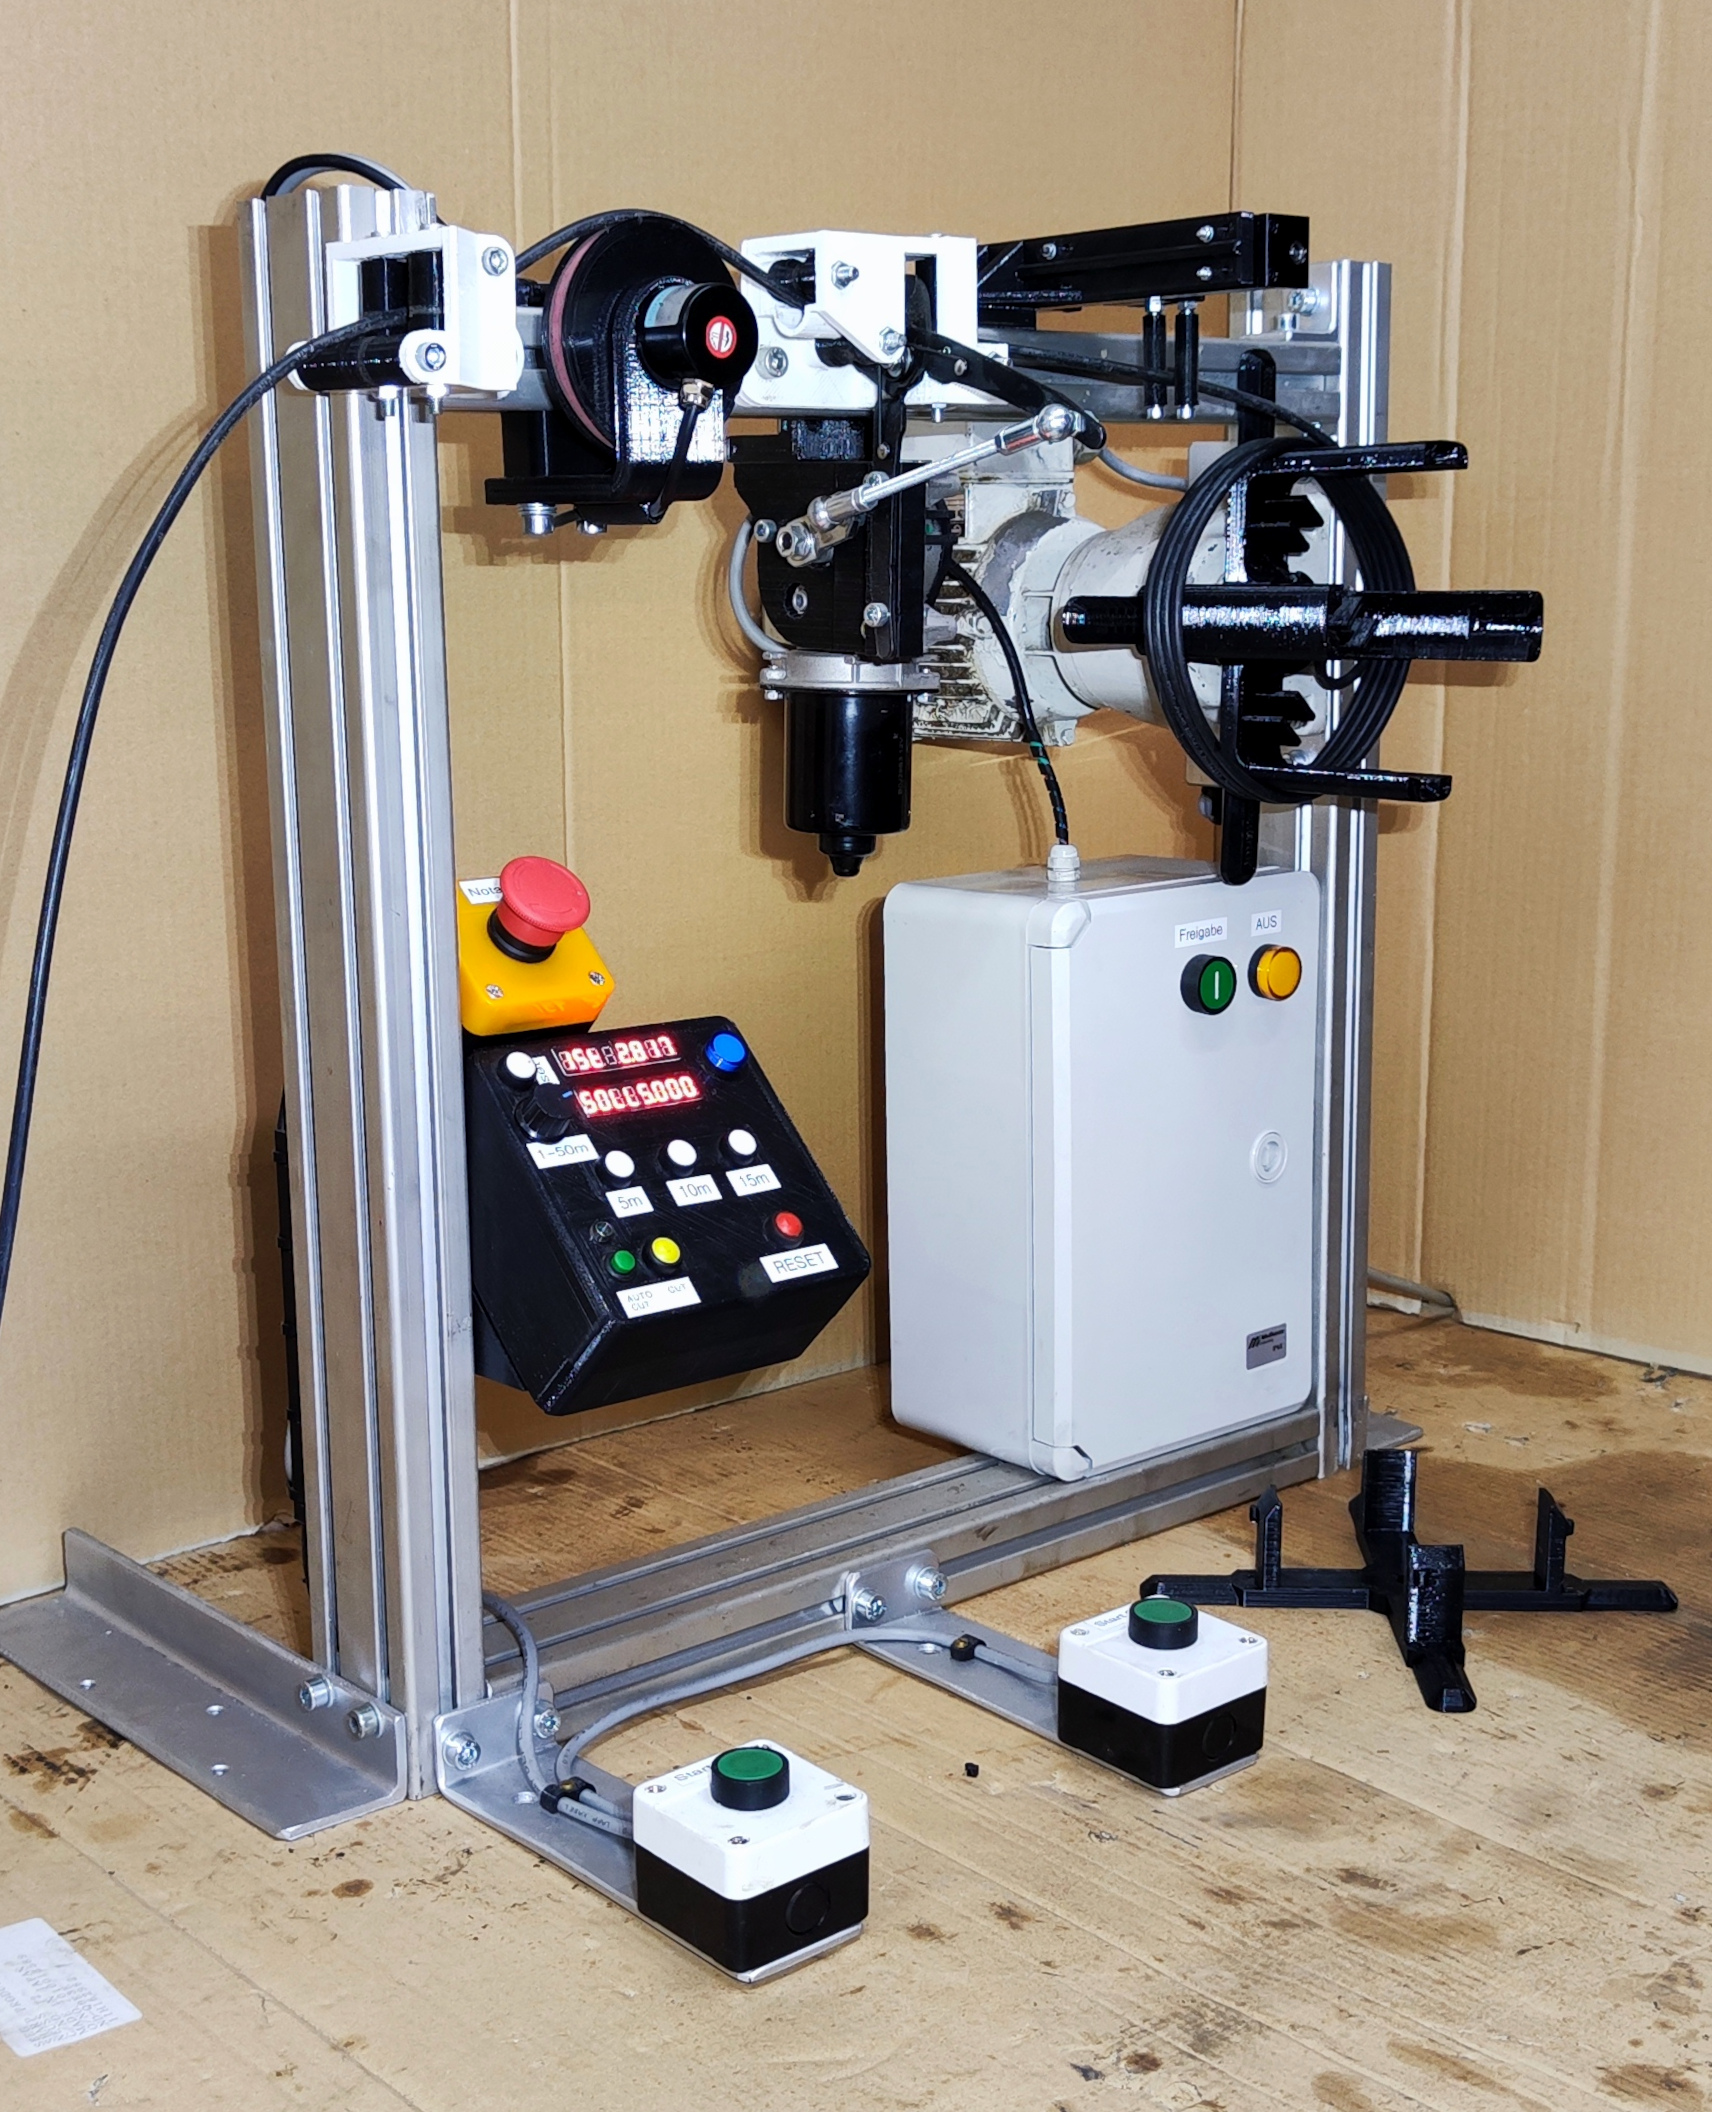 Finished machine
Components
Mechanical
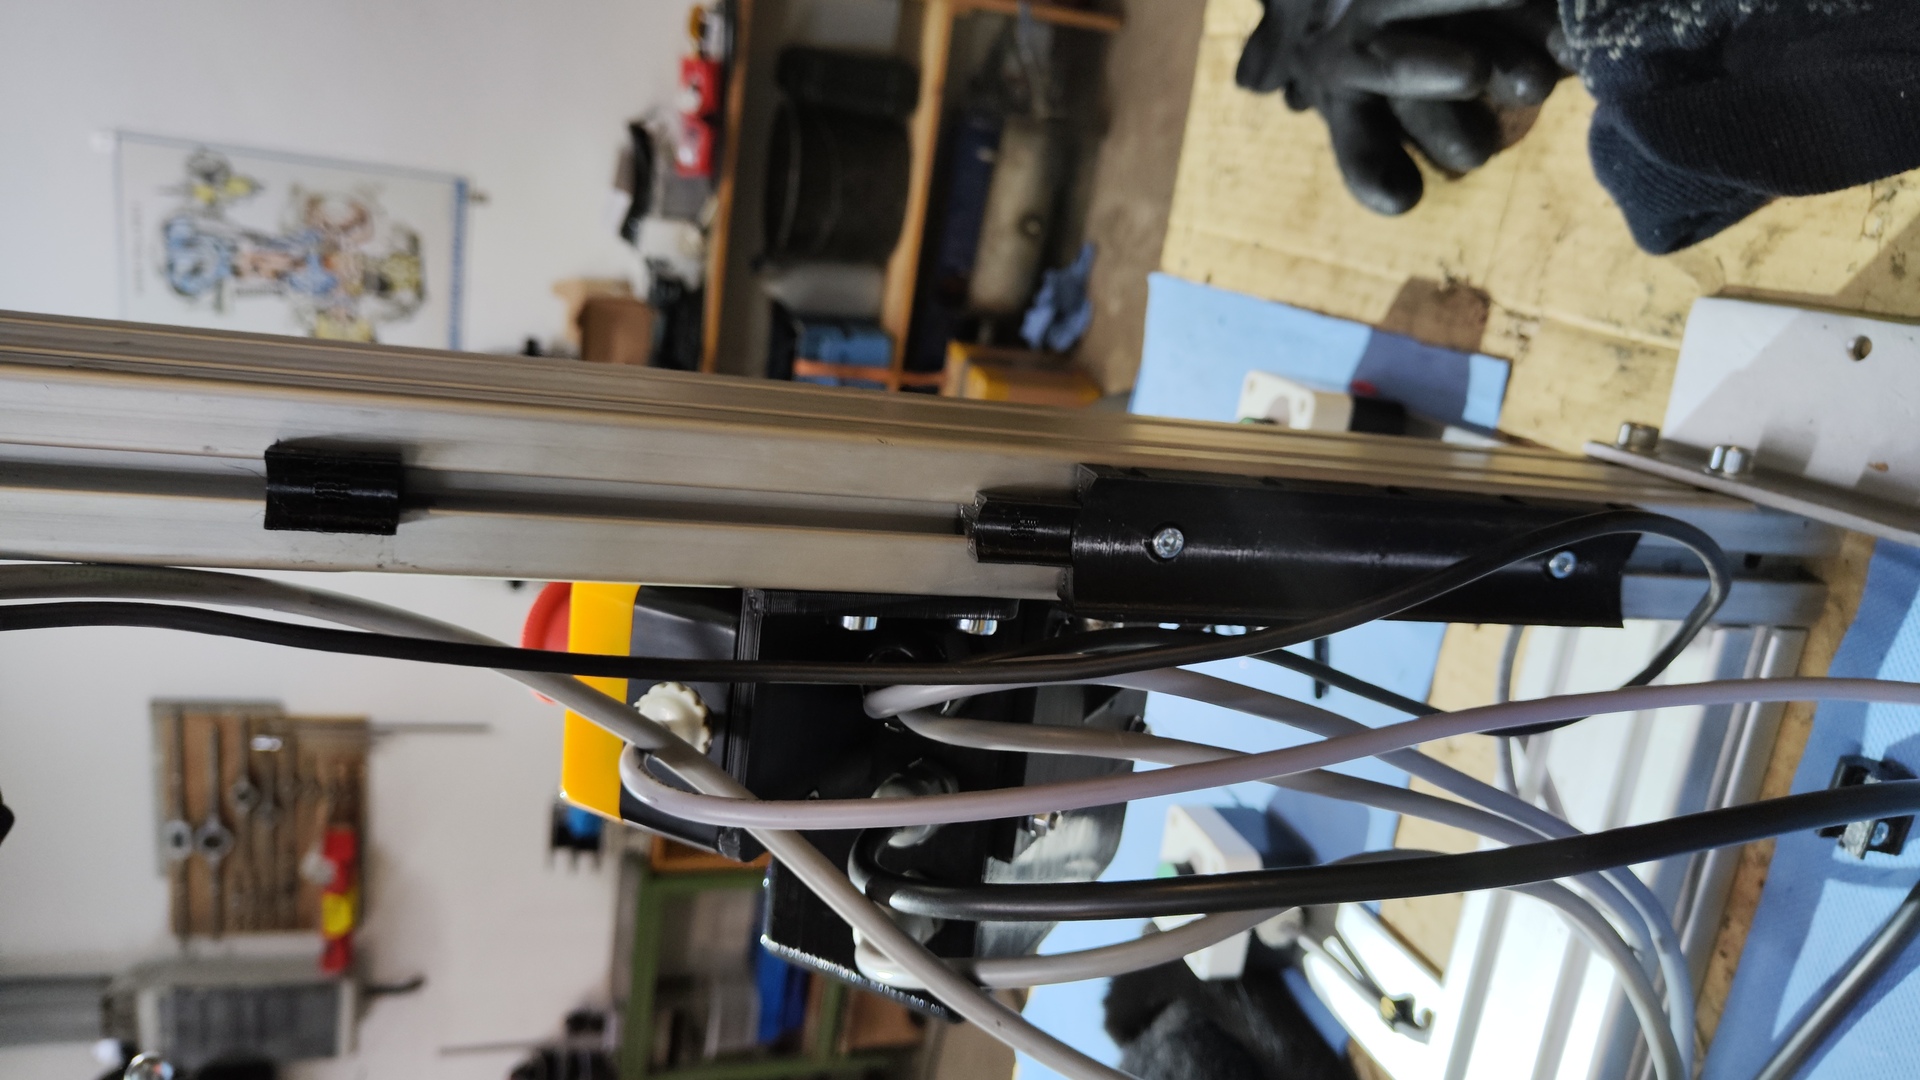
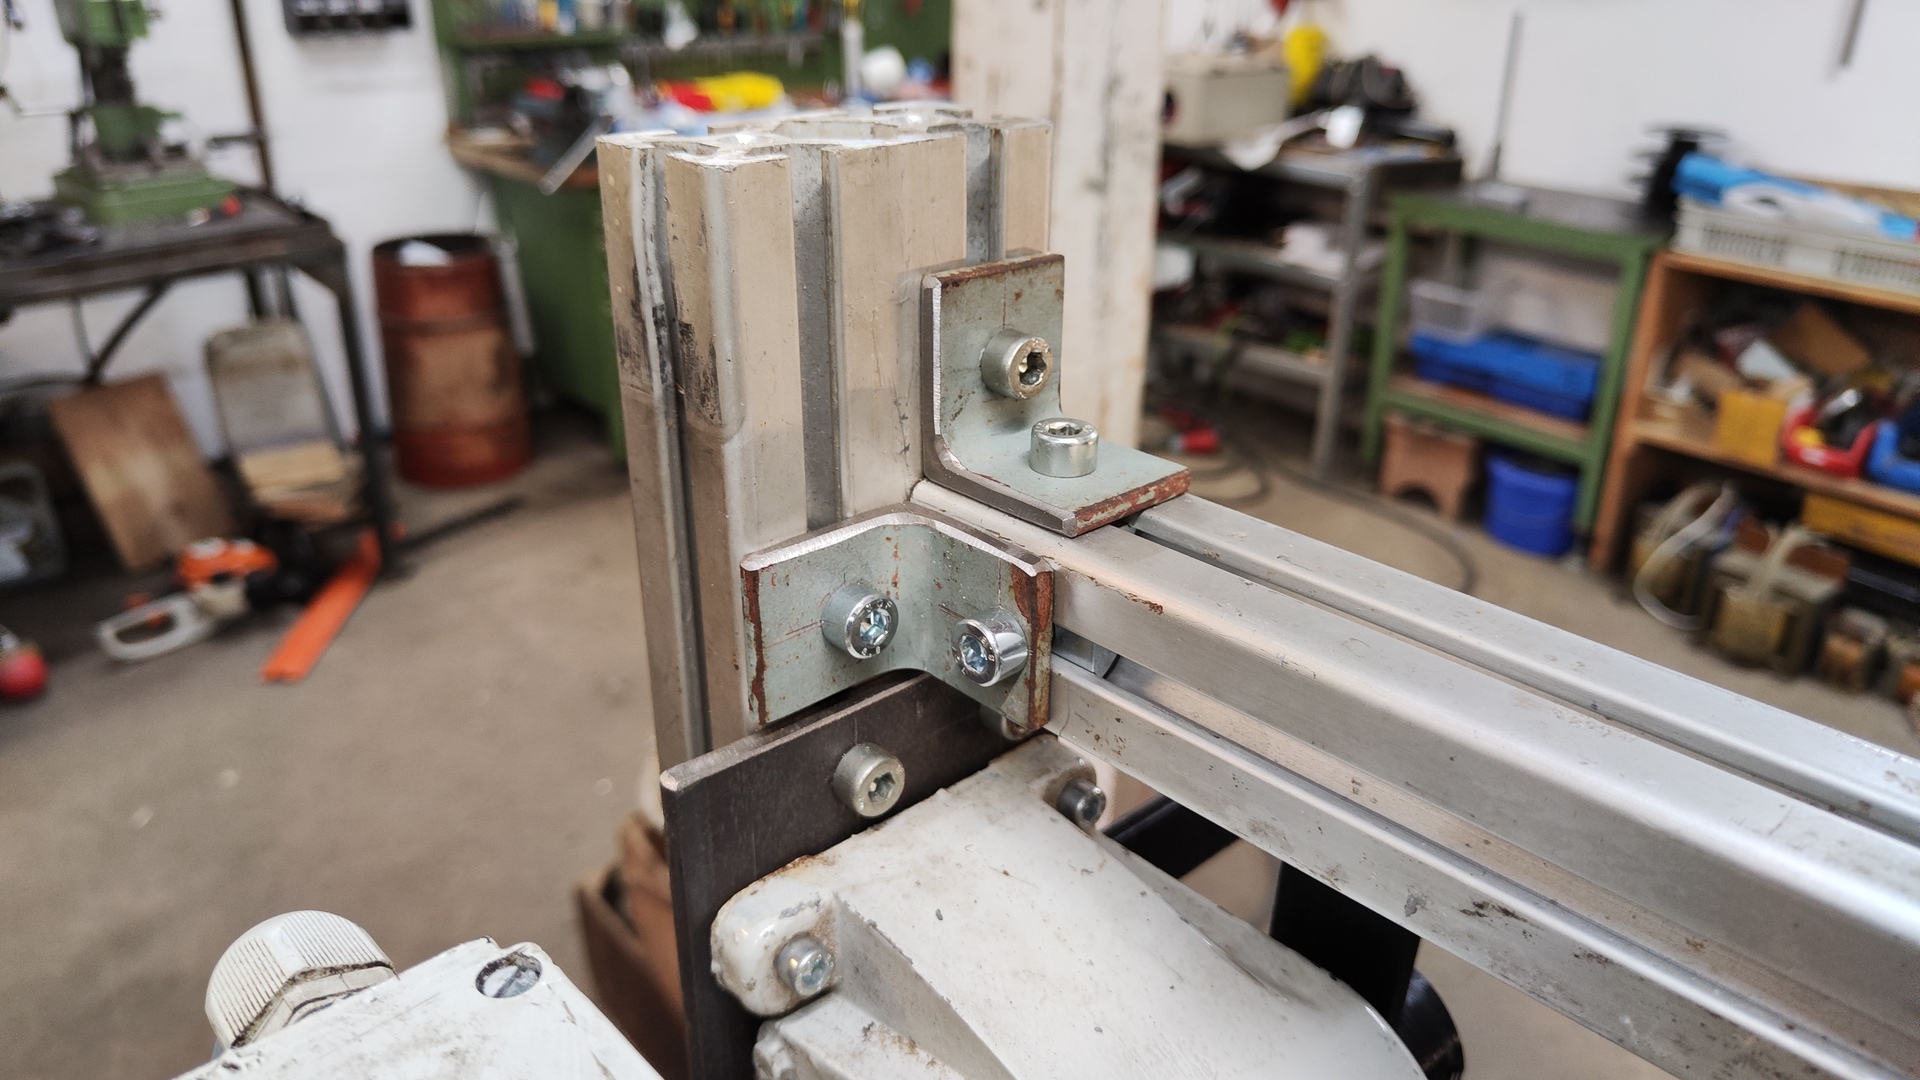
- Frame: 40x80 mm “Item” Aluminium profile
-
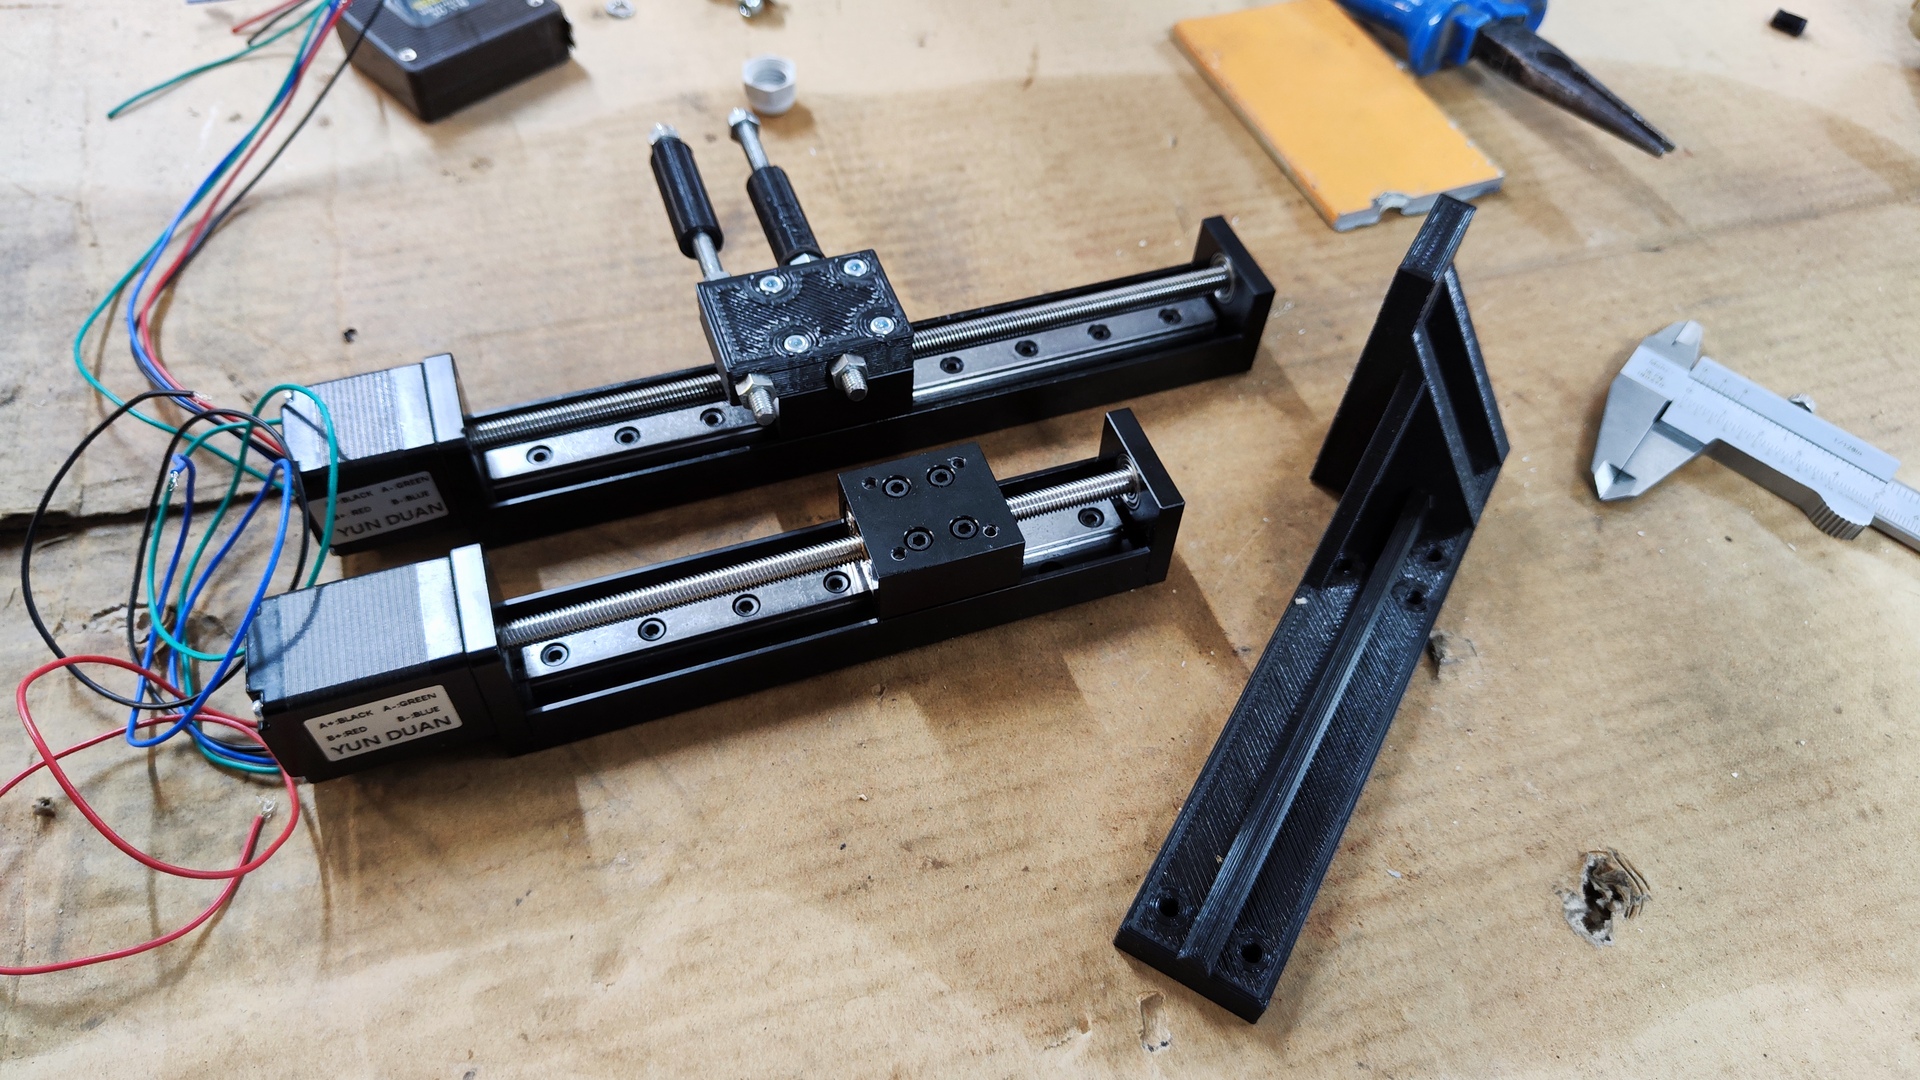
Linear guide:
- Model: T06
- Travel: 100 mm
- Pitch: 4 mm
-
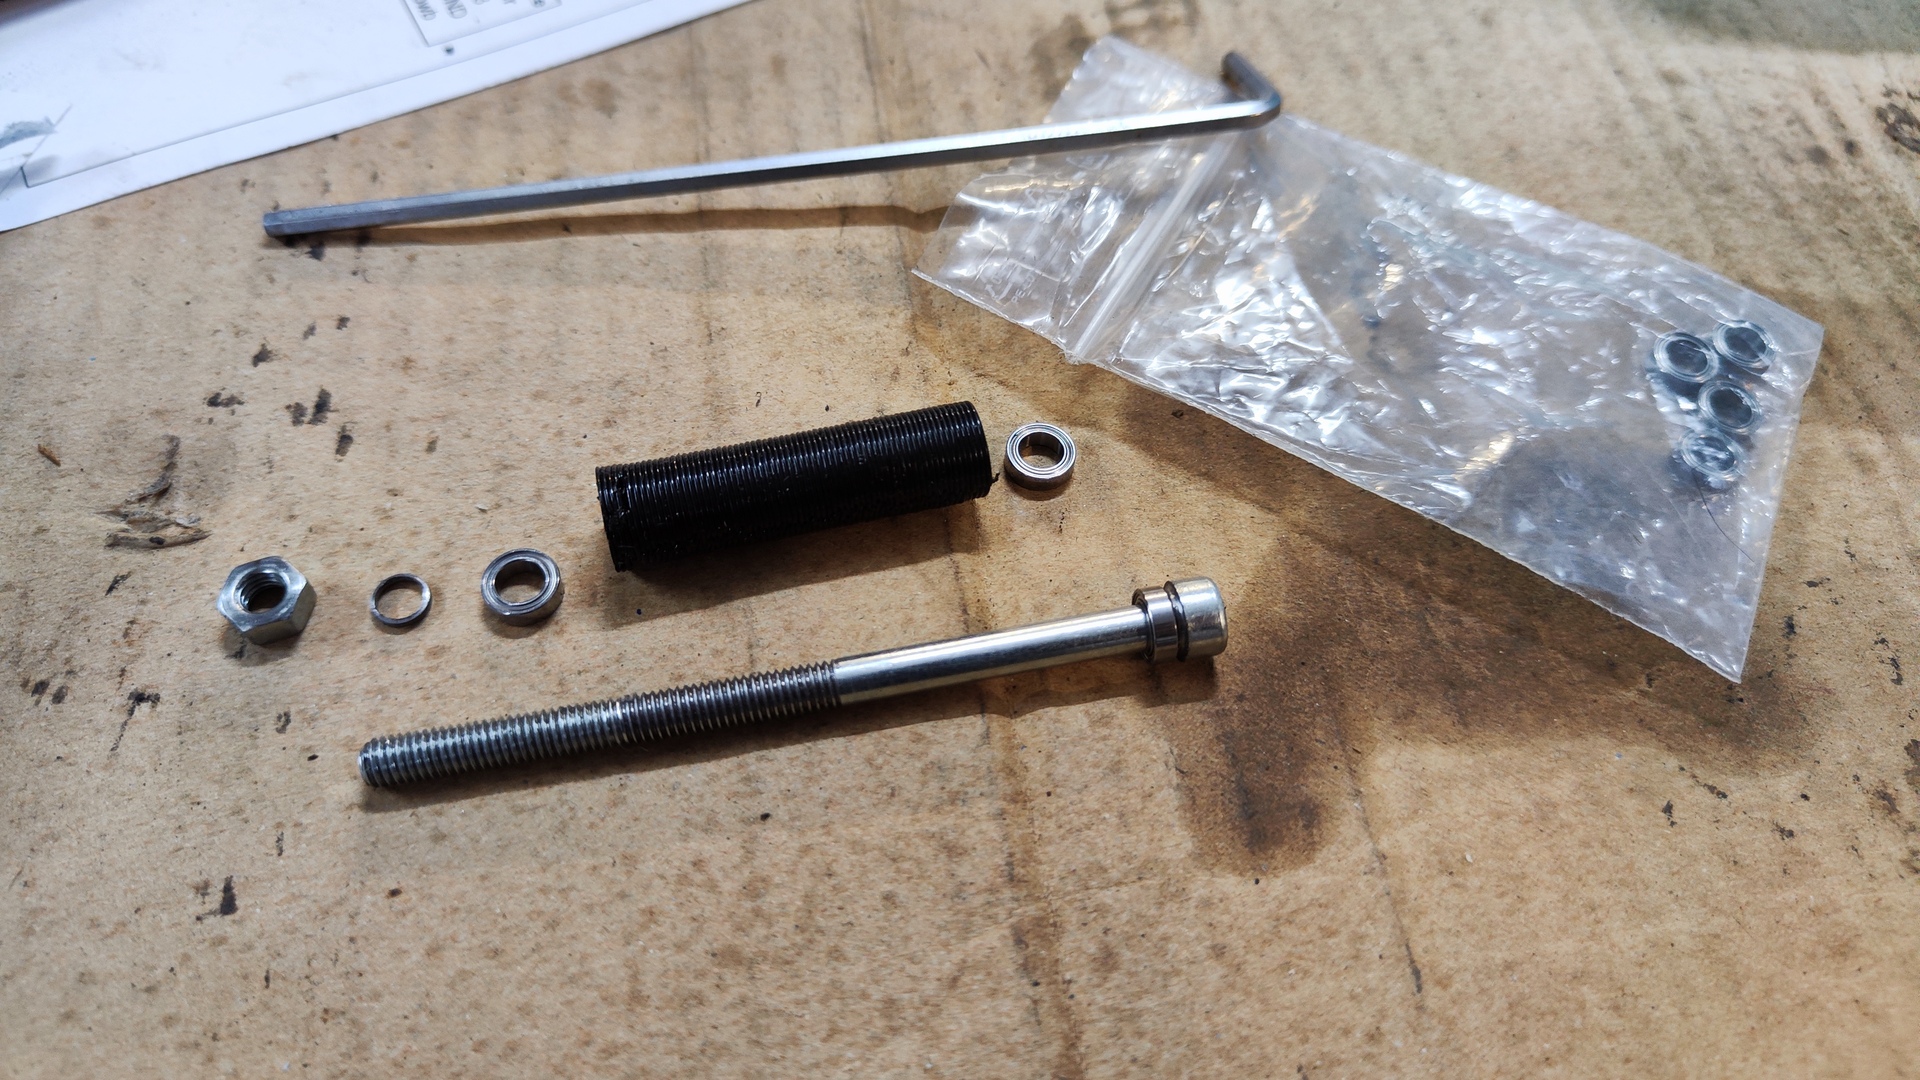
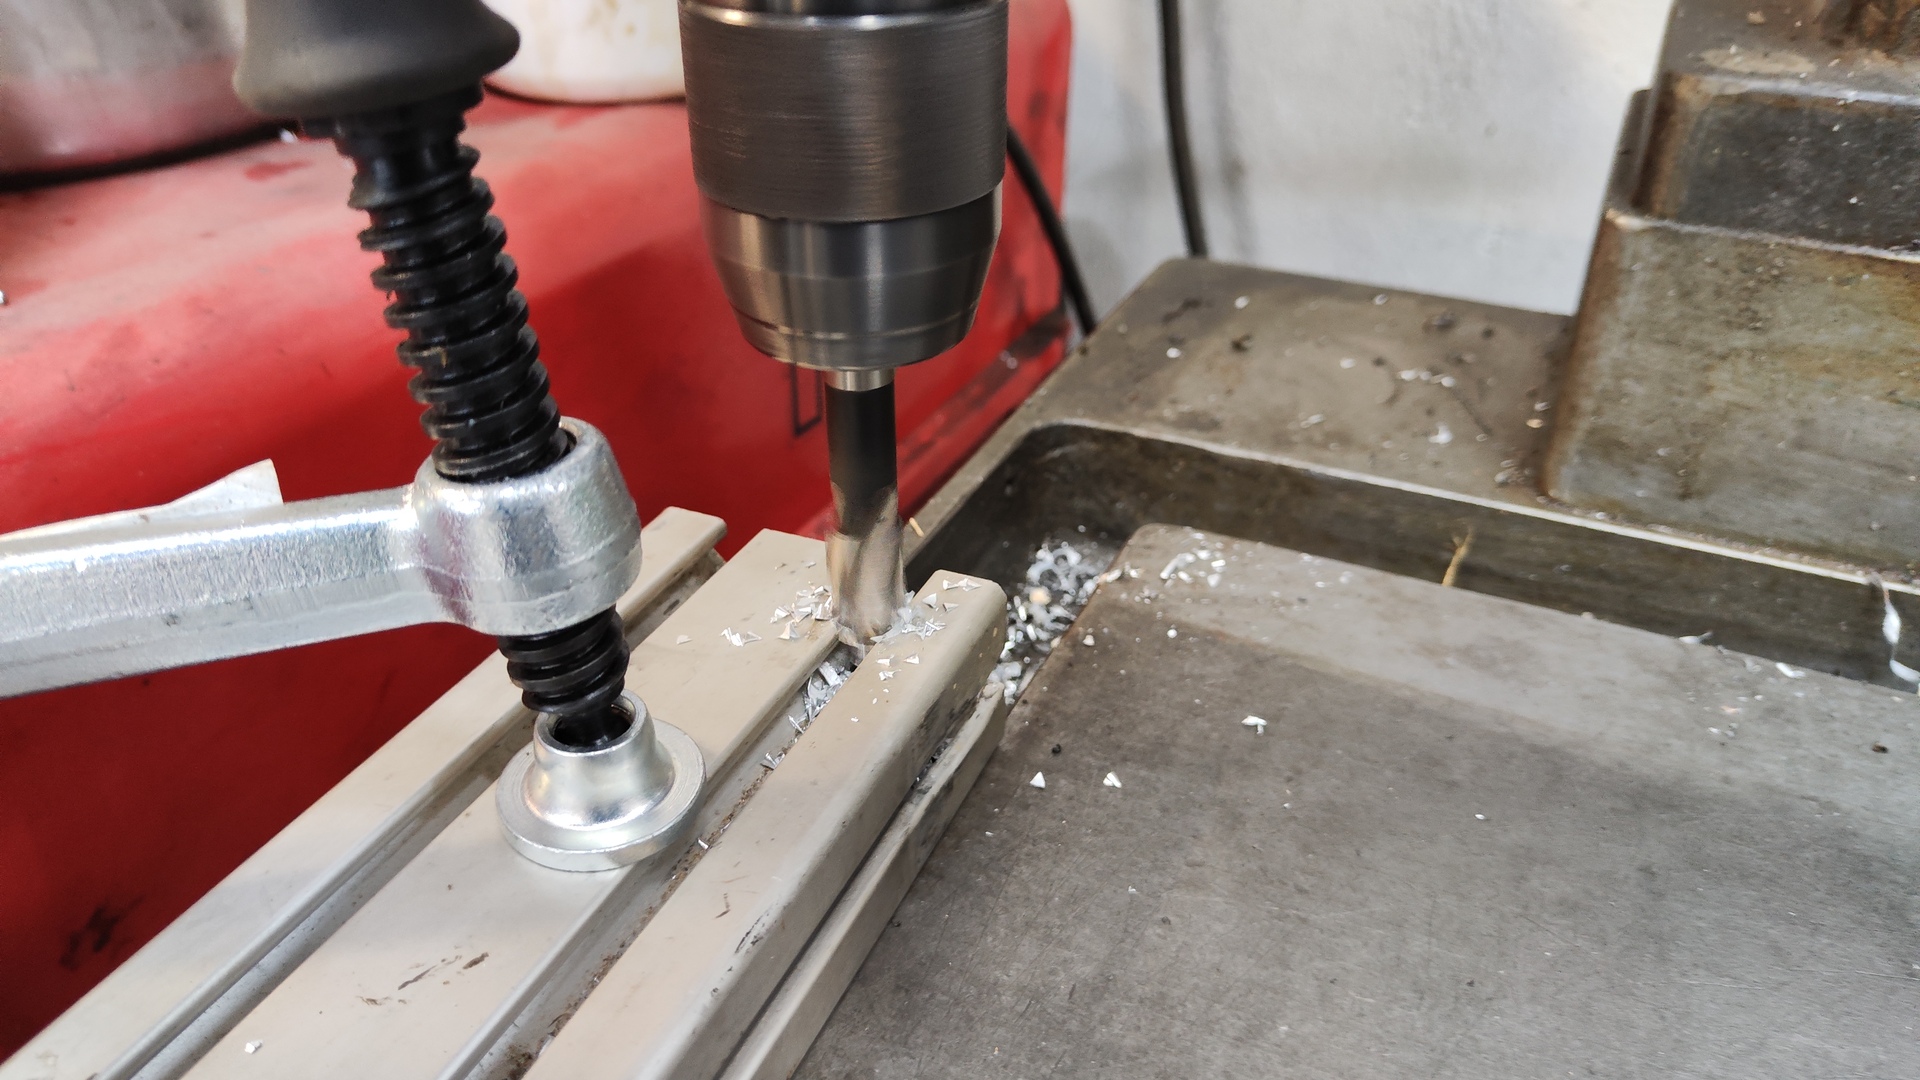
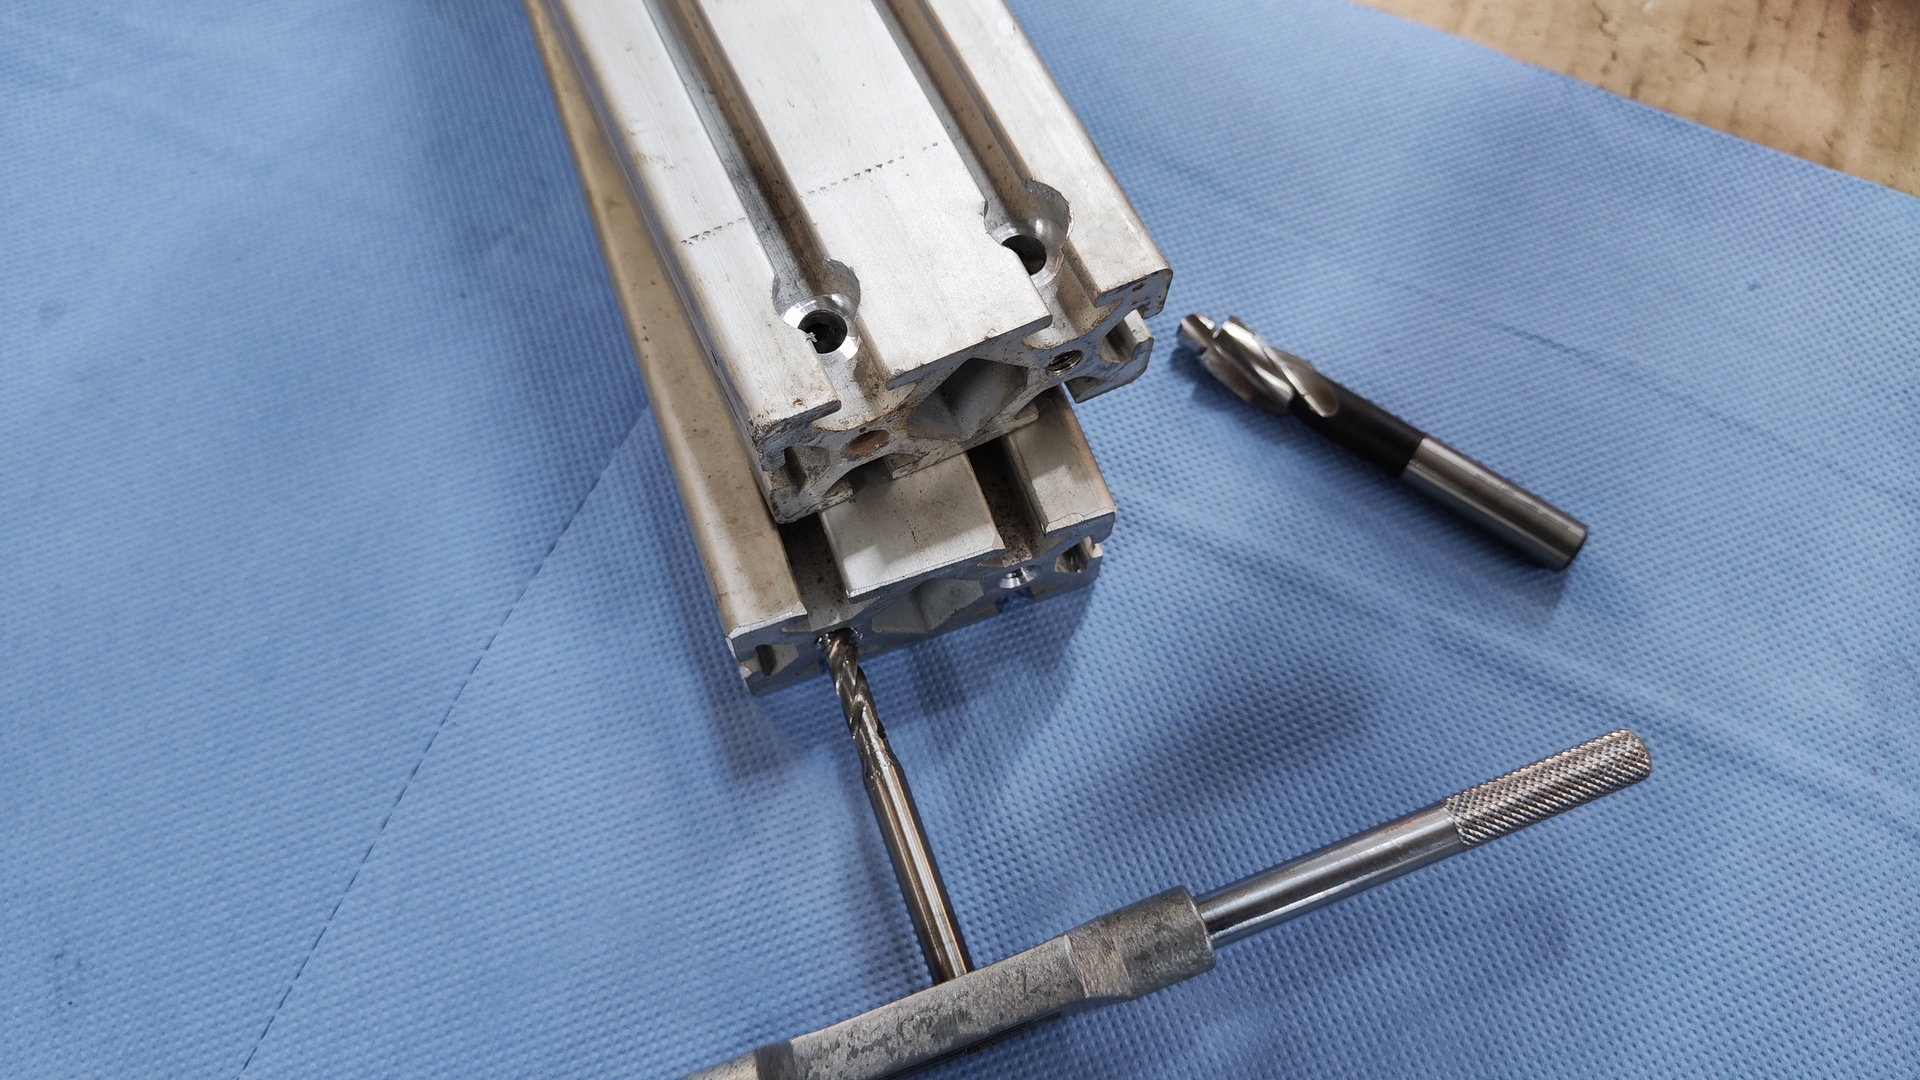
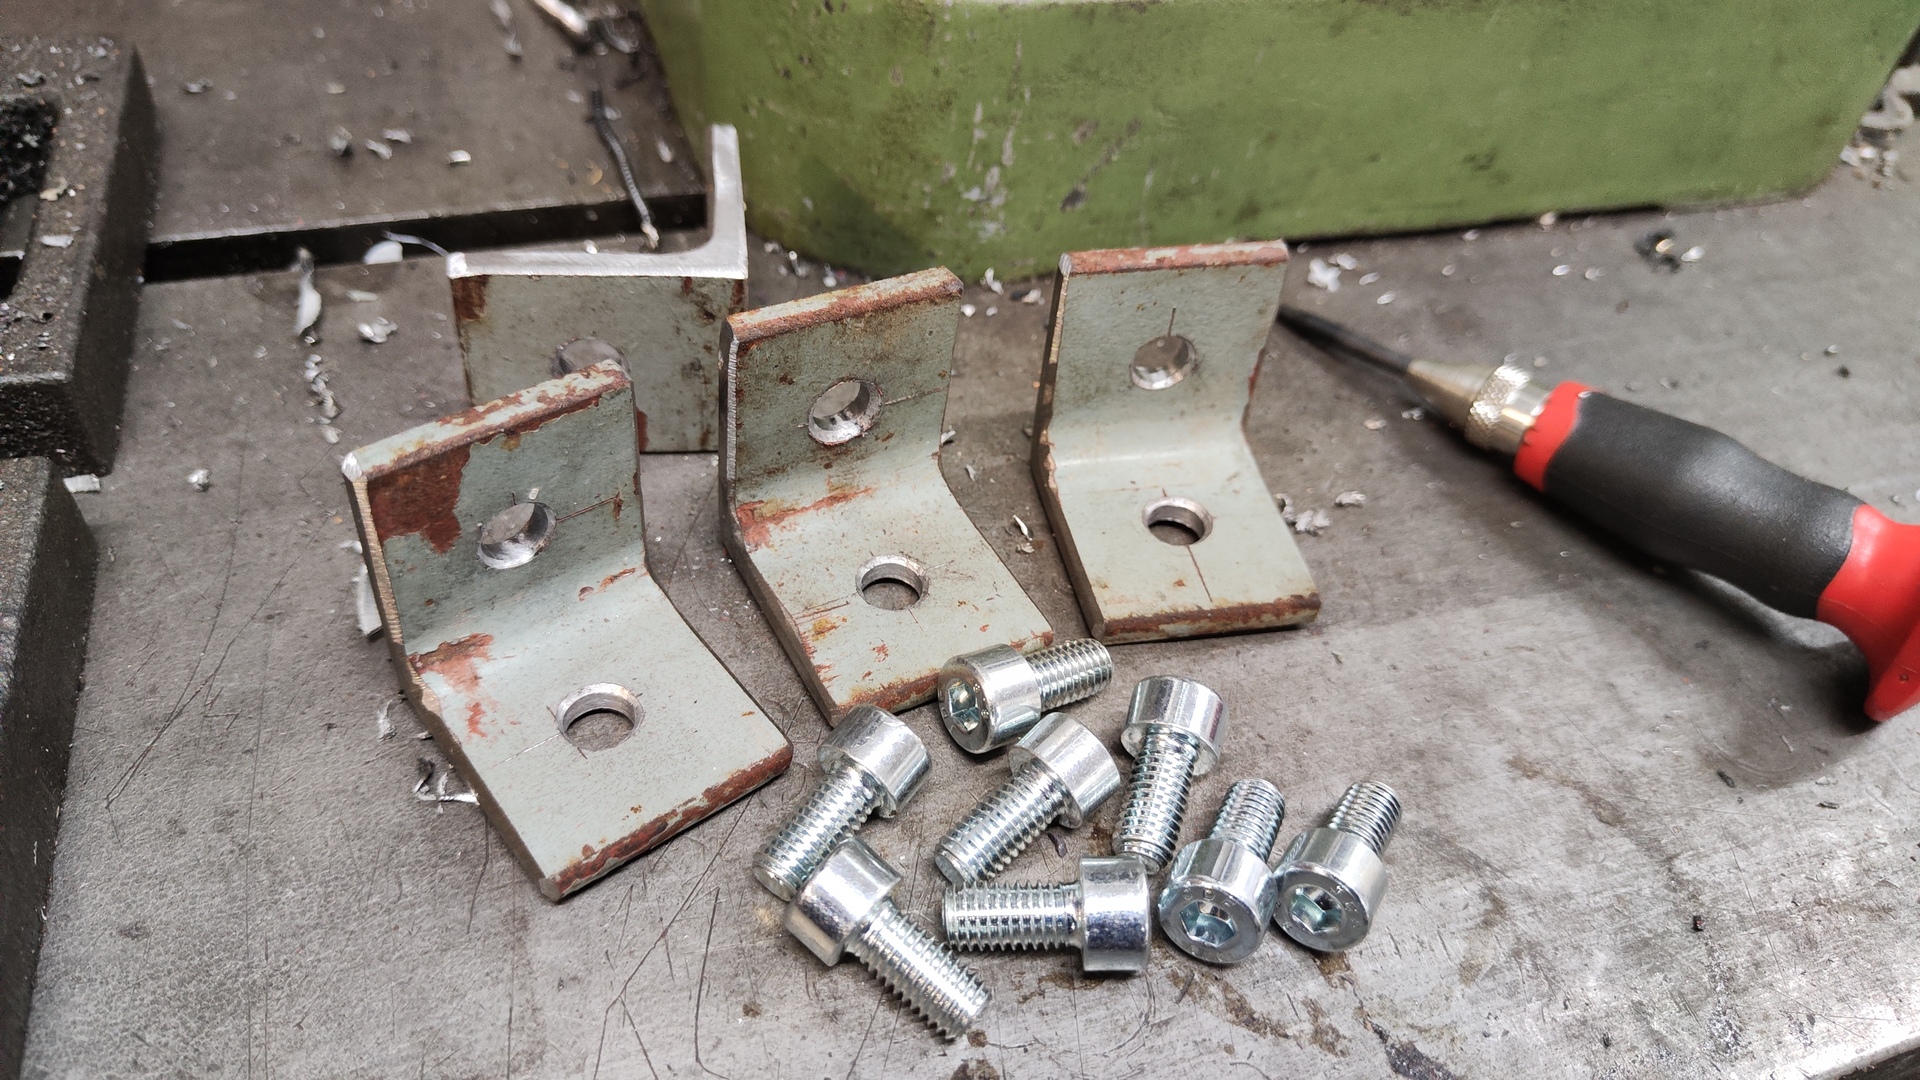
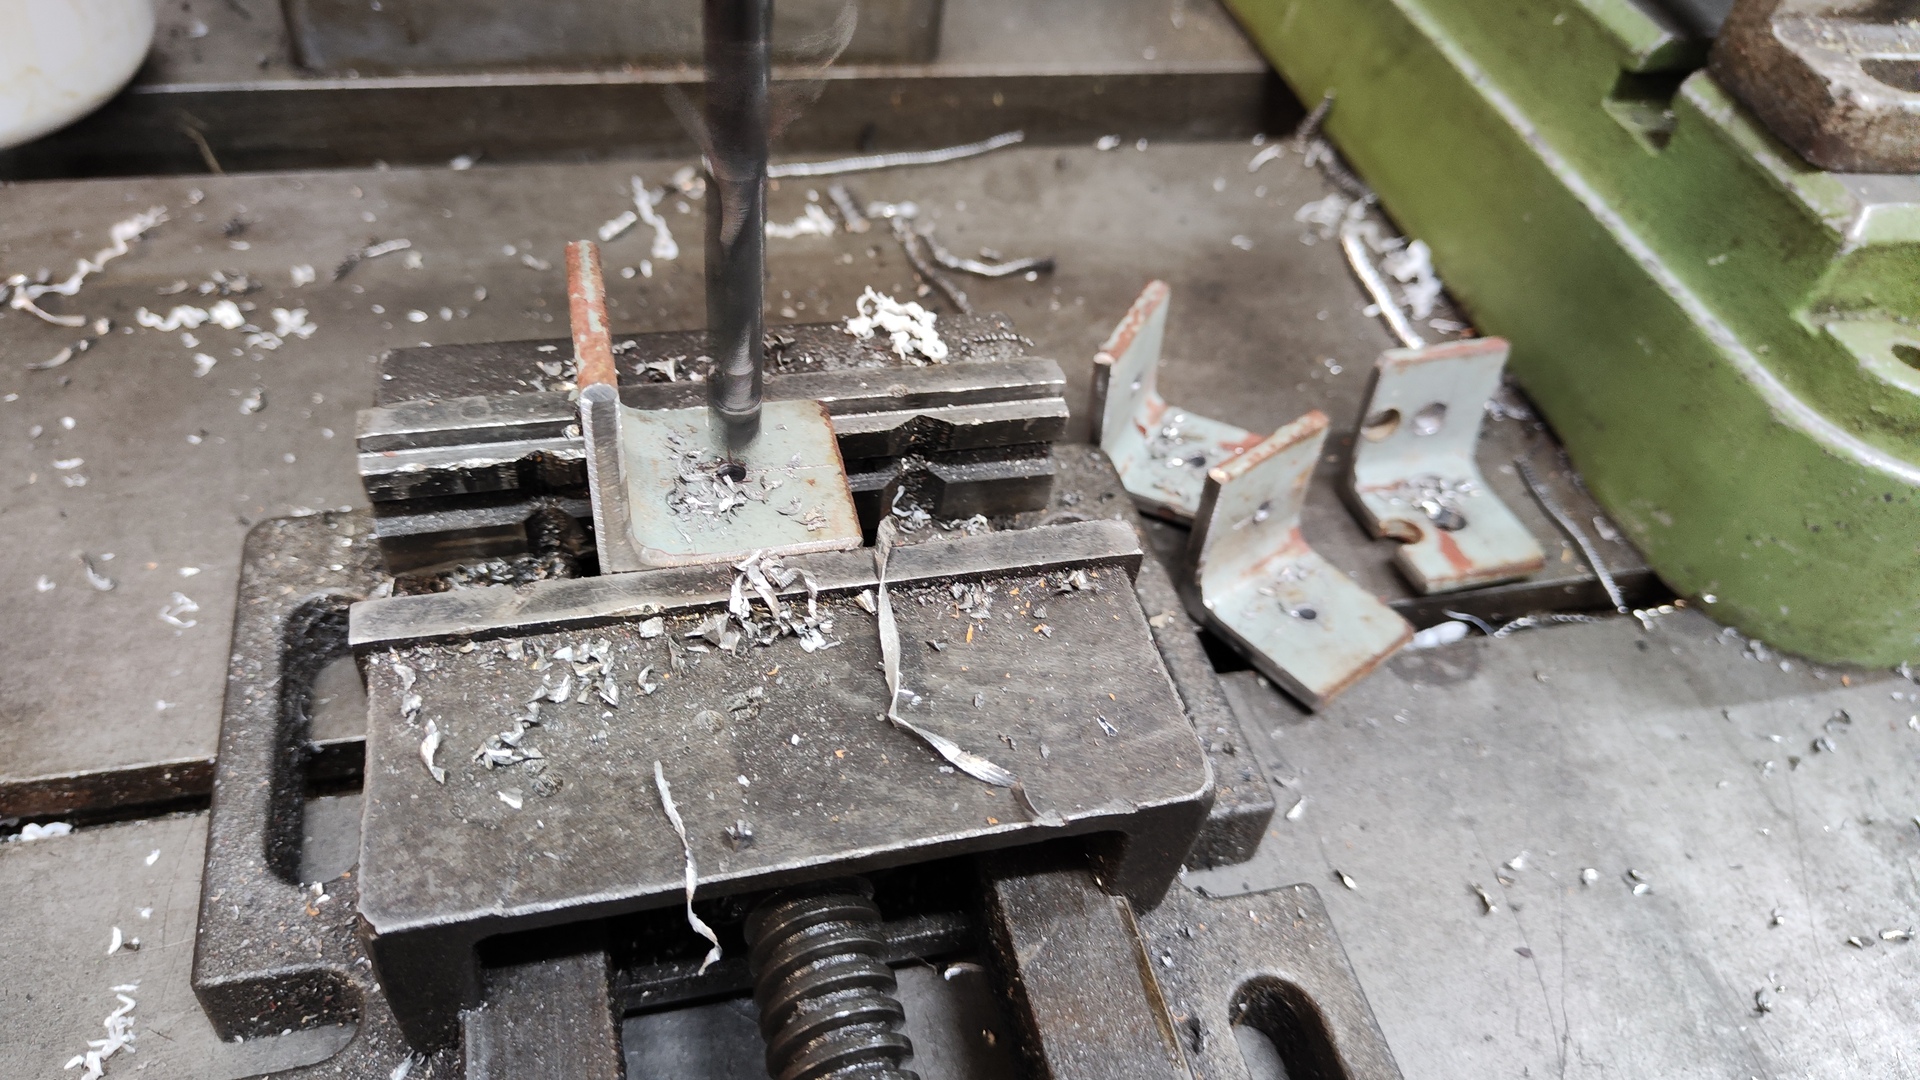
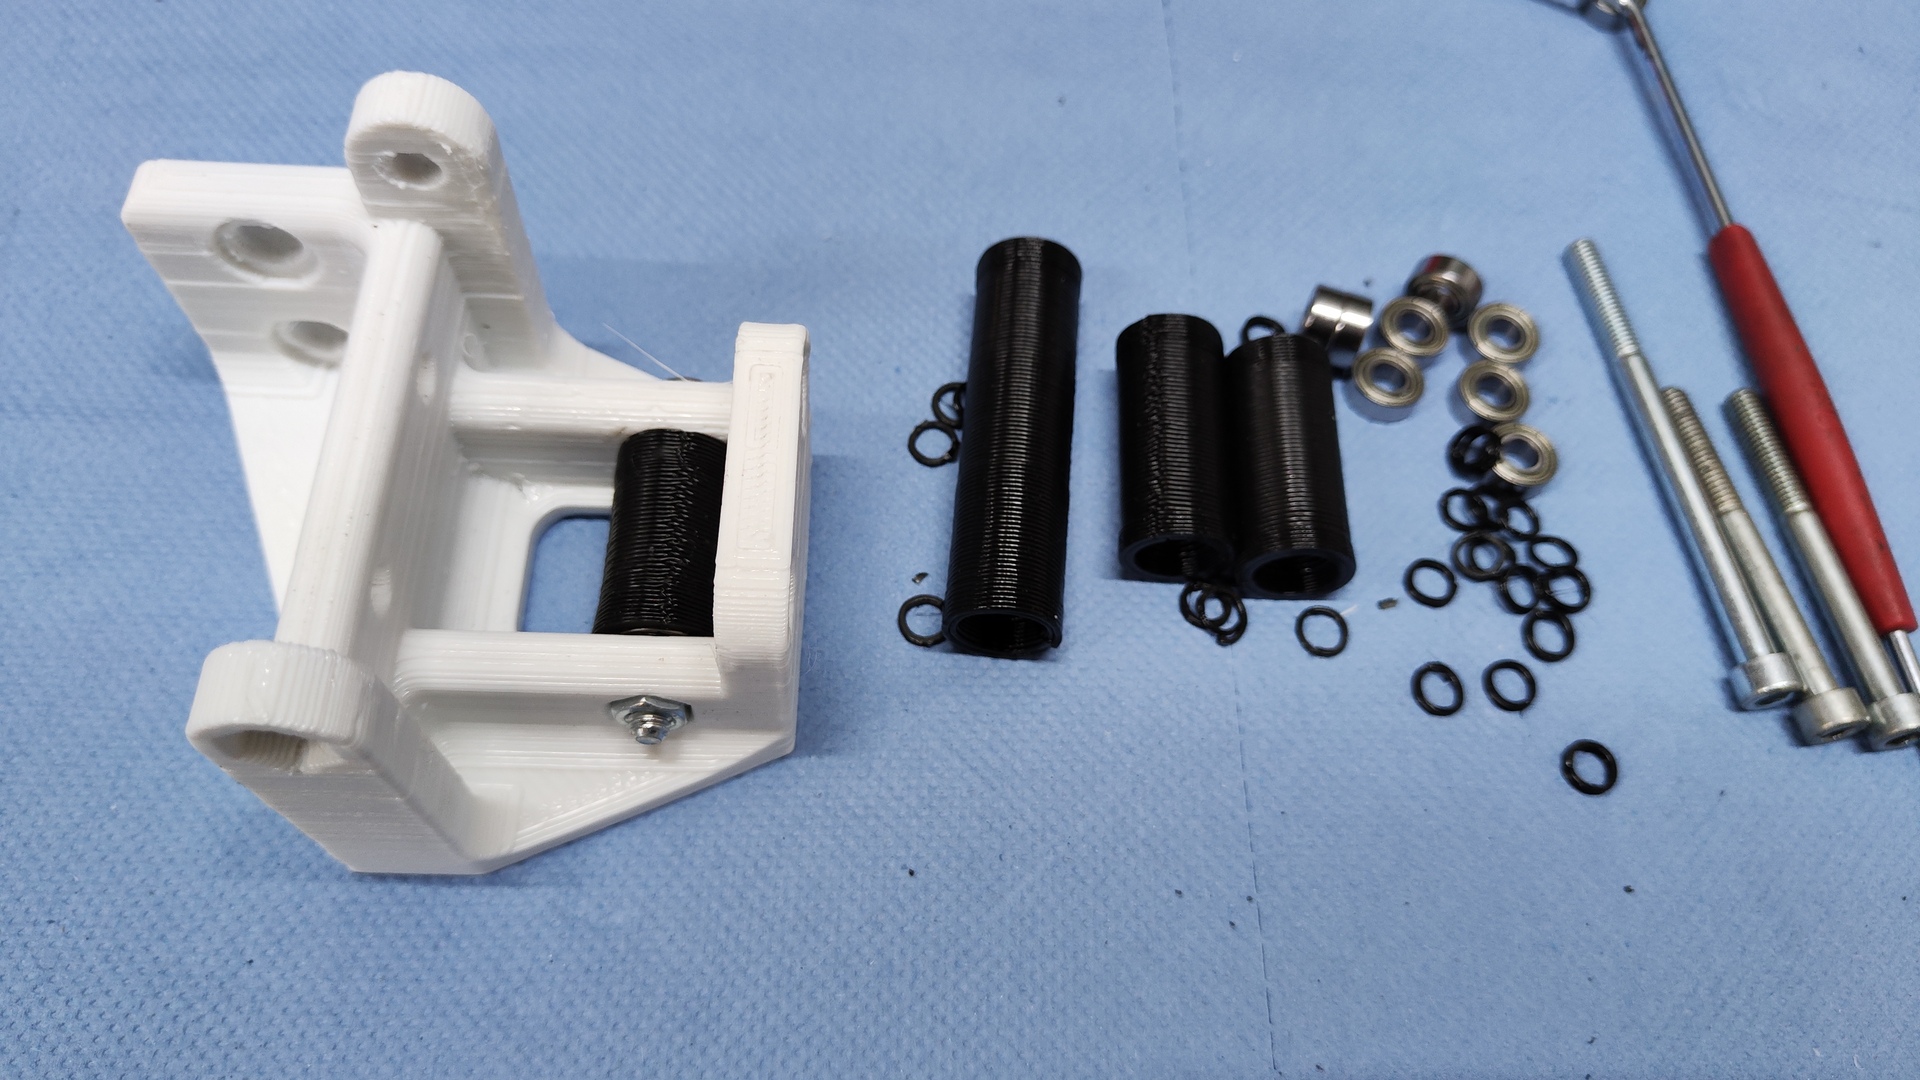
Metal components:
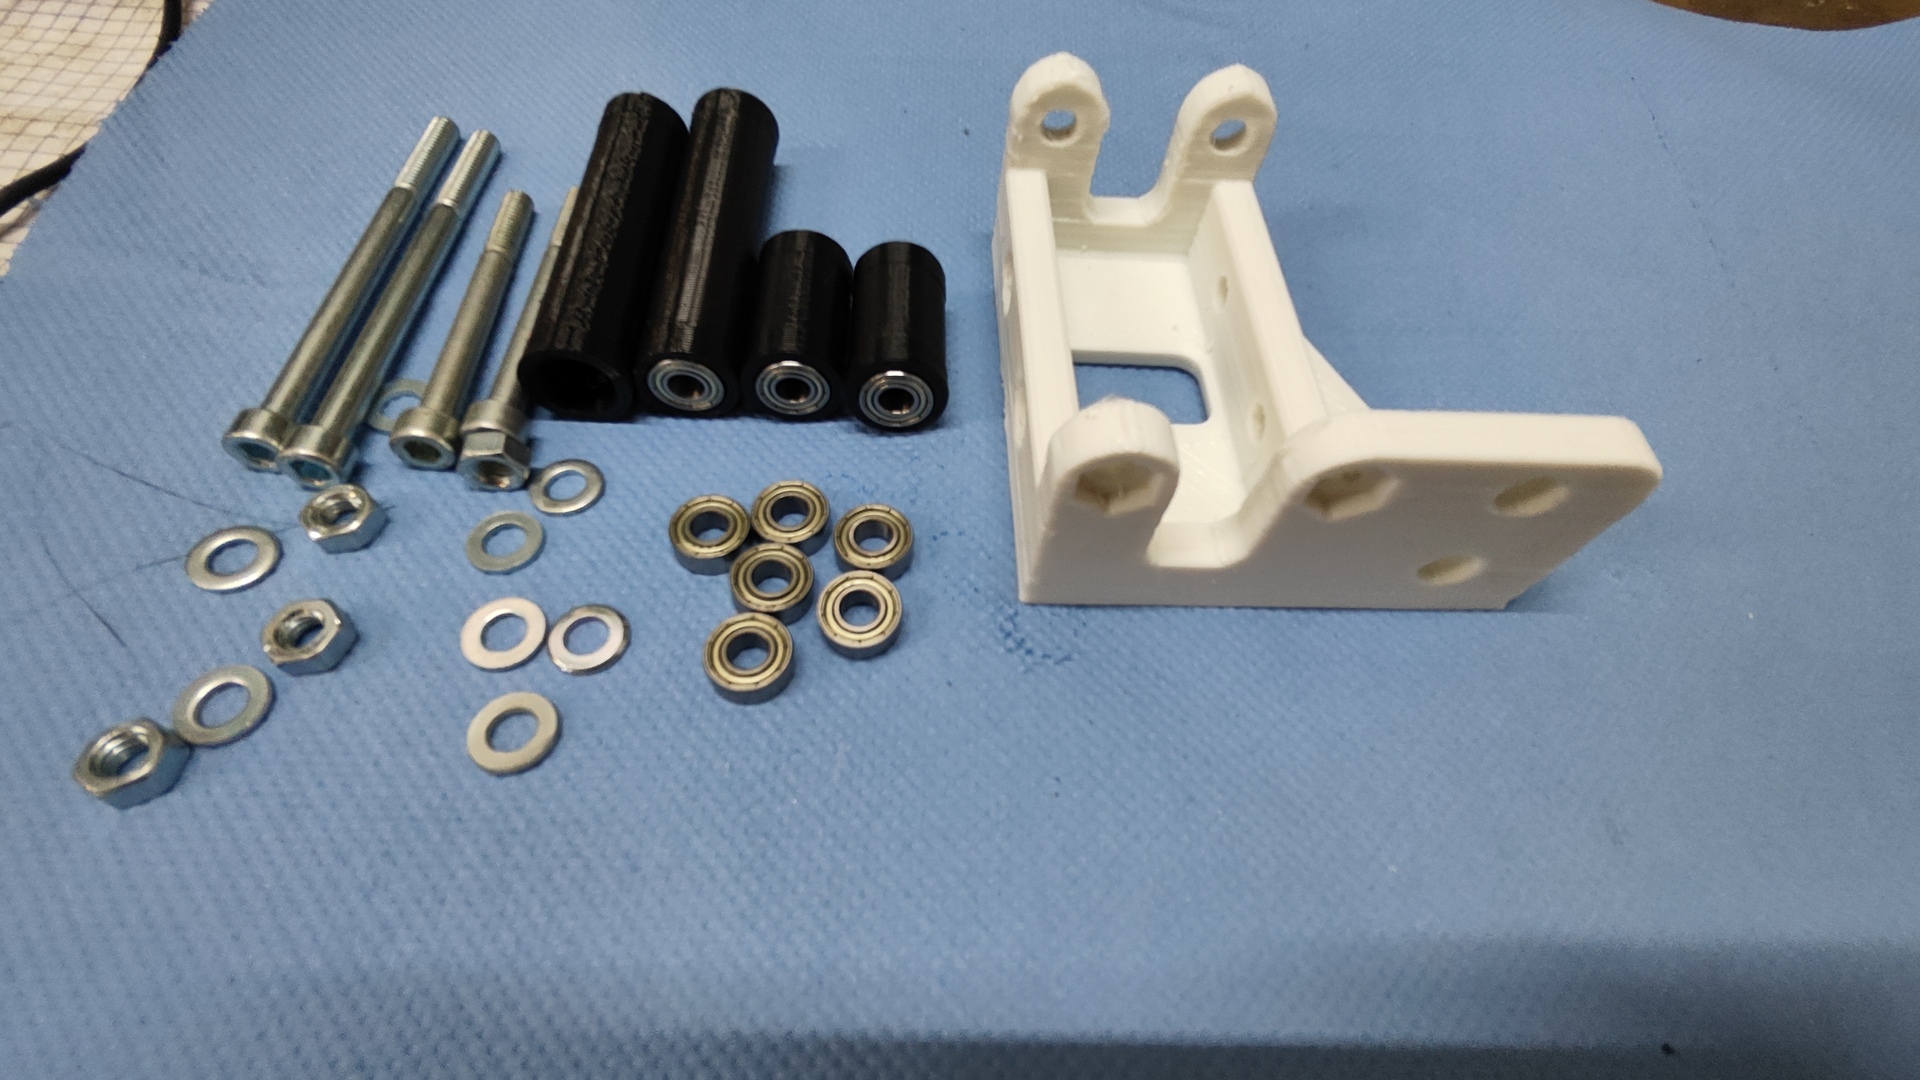
- 18x 6x13x5 mm ball bearings for rolls
- Various nuts and bolts
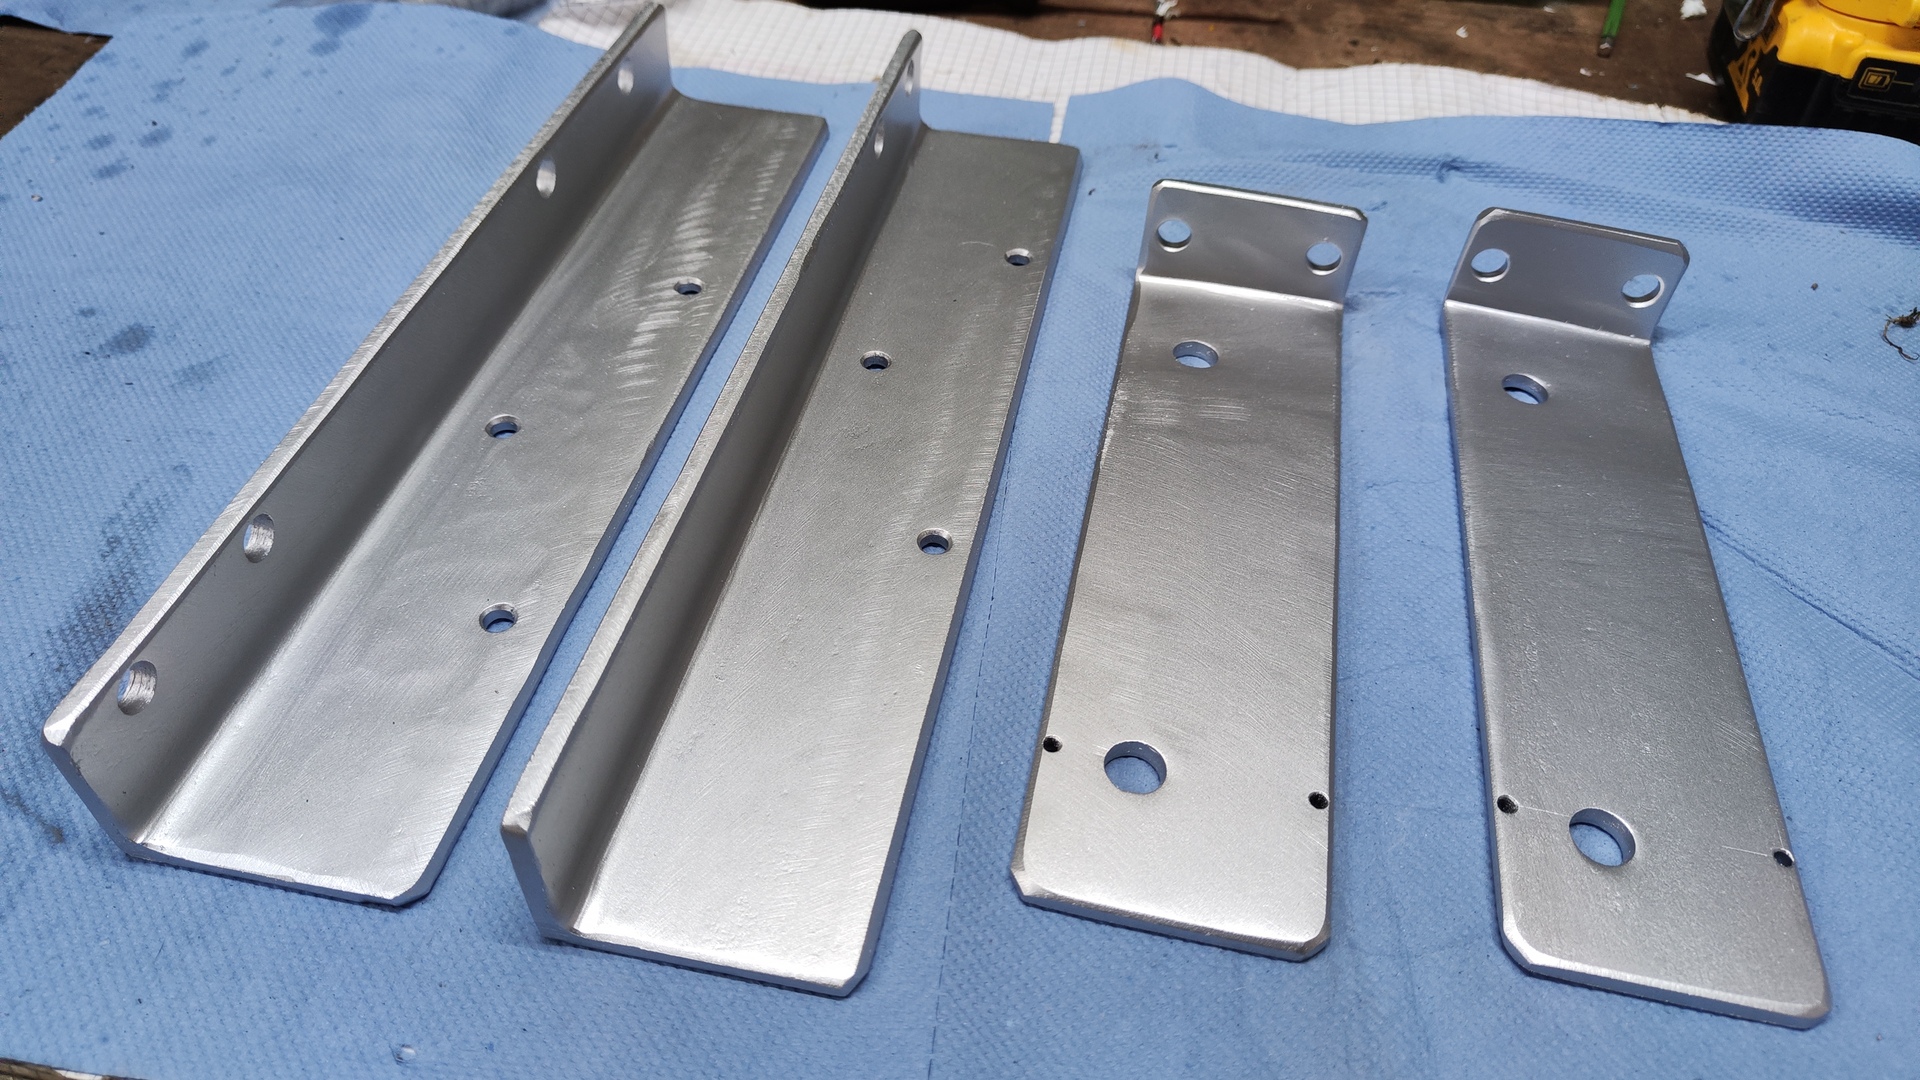
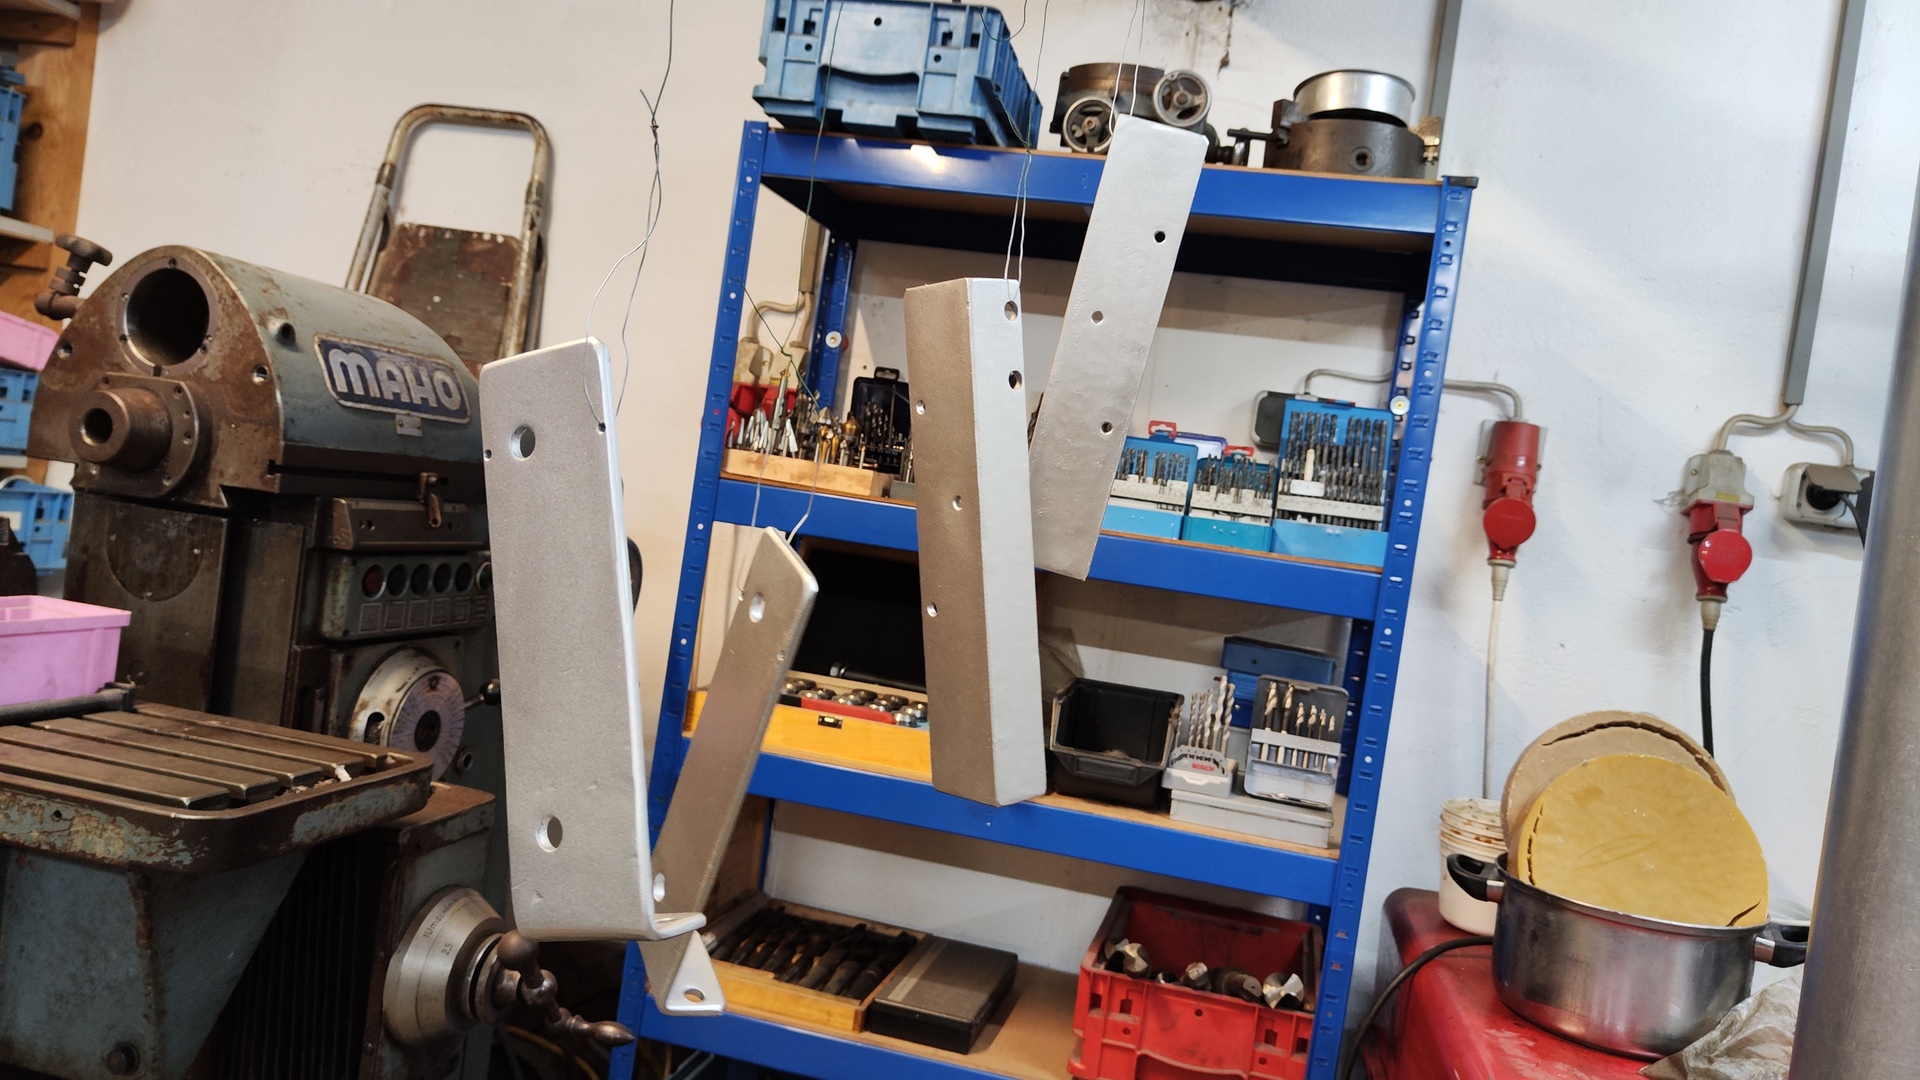
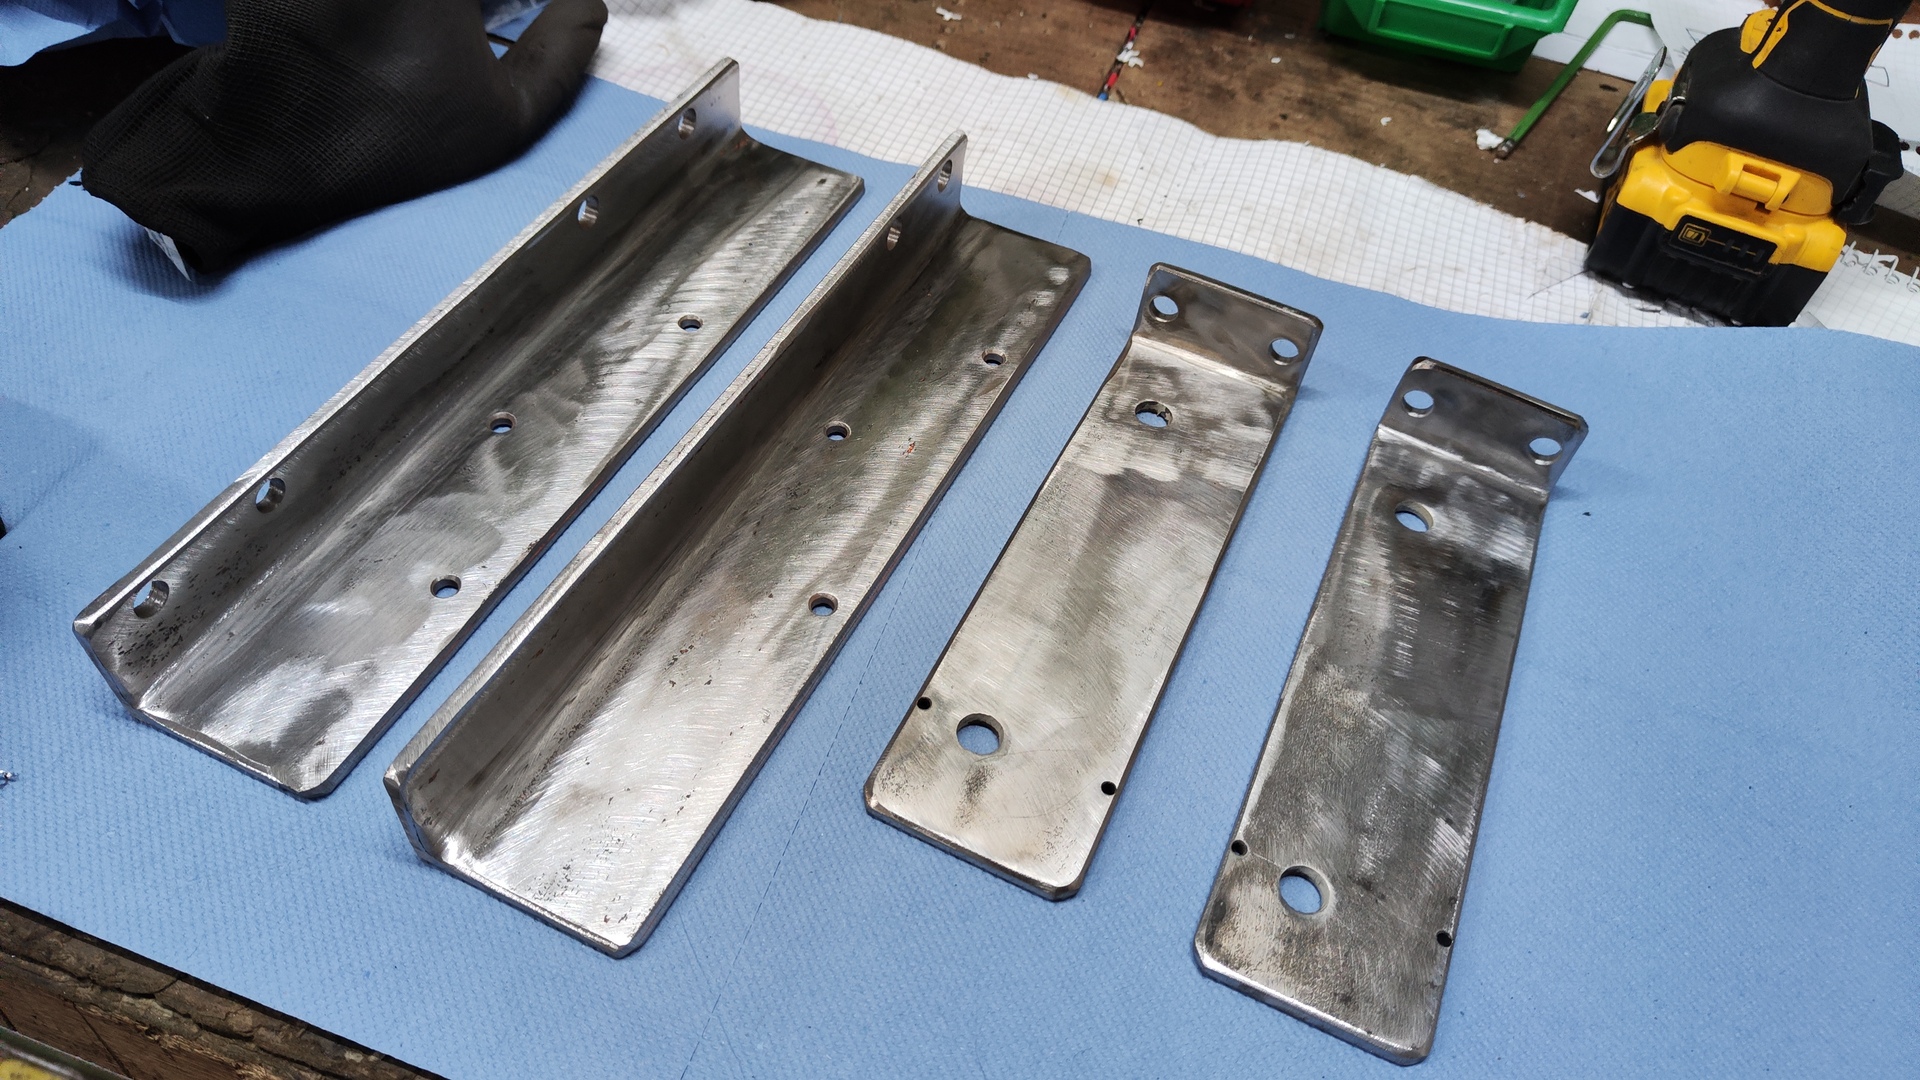
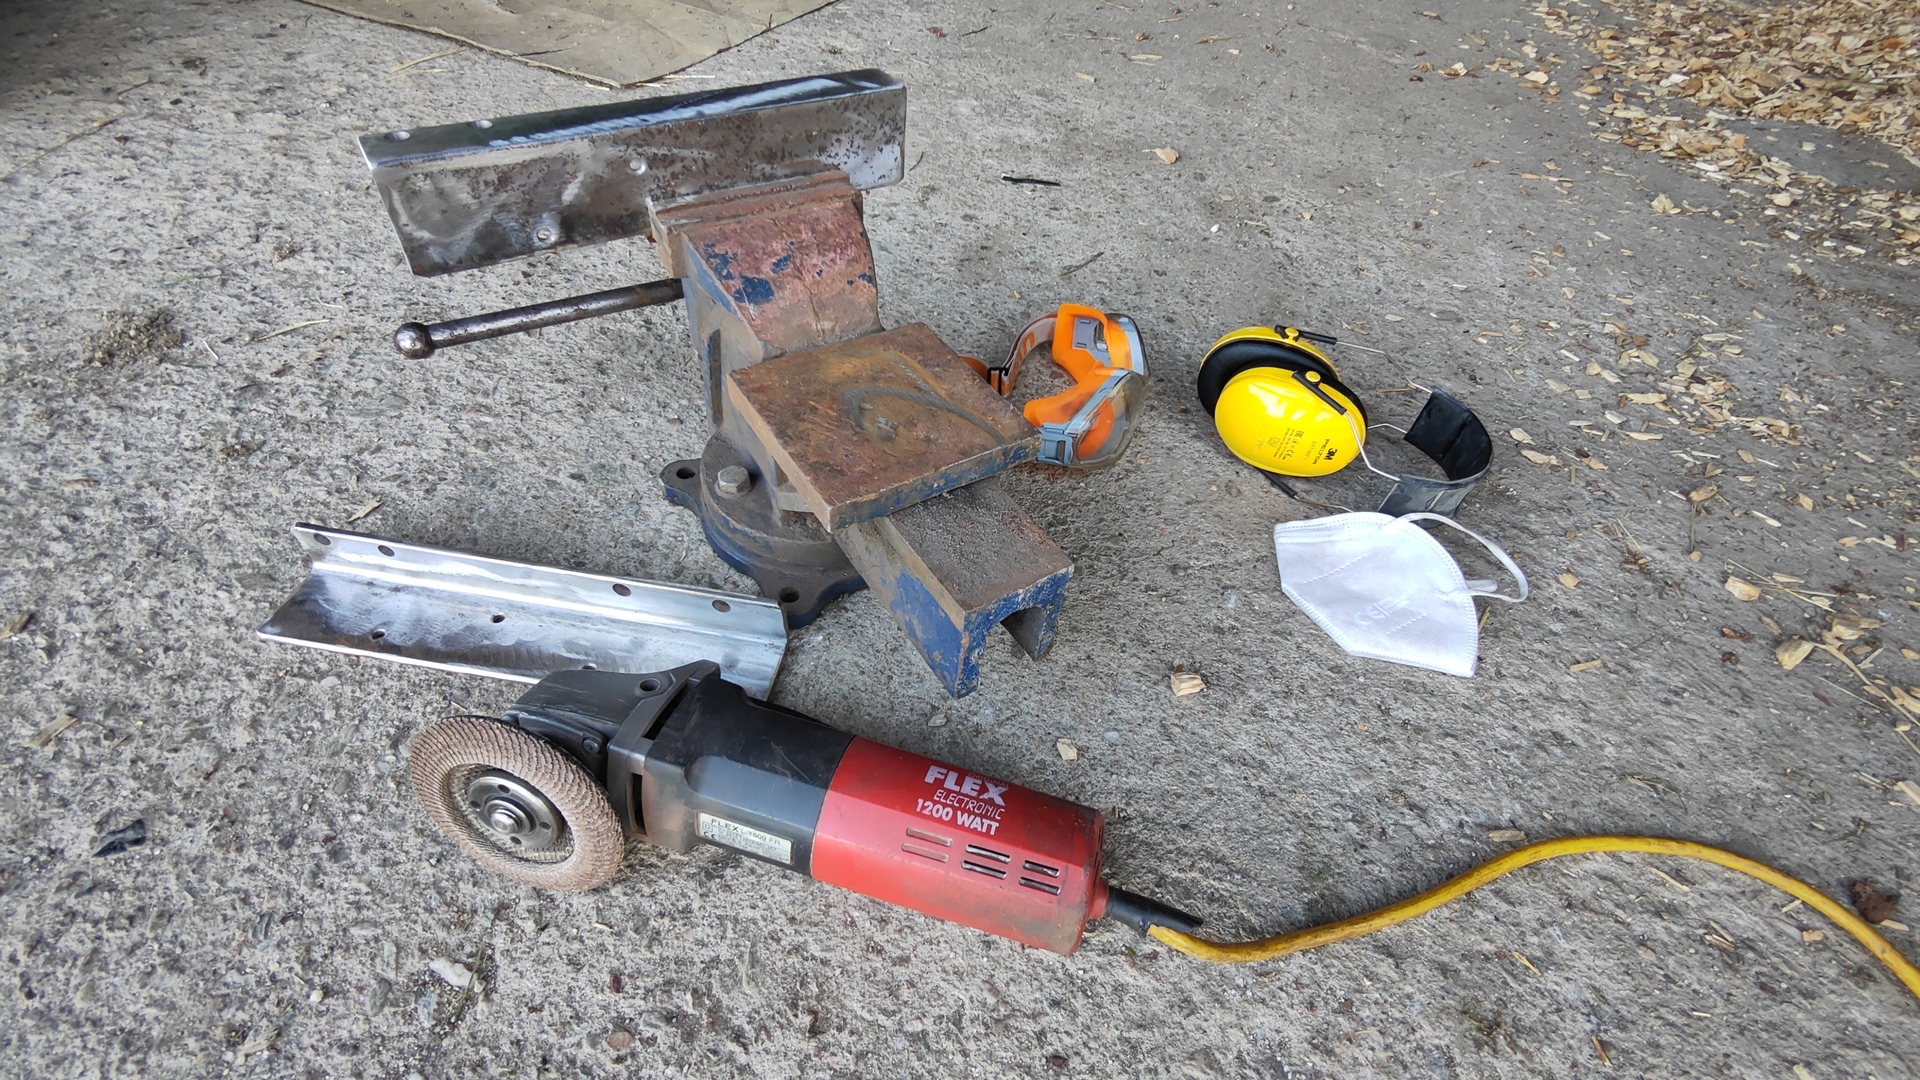
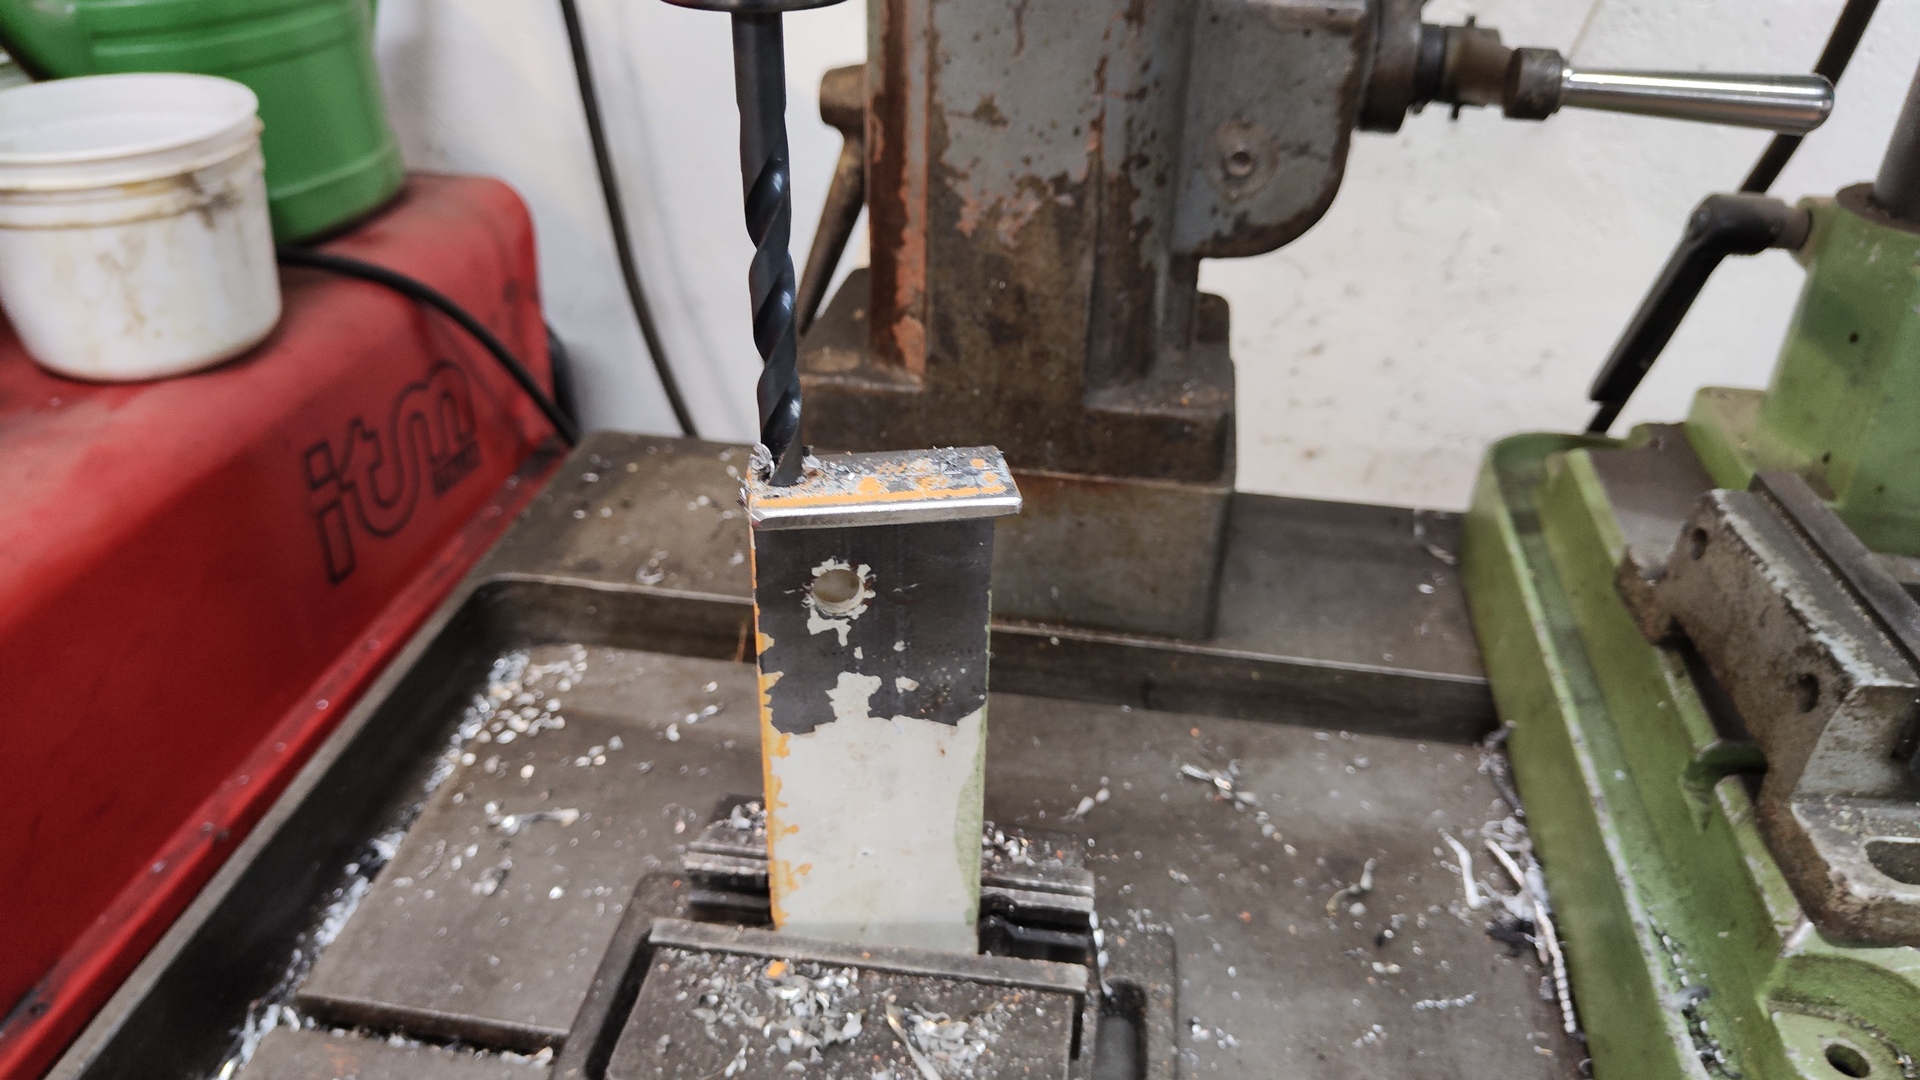
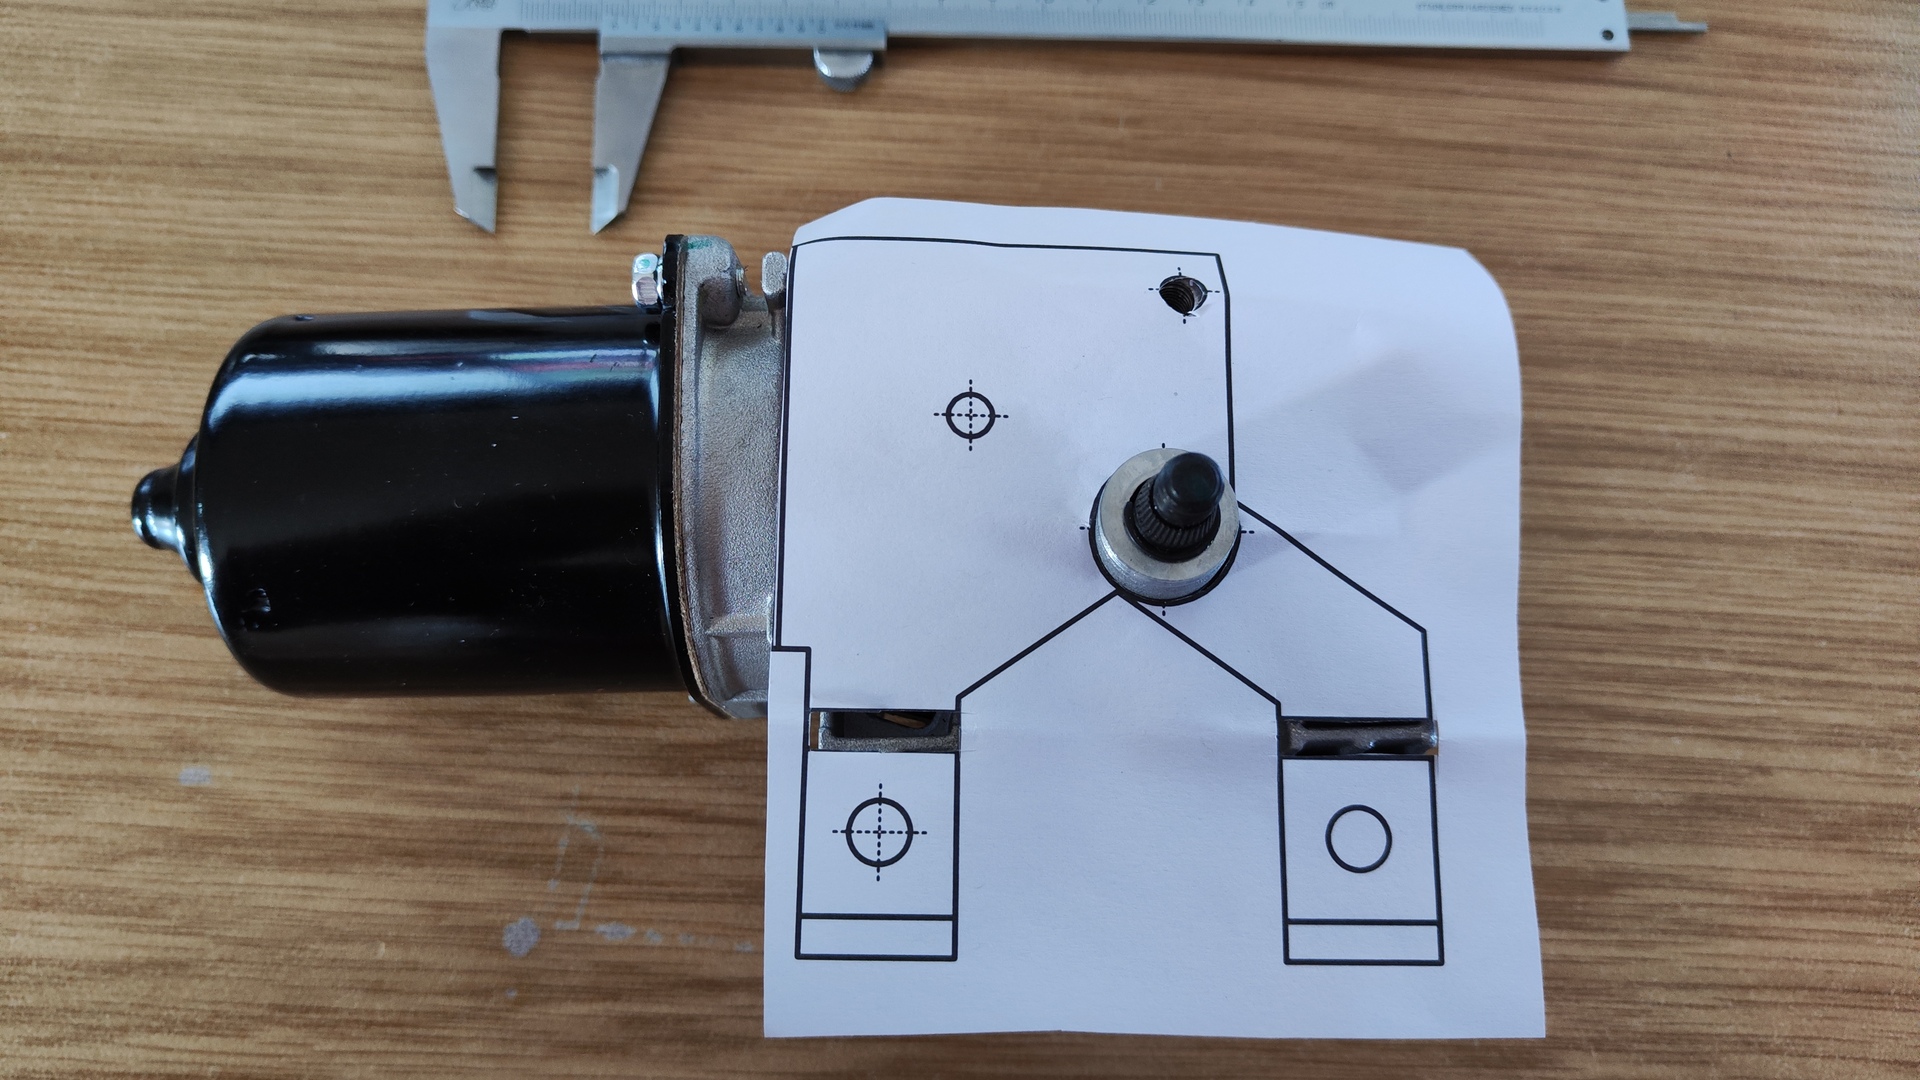
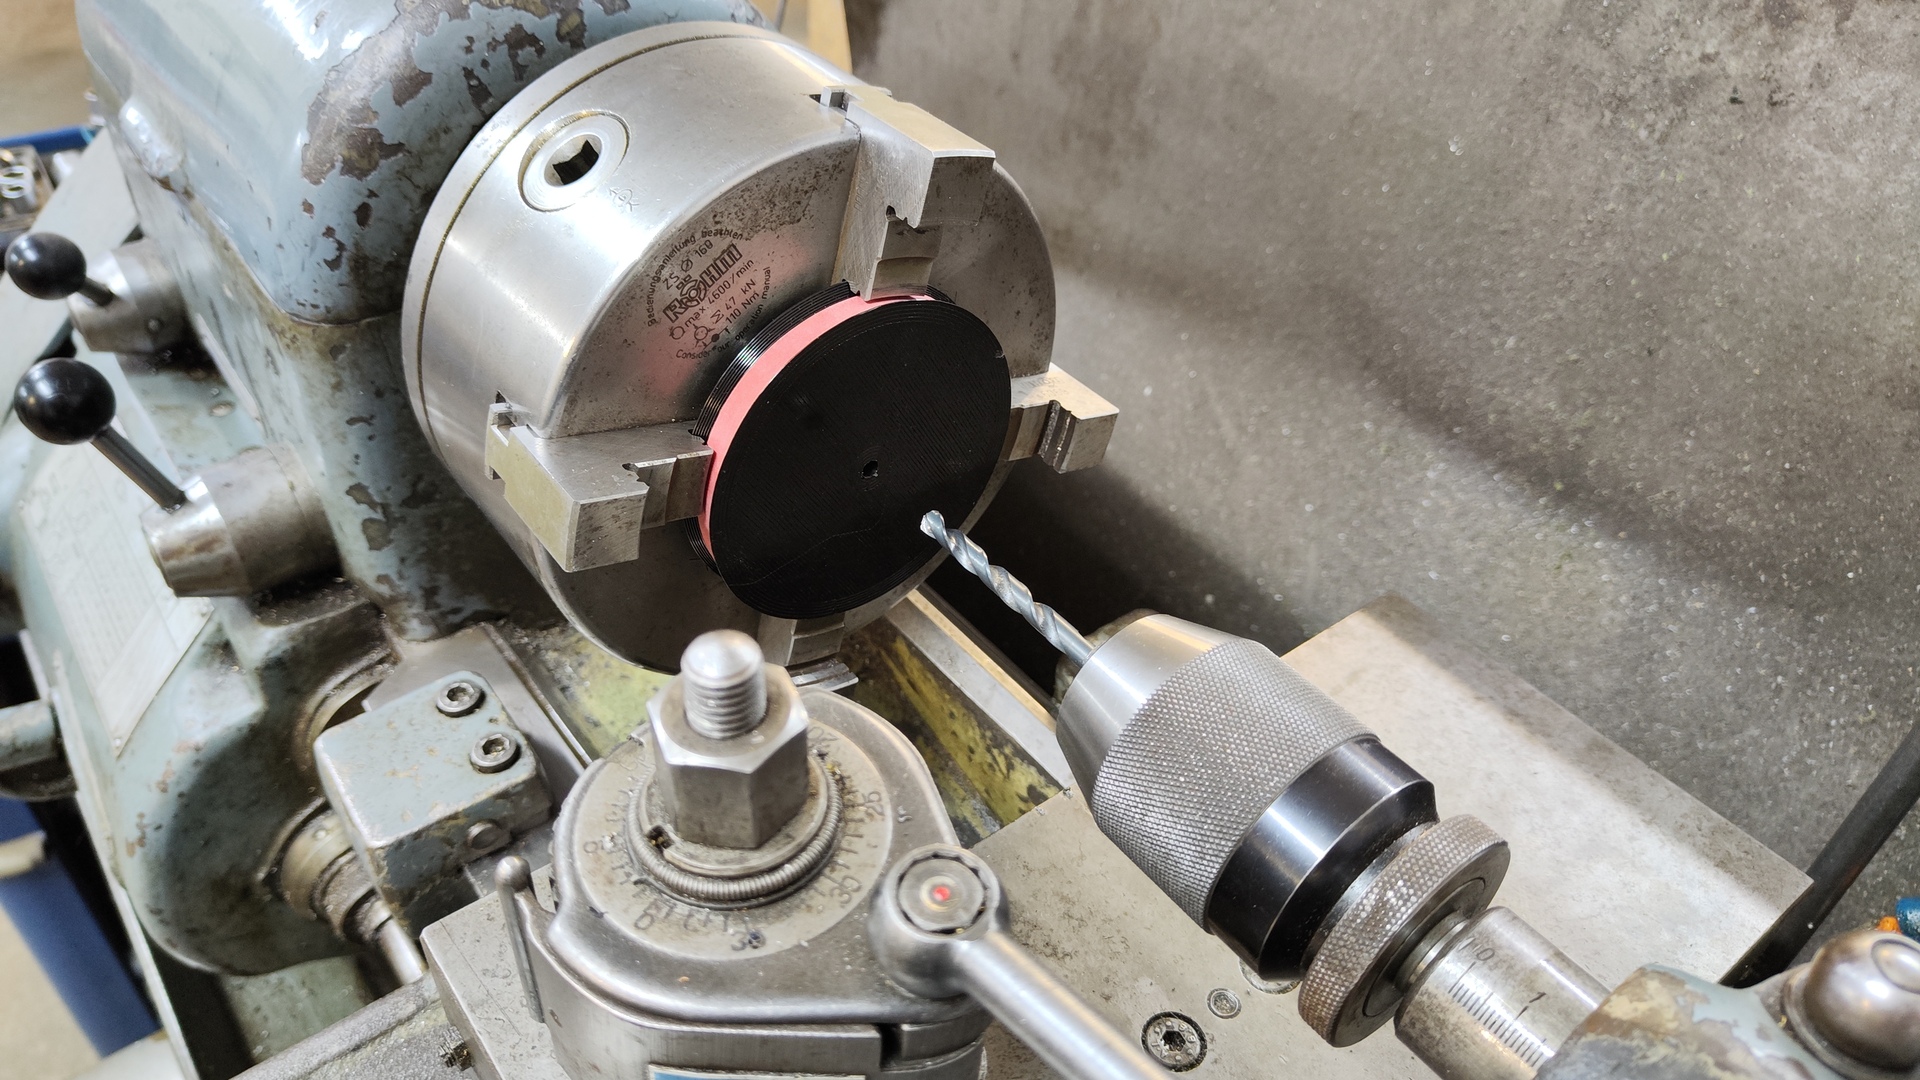
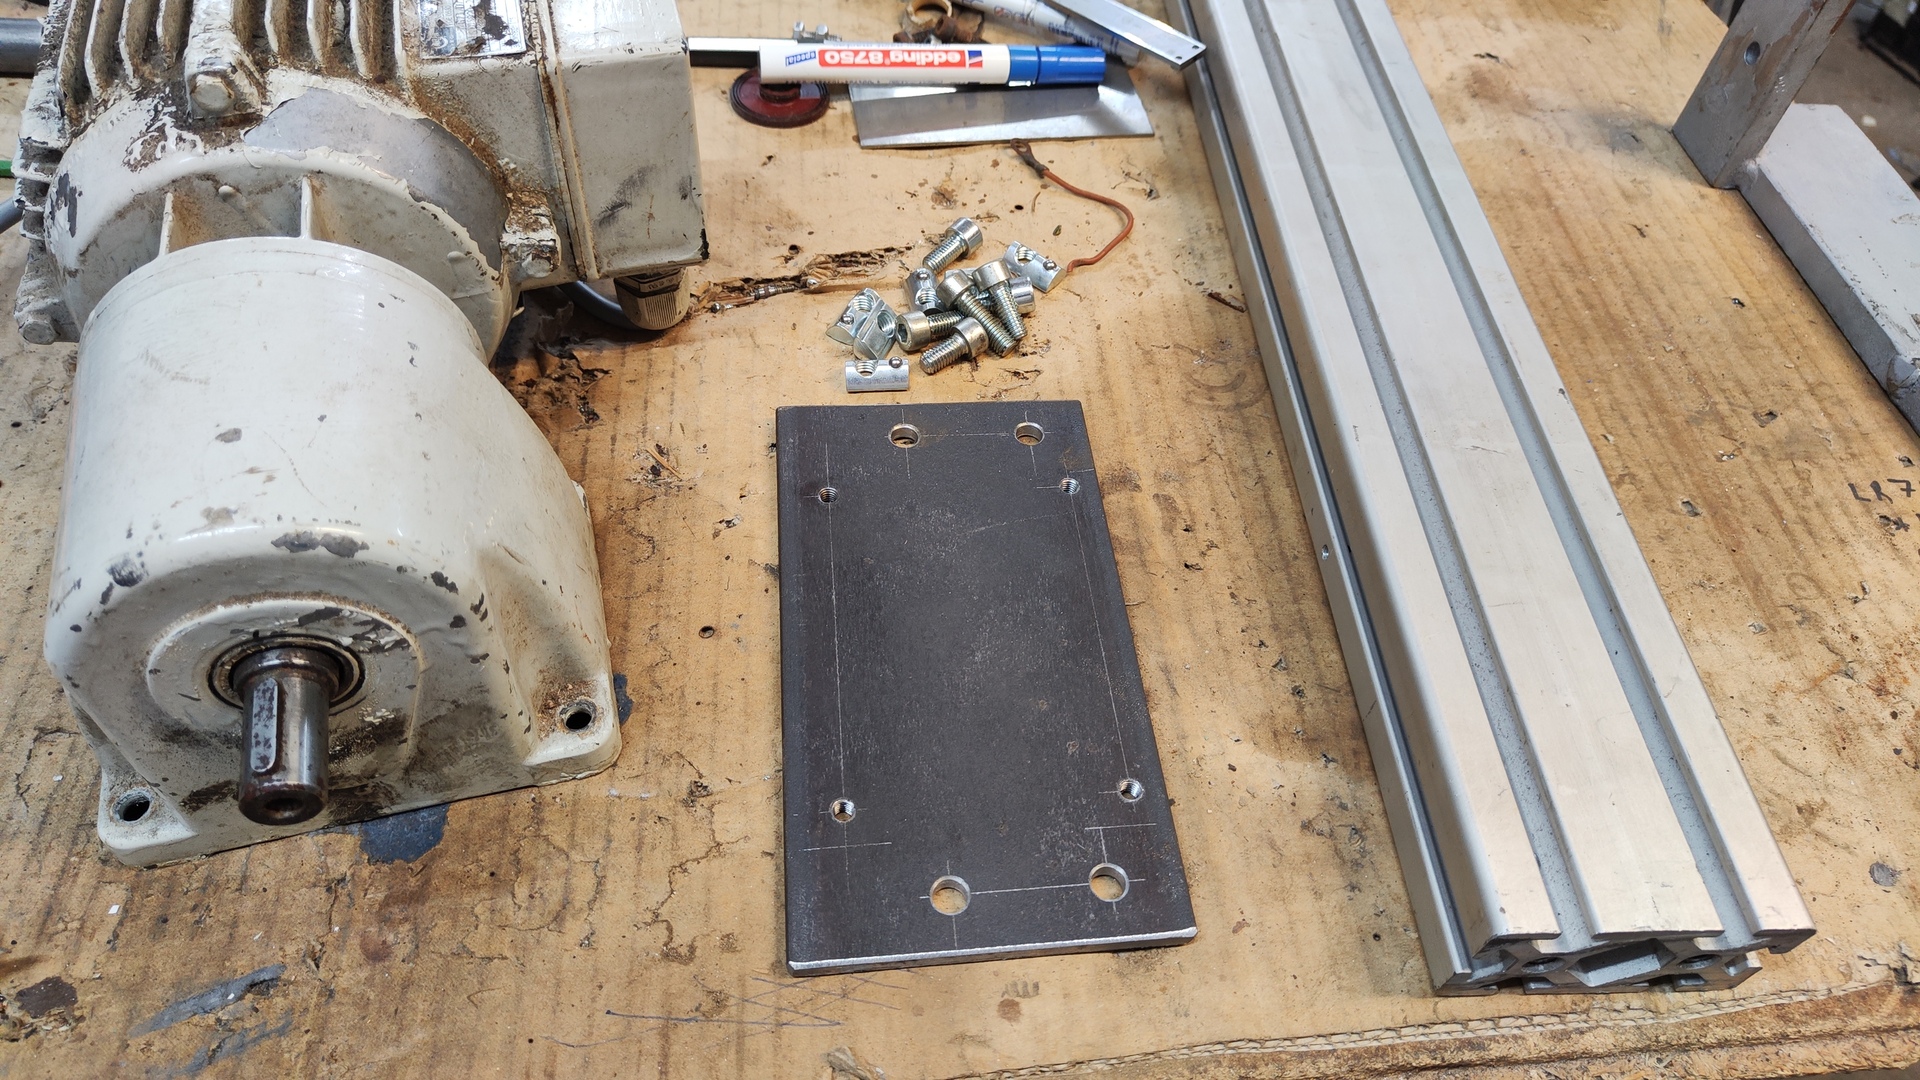
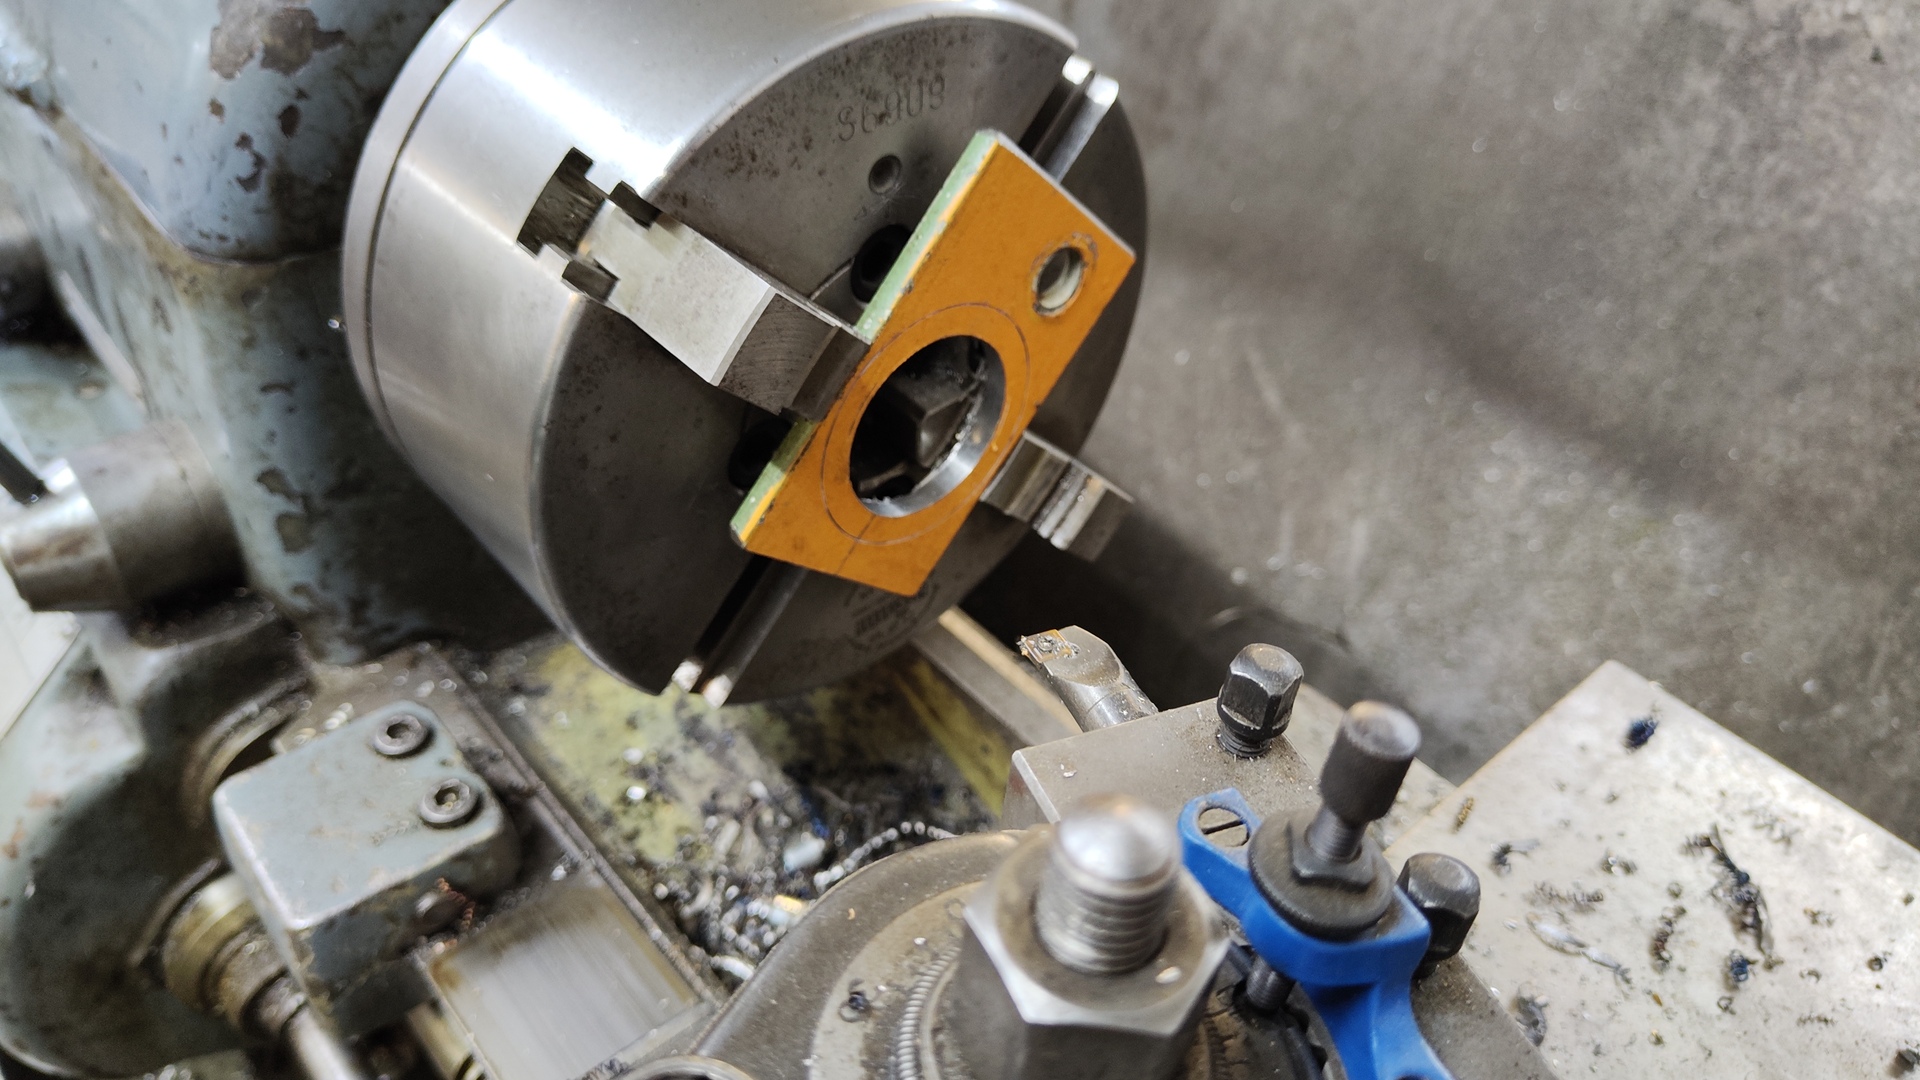
- Custom angle-iron parts and adapter plate
-
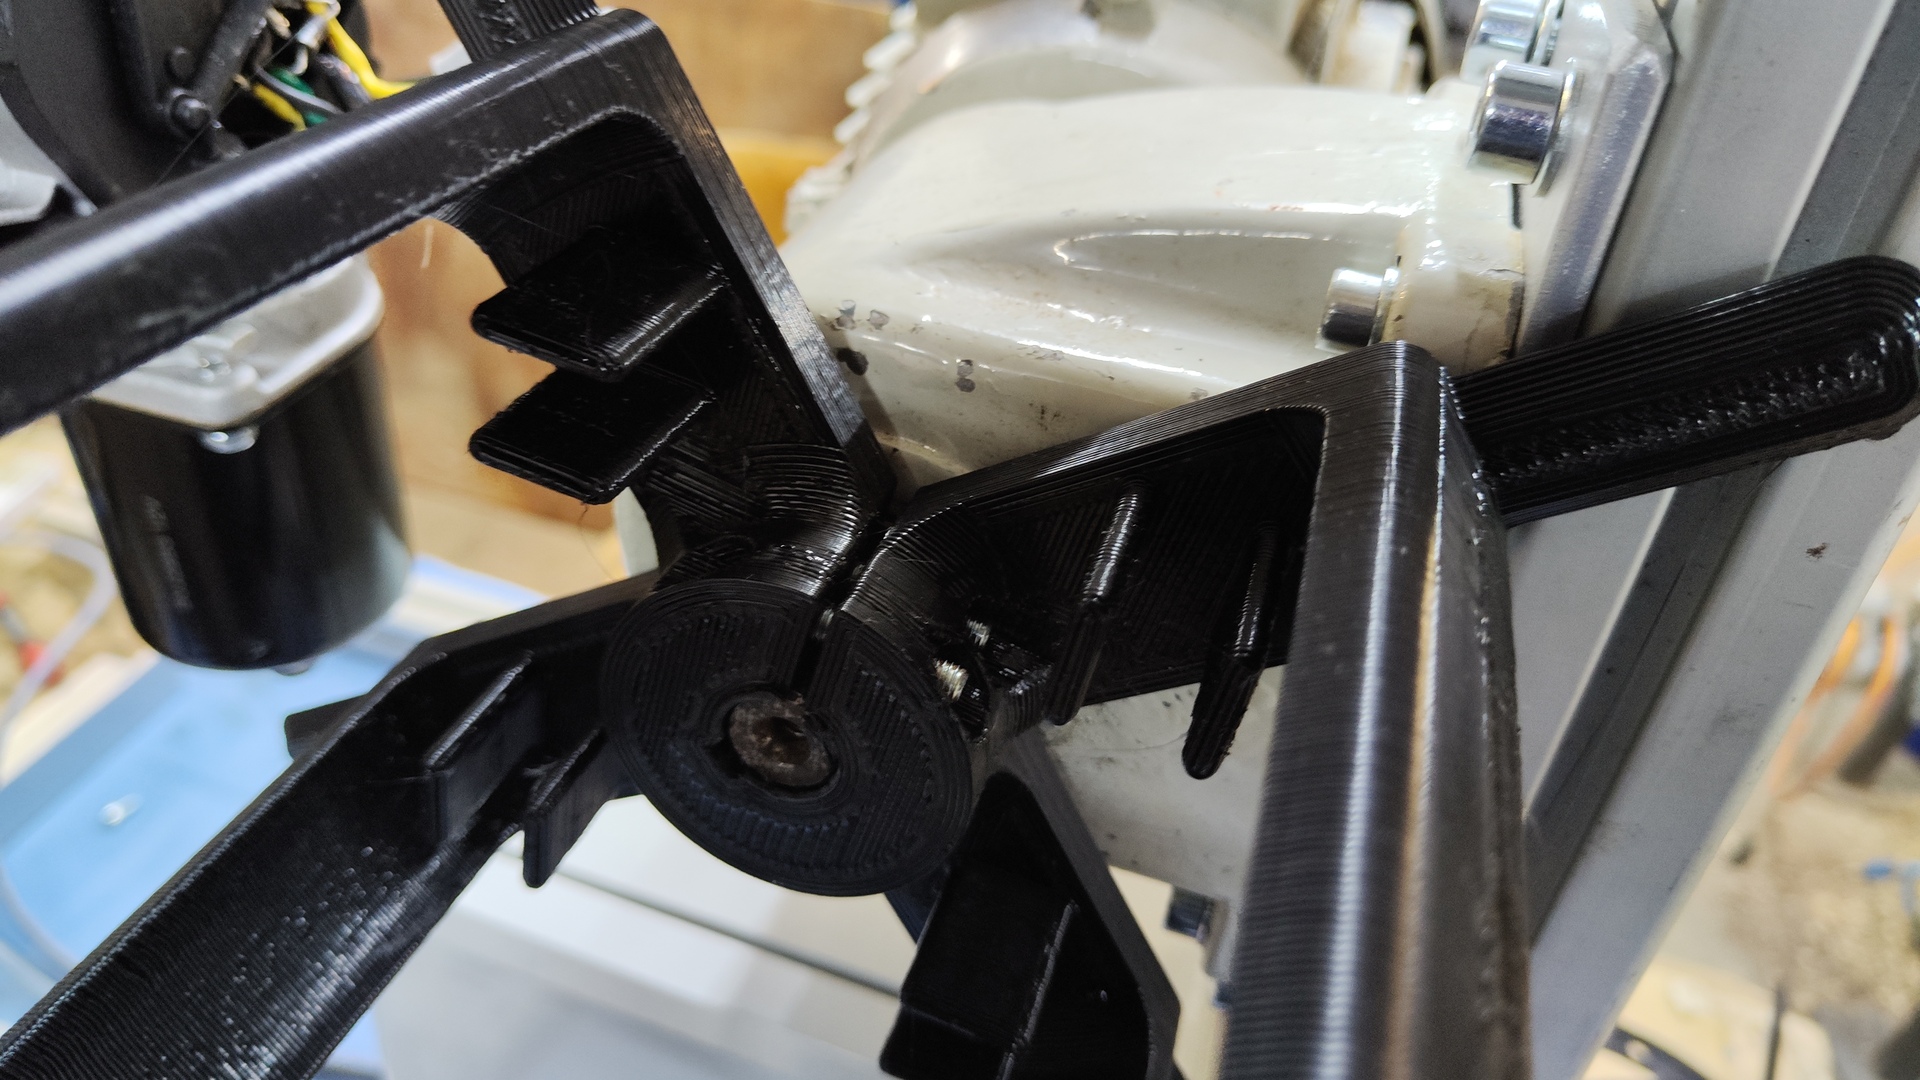
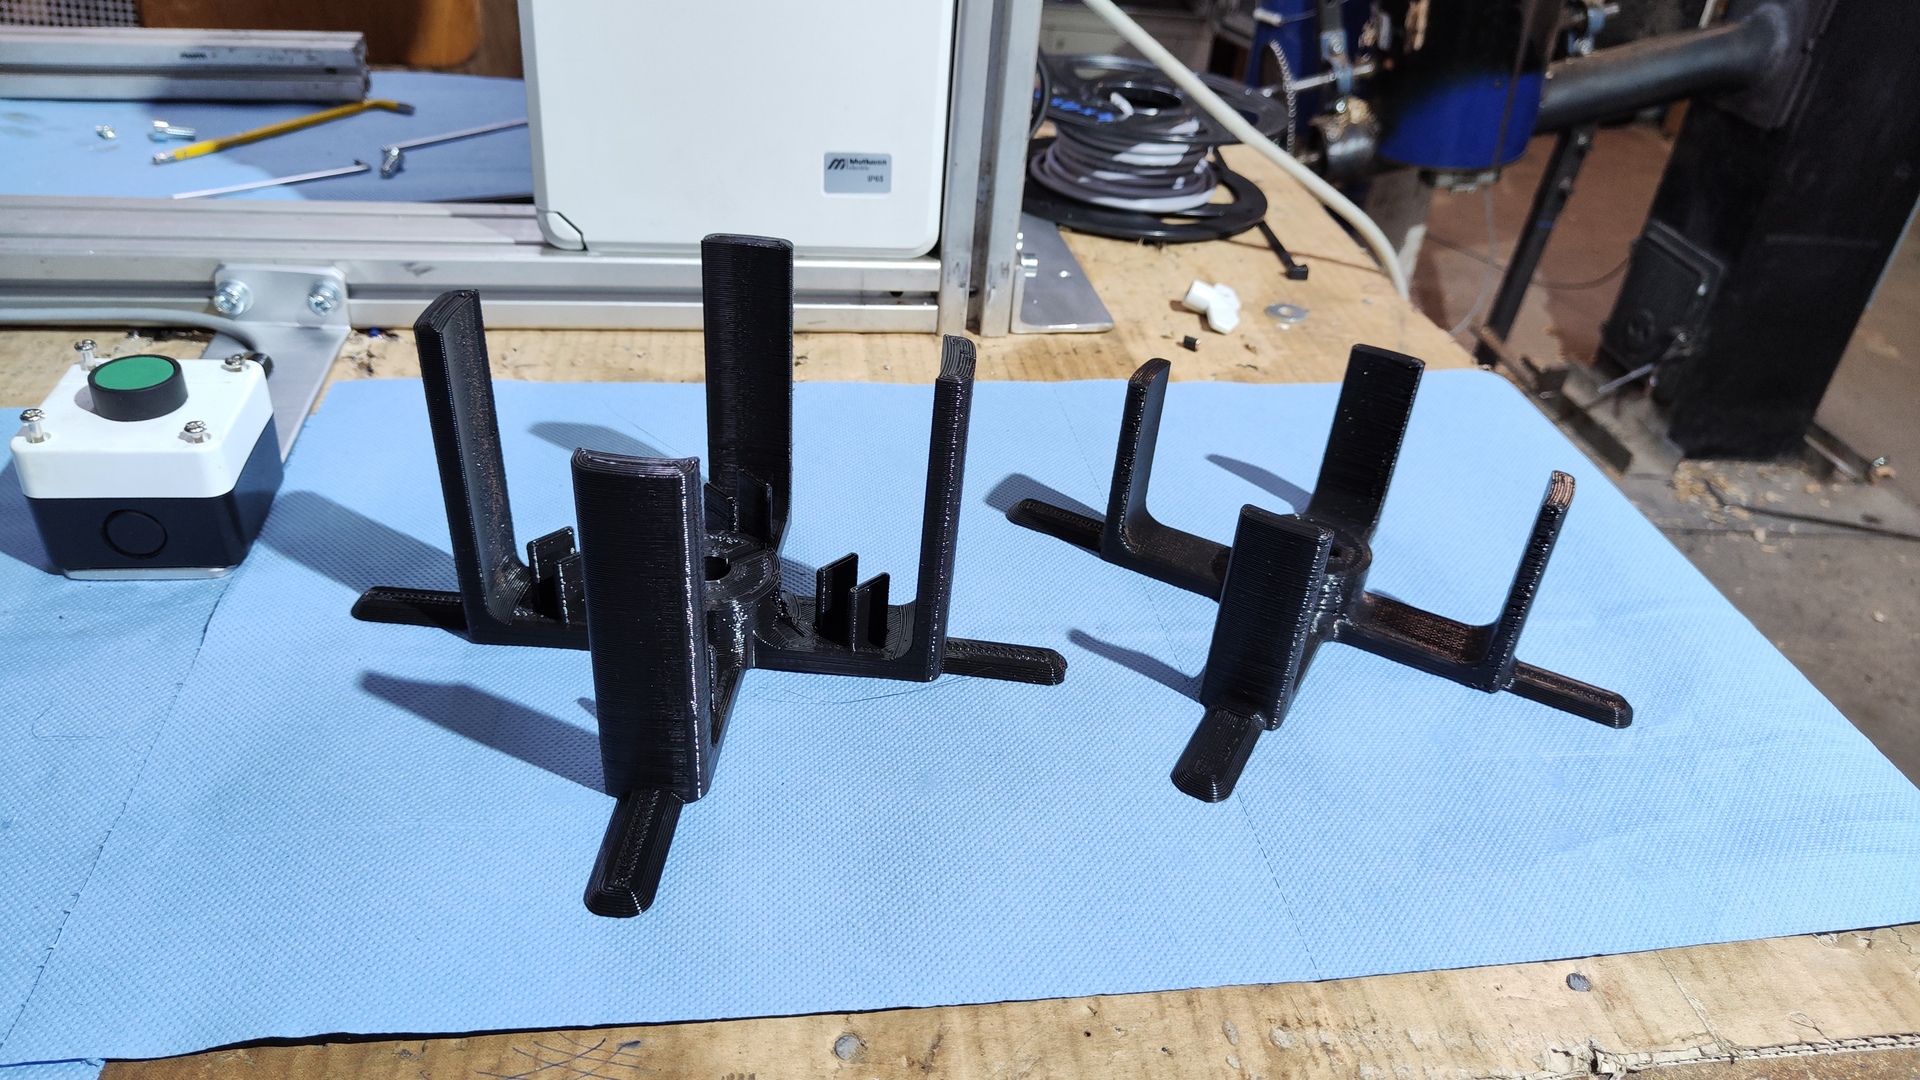
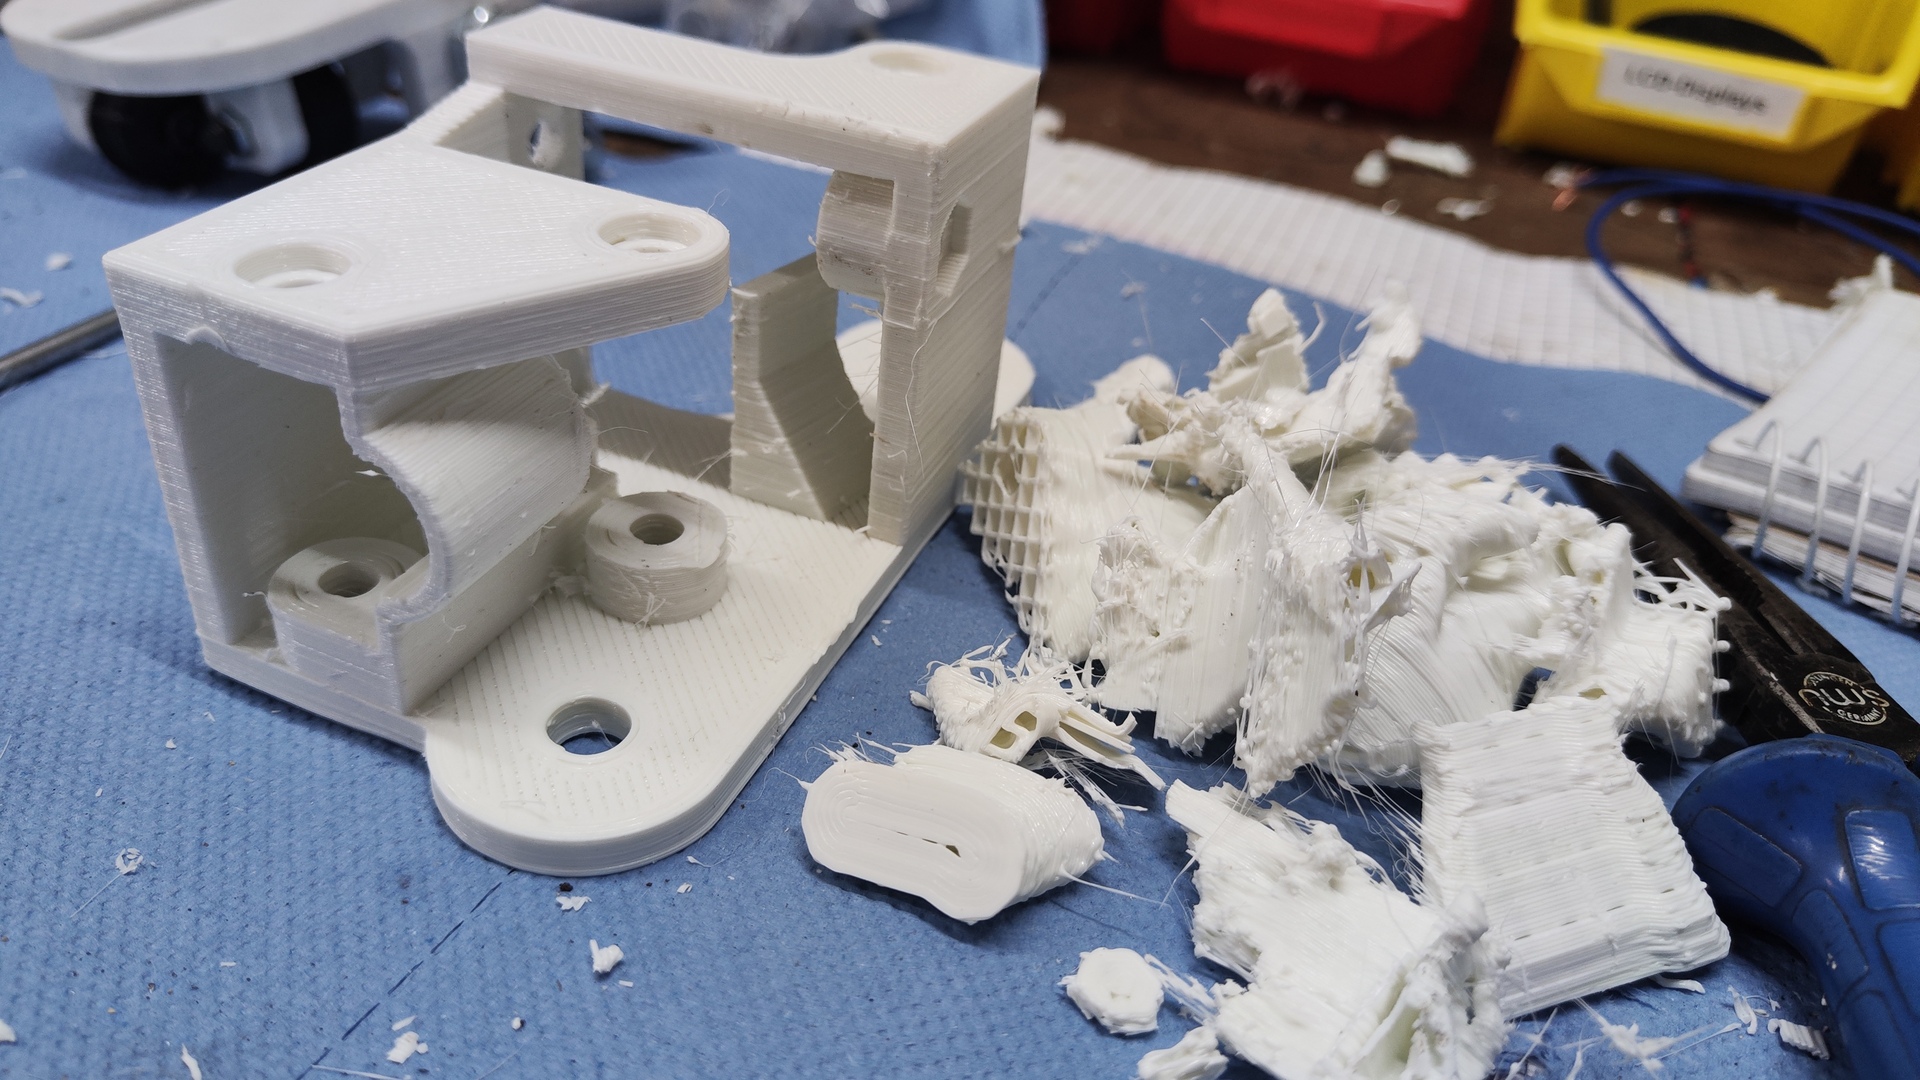
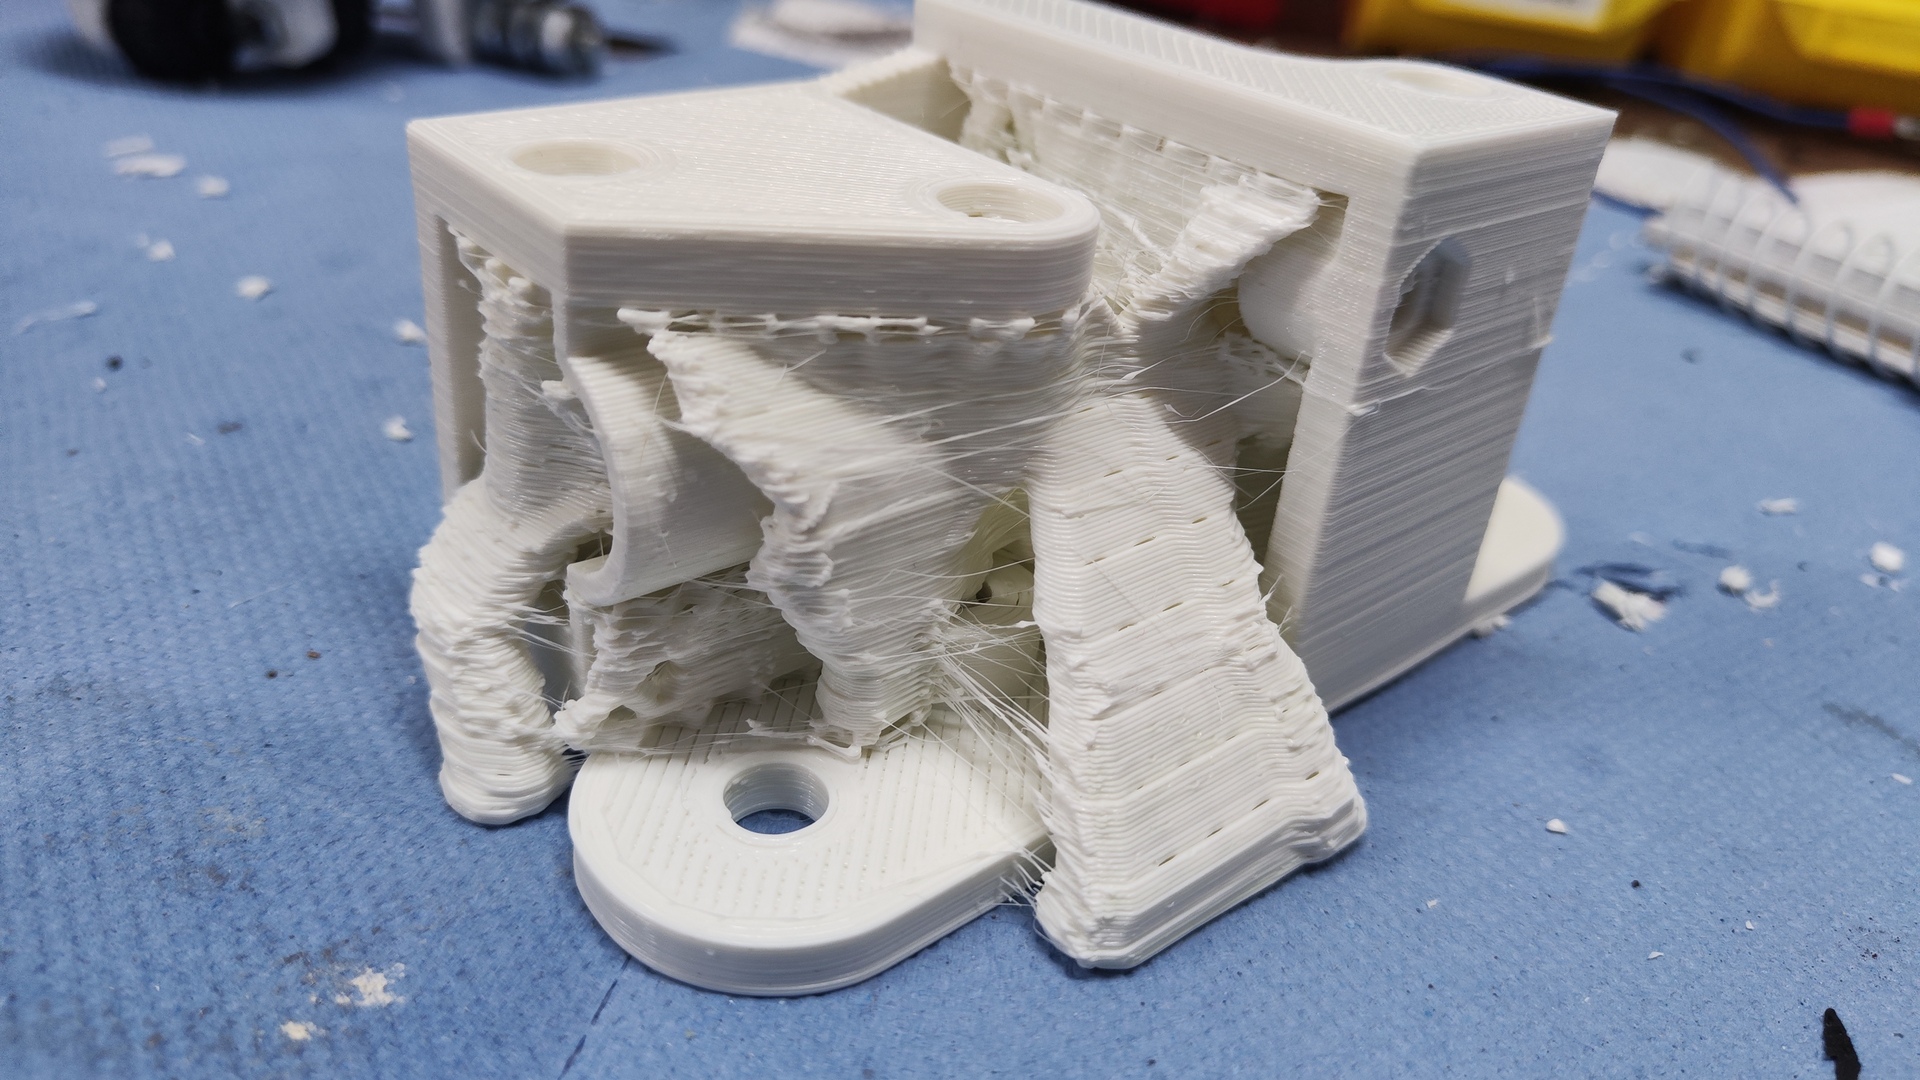
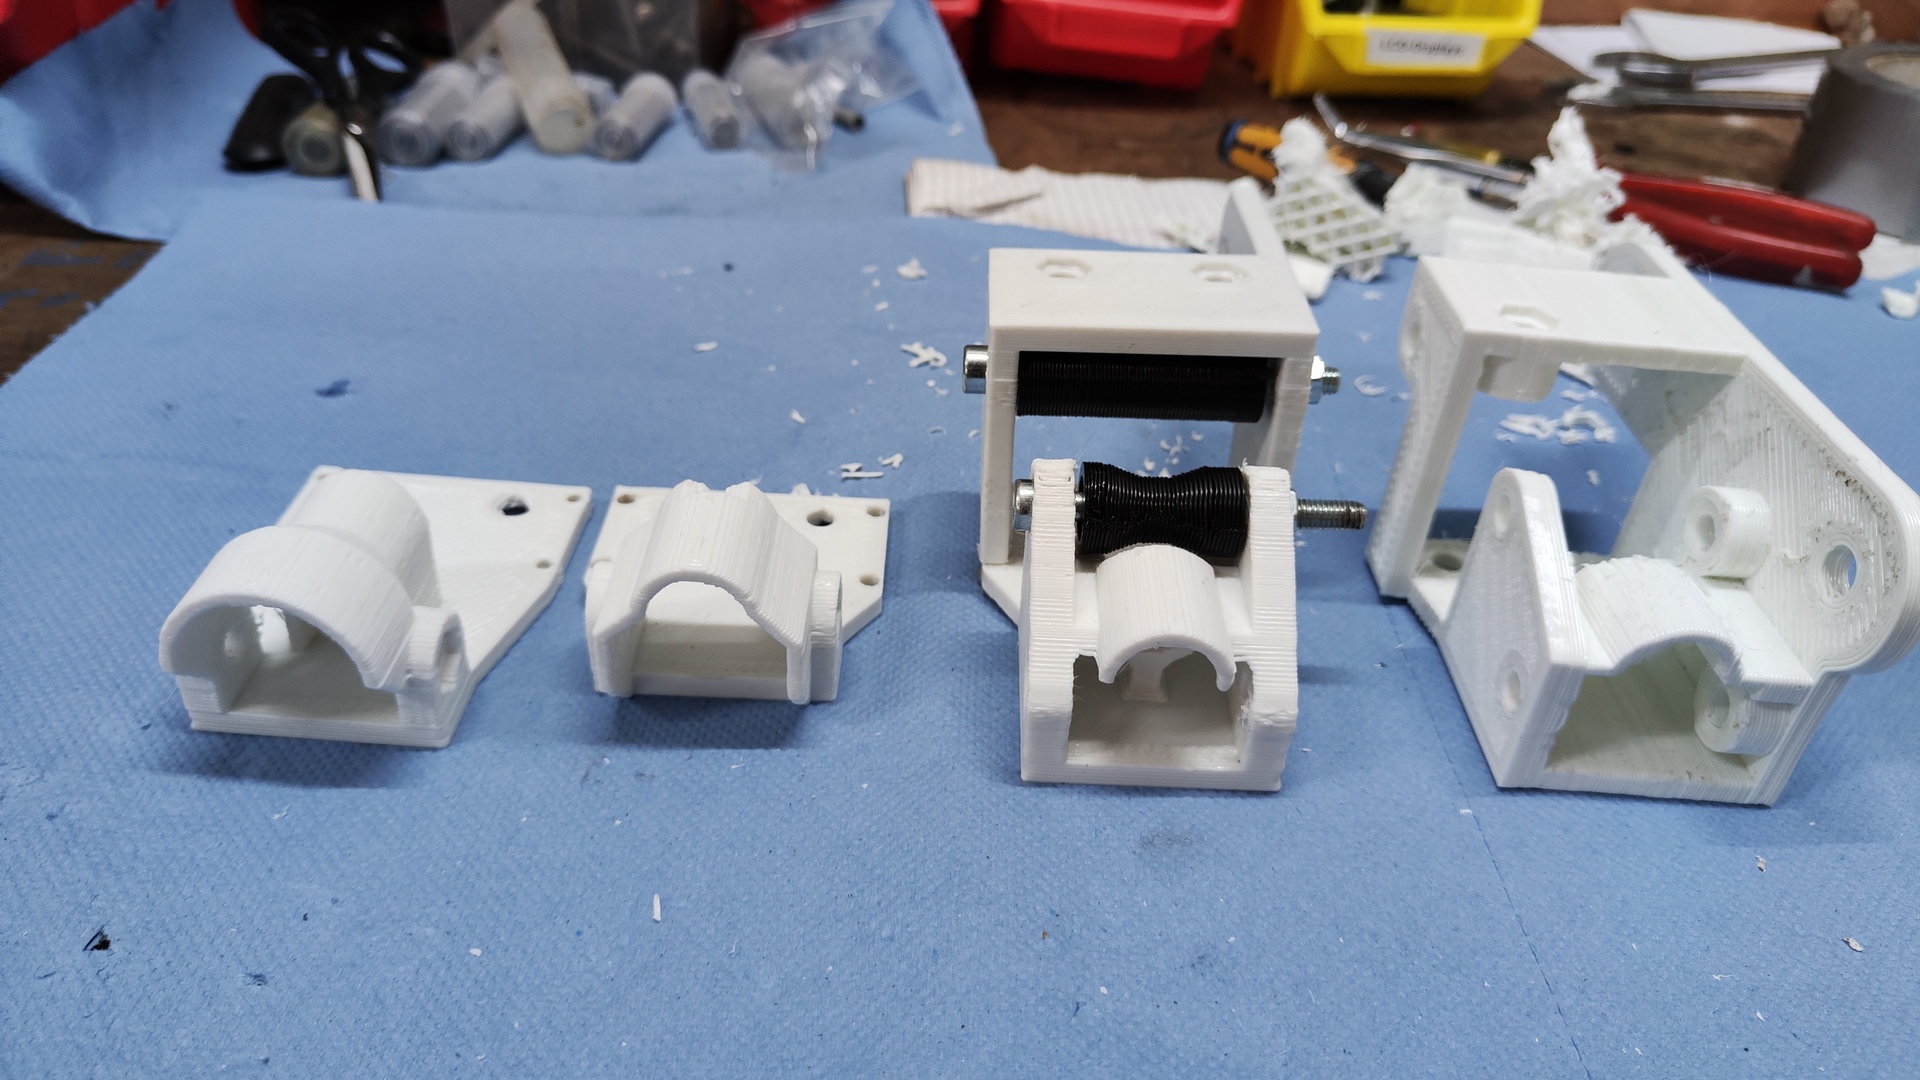
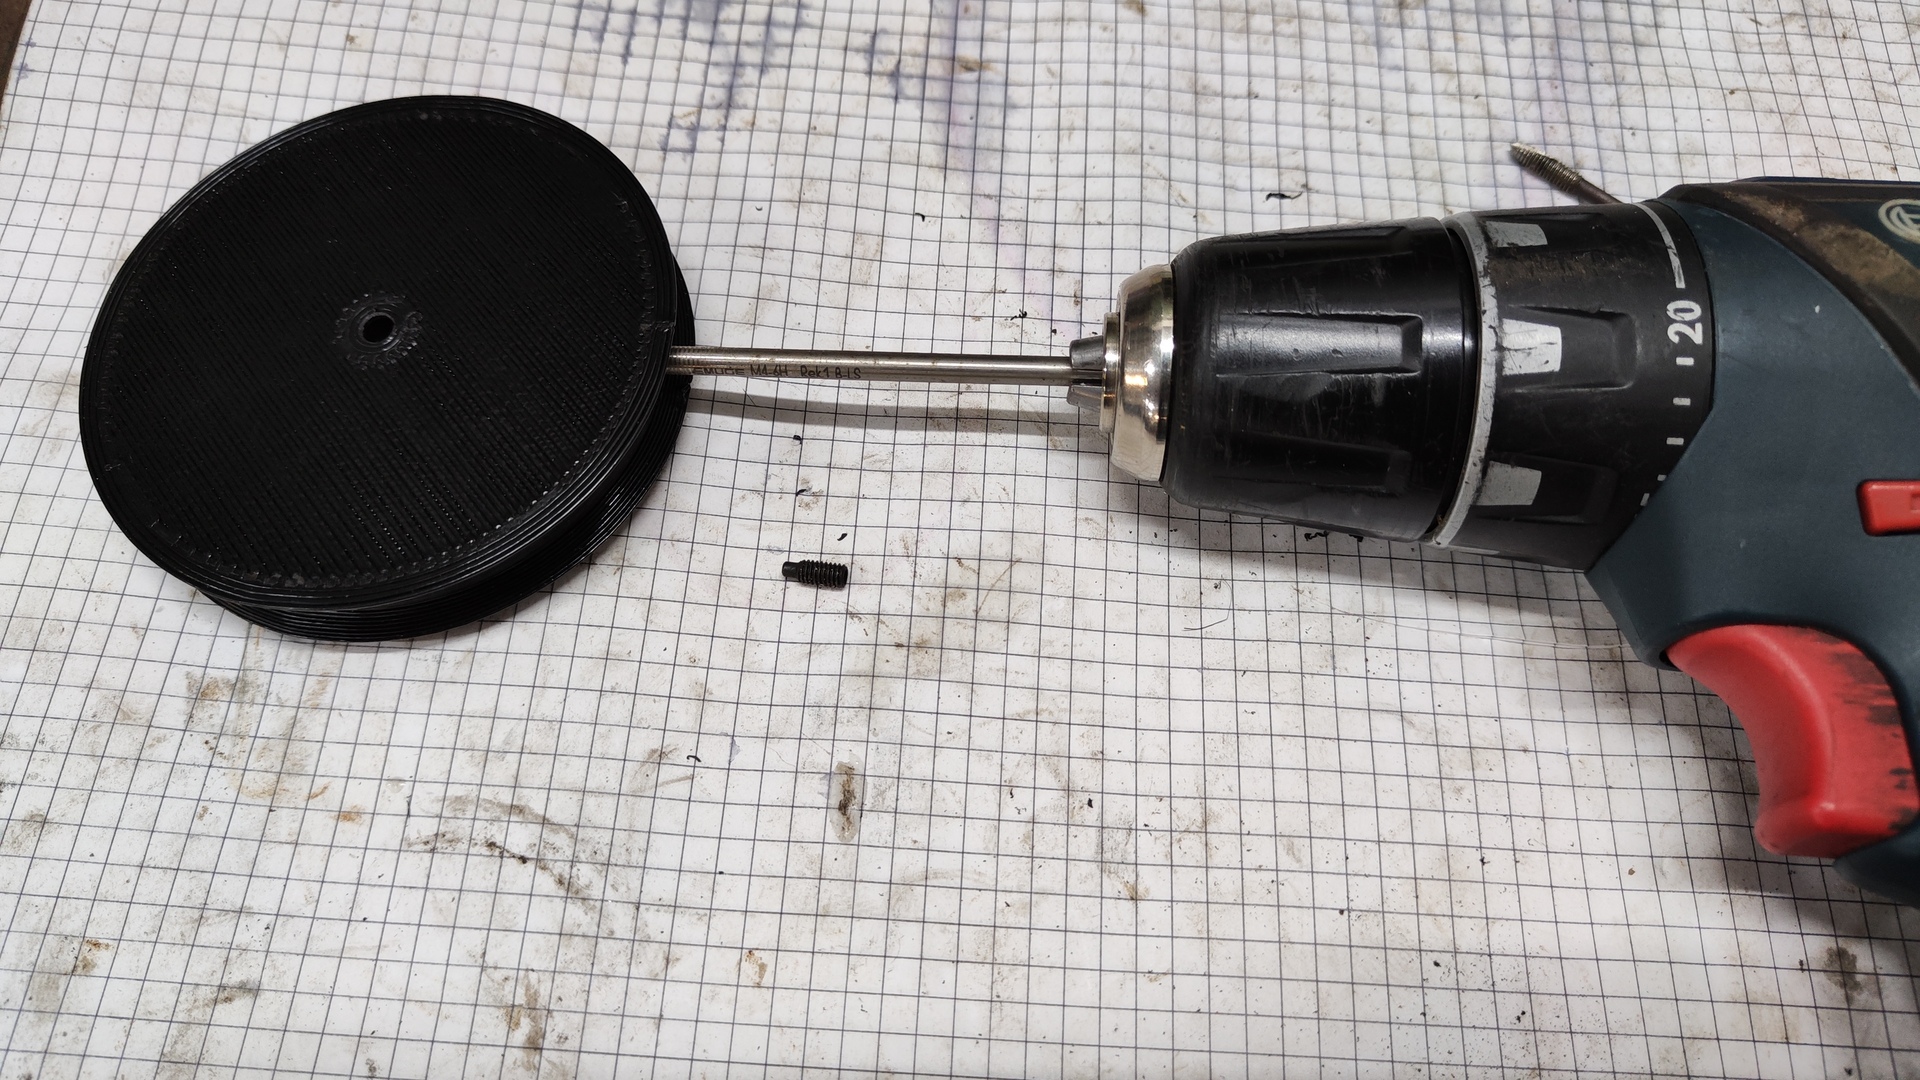
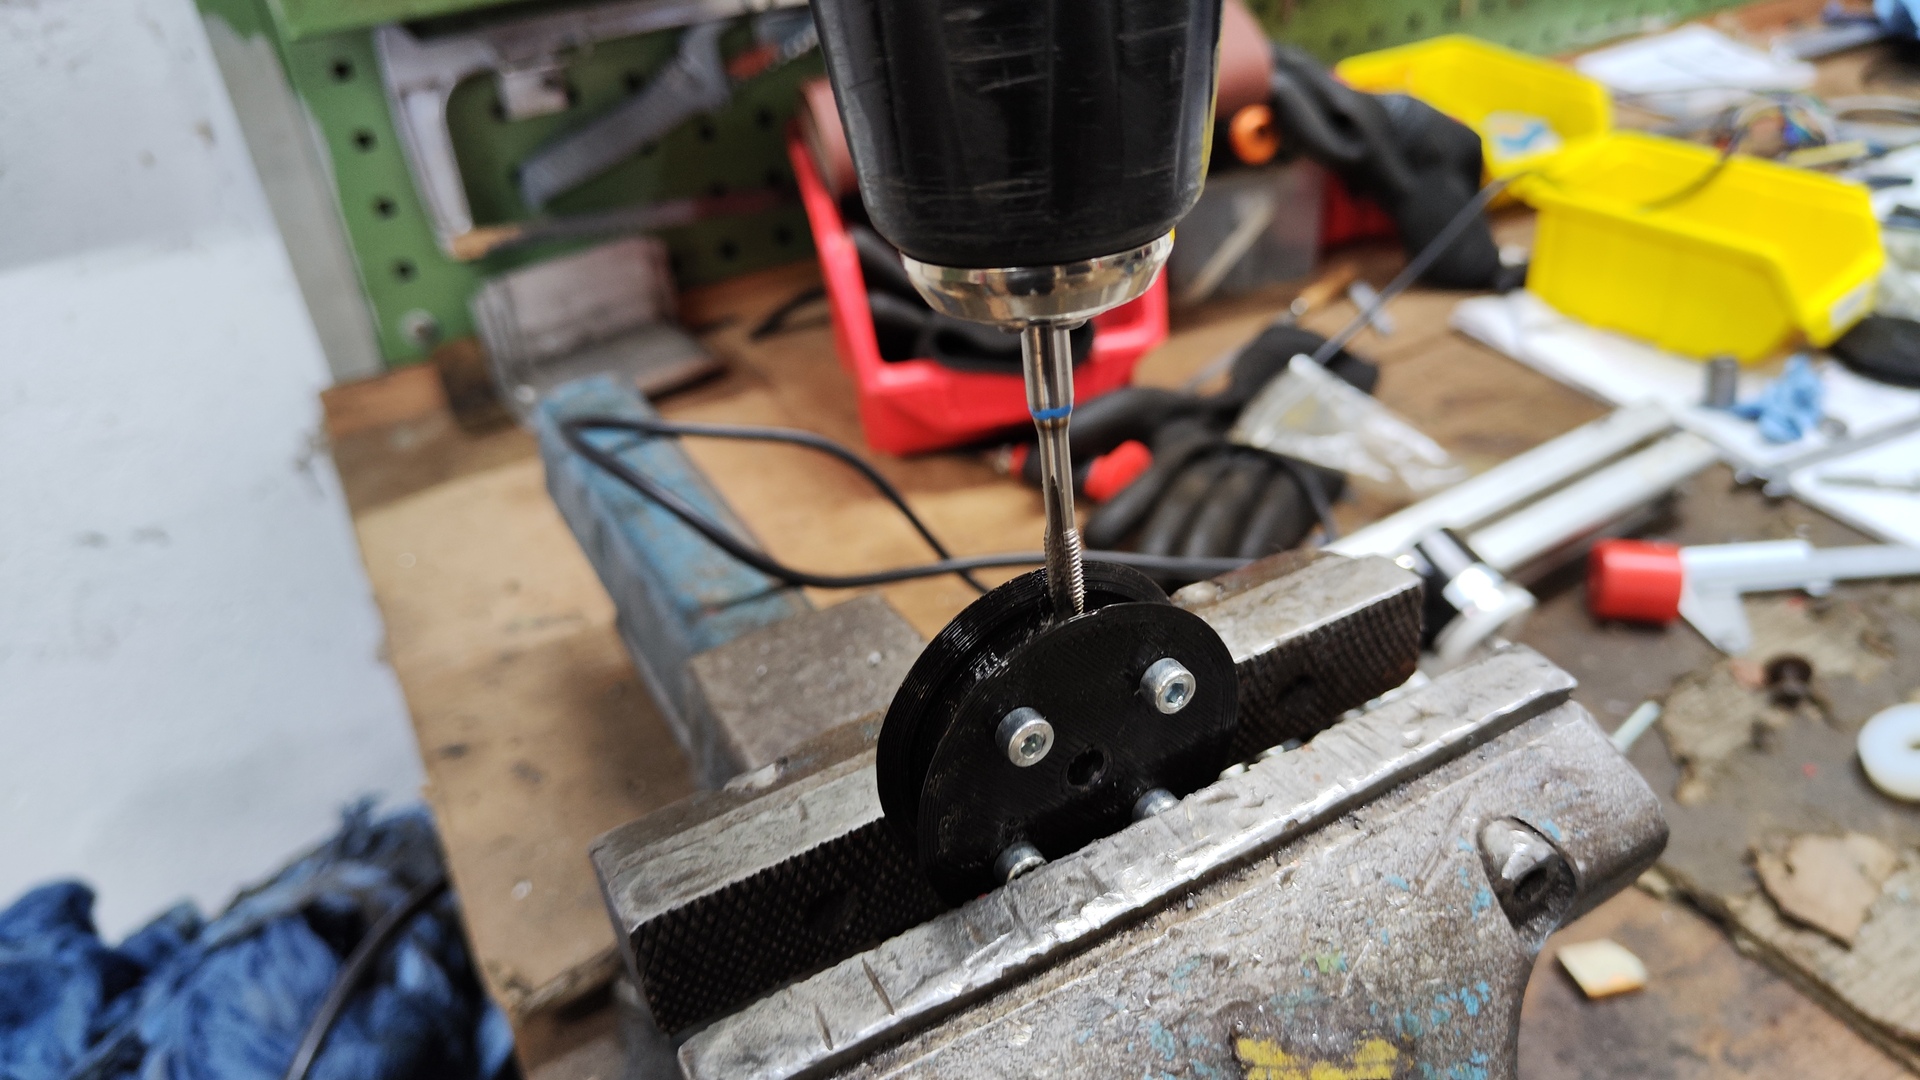
3D-printed Parts:
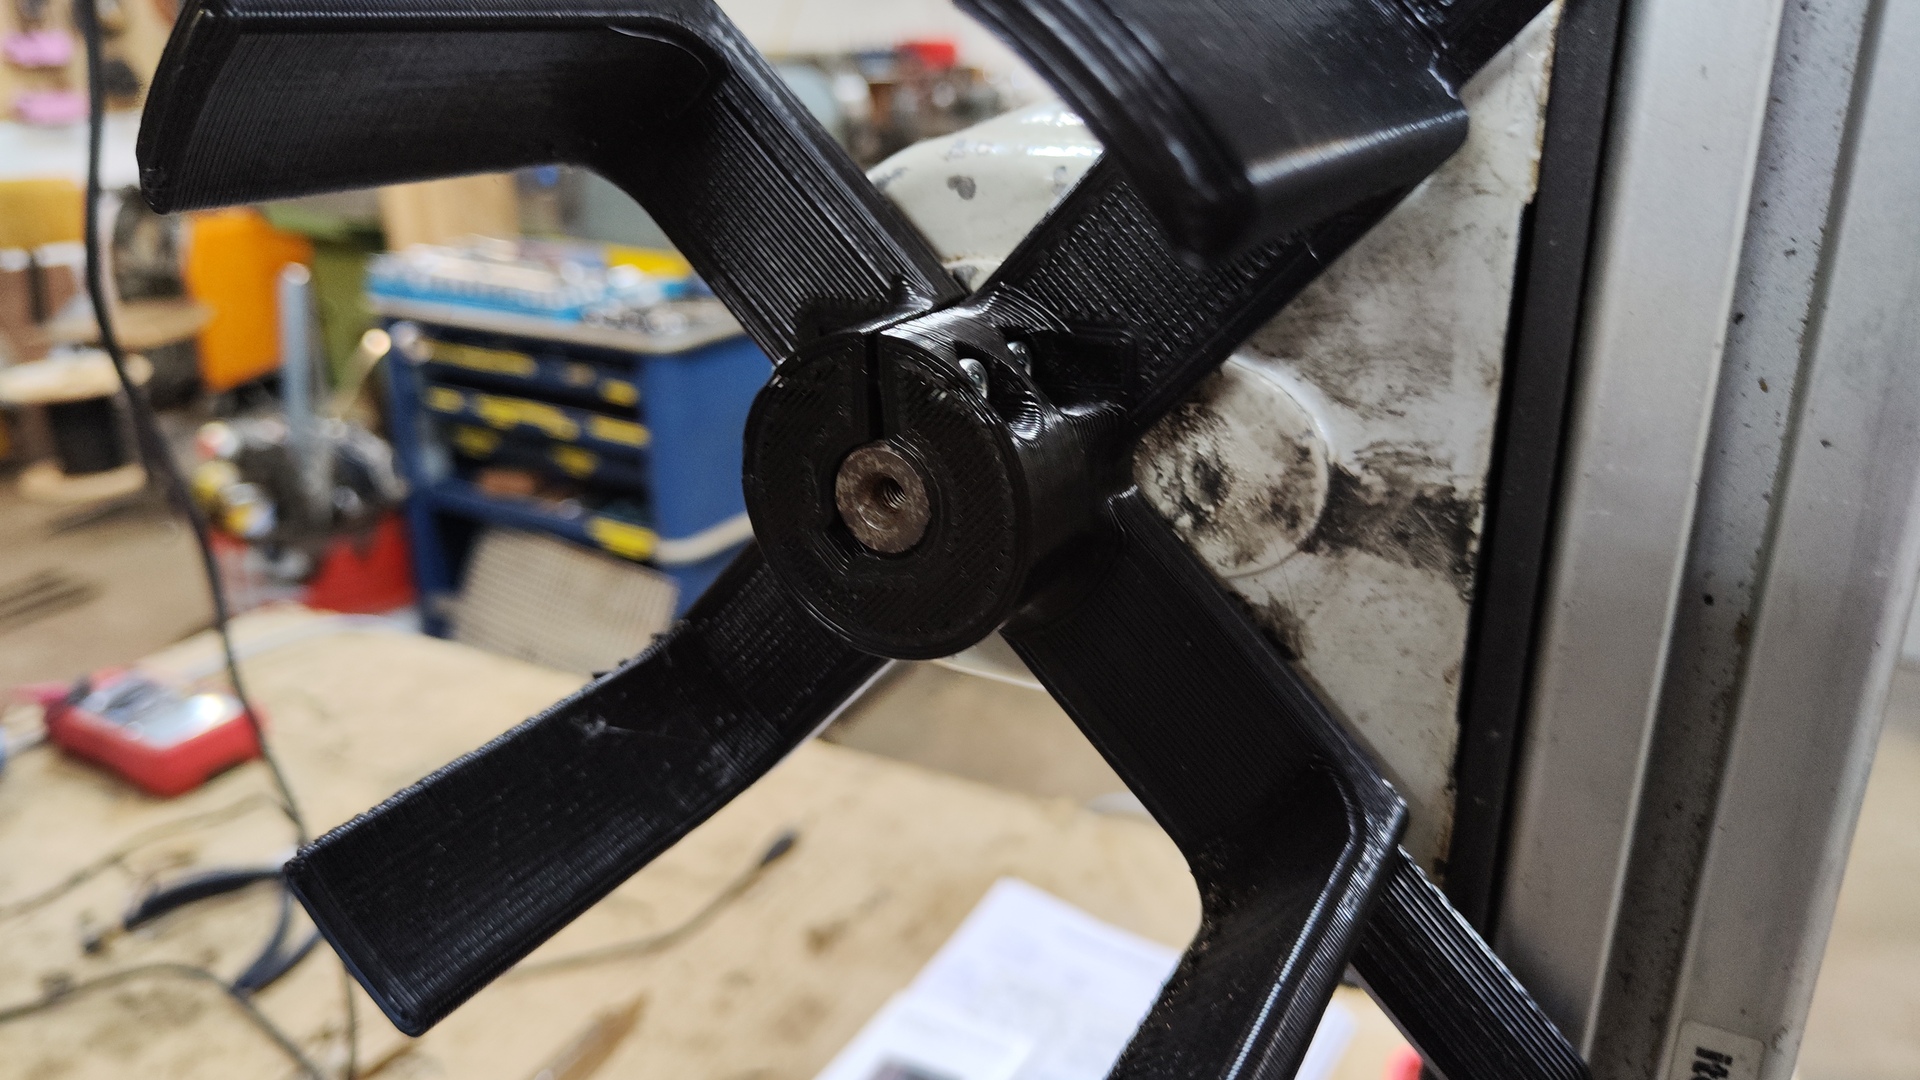
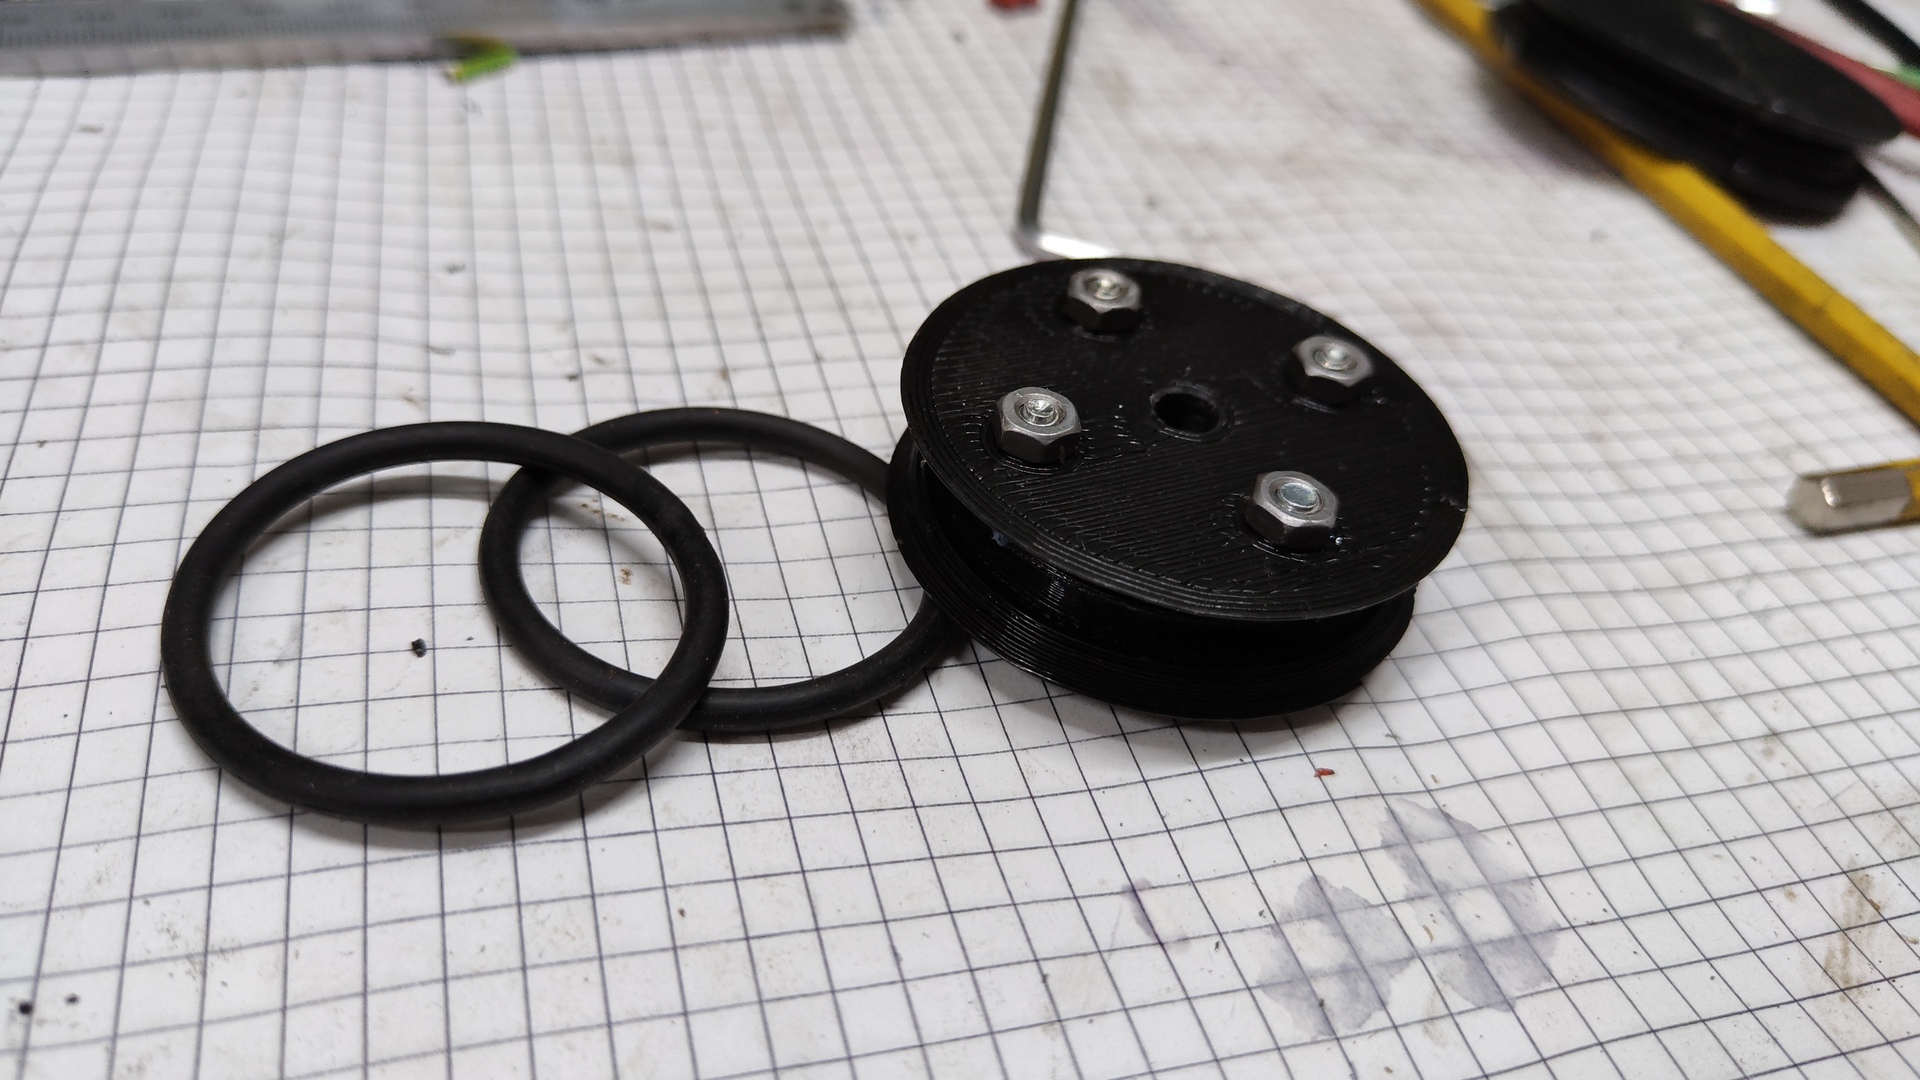
- Cable reel
- Guides, Rolls
- Control box
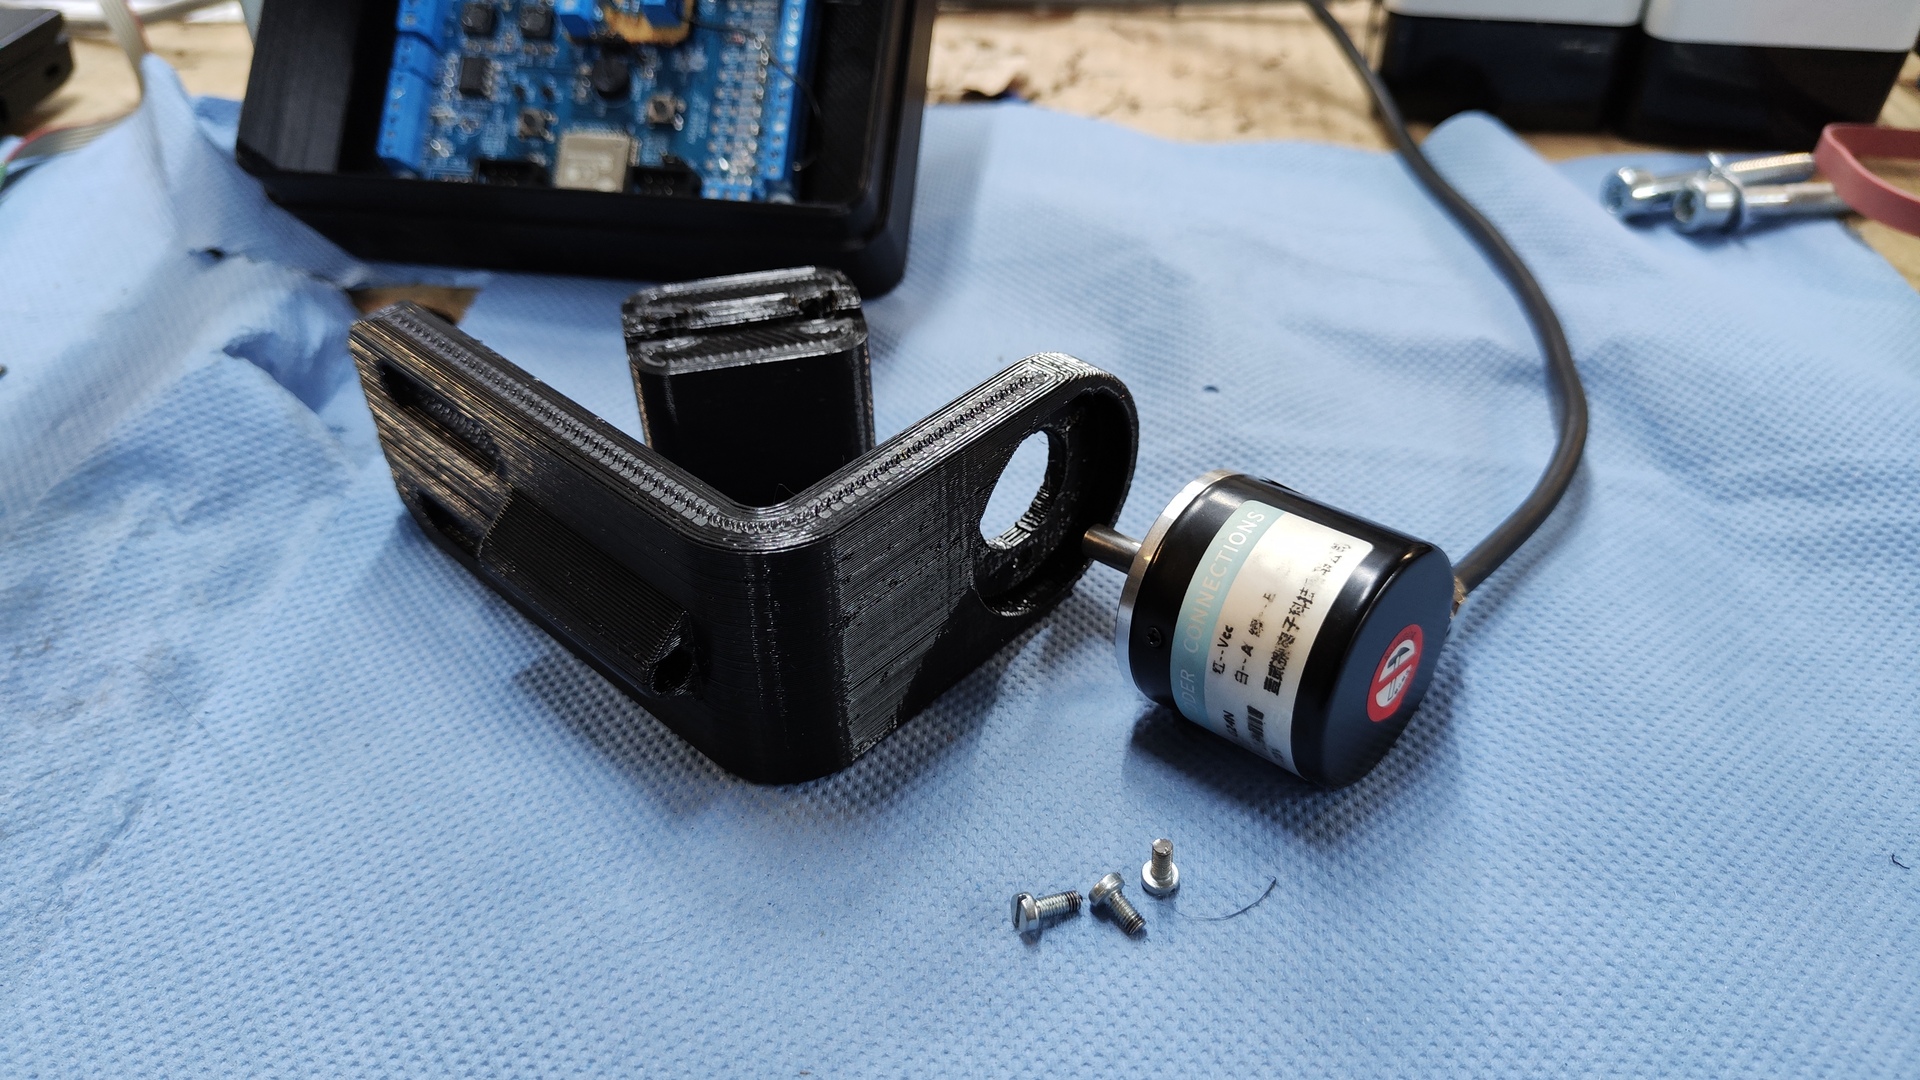
- Encoder mount
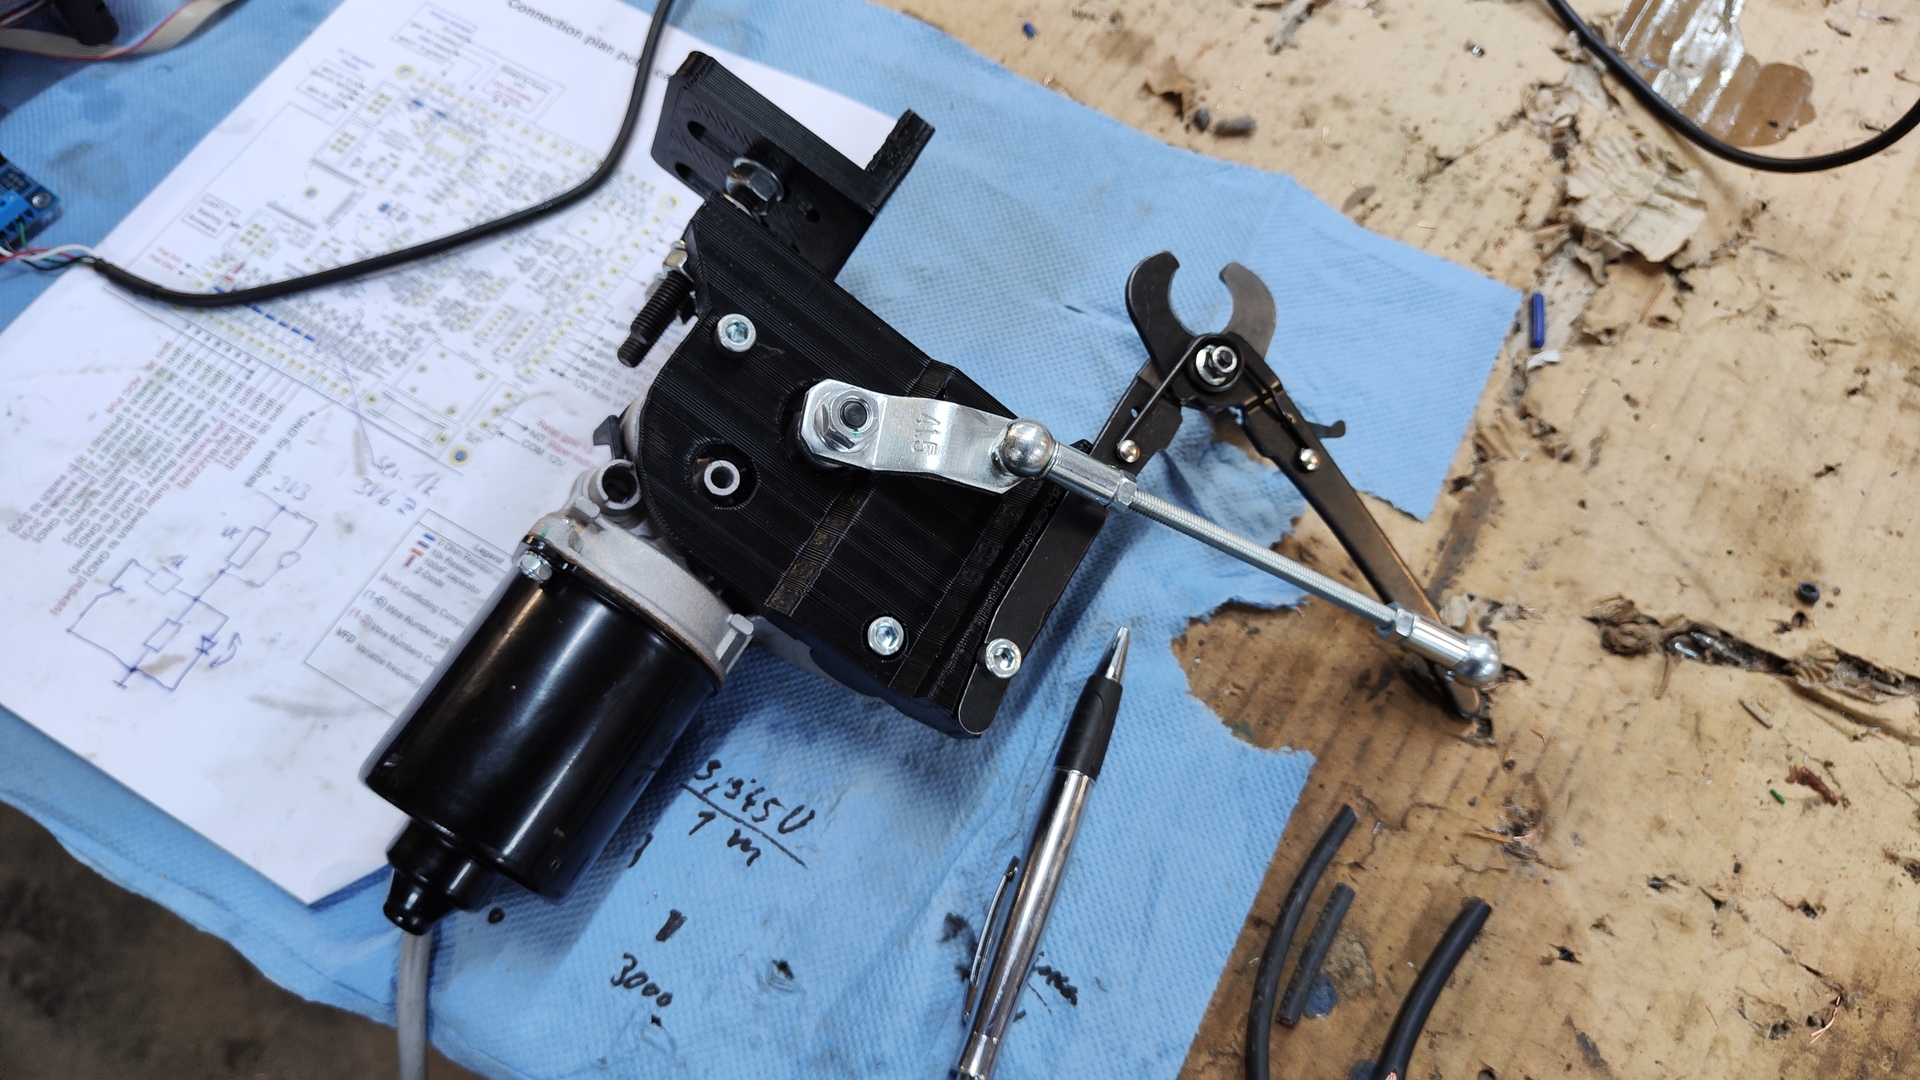
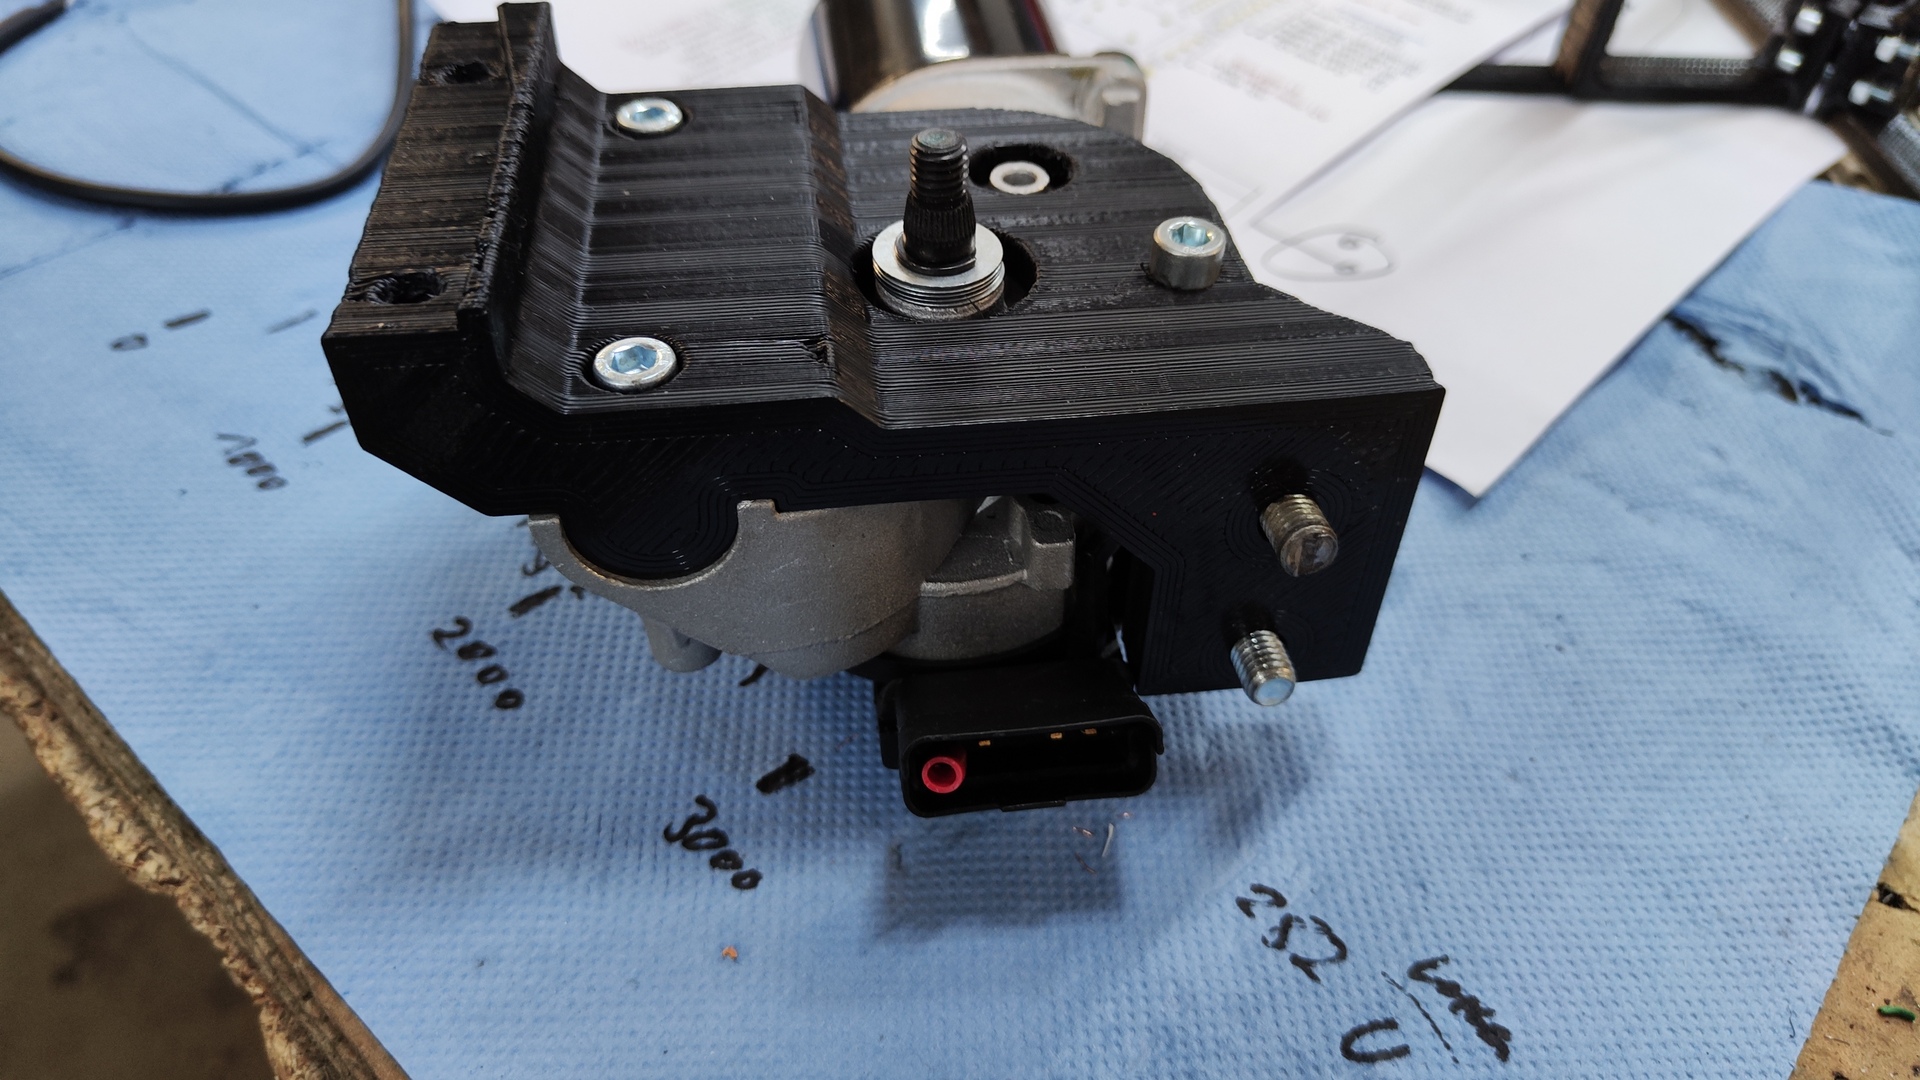
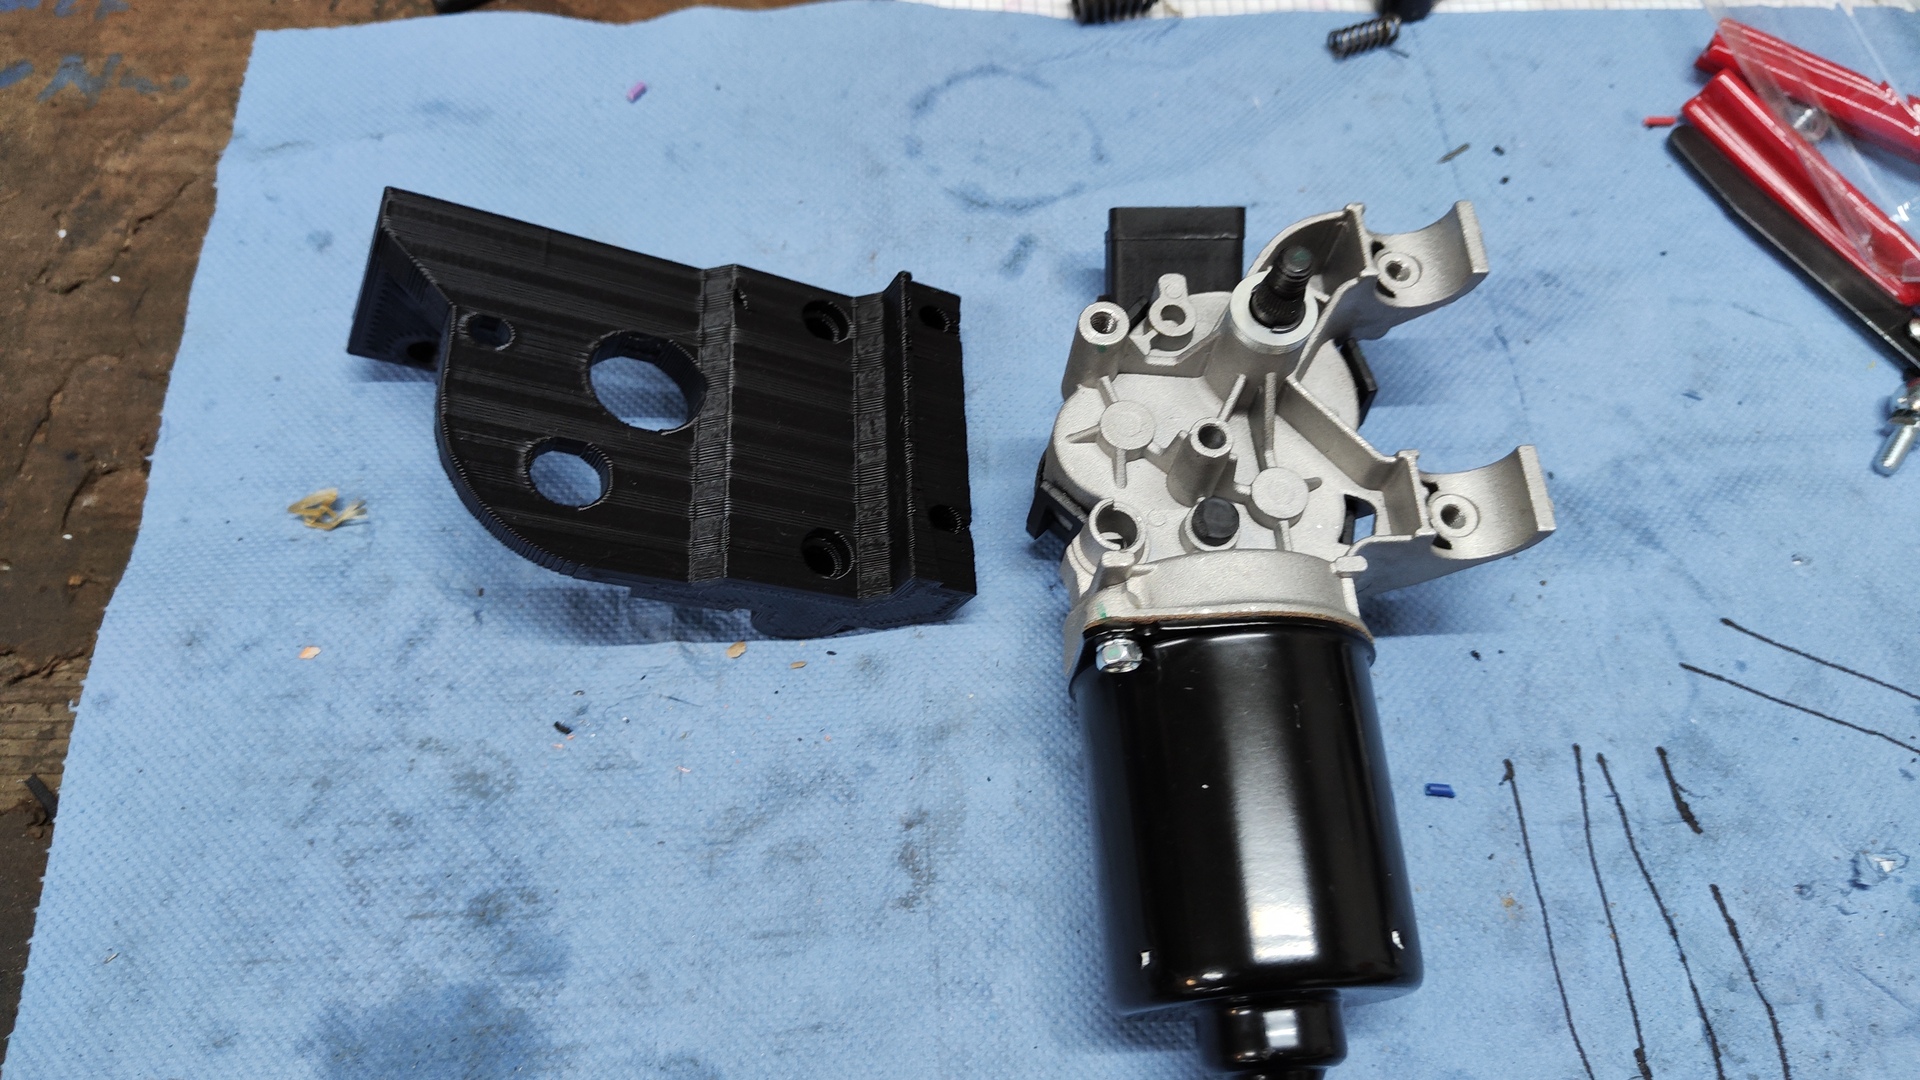
- Cutter main body
- Cable mounts
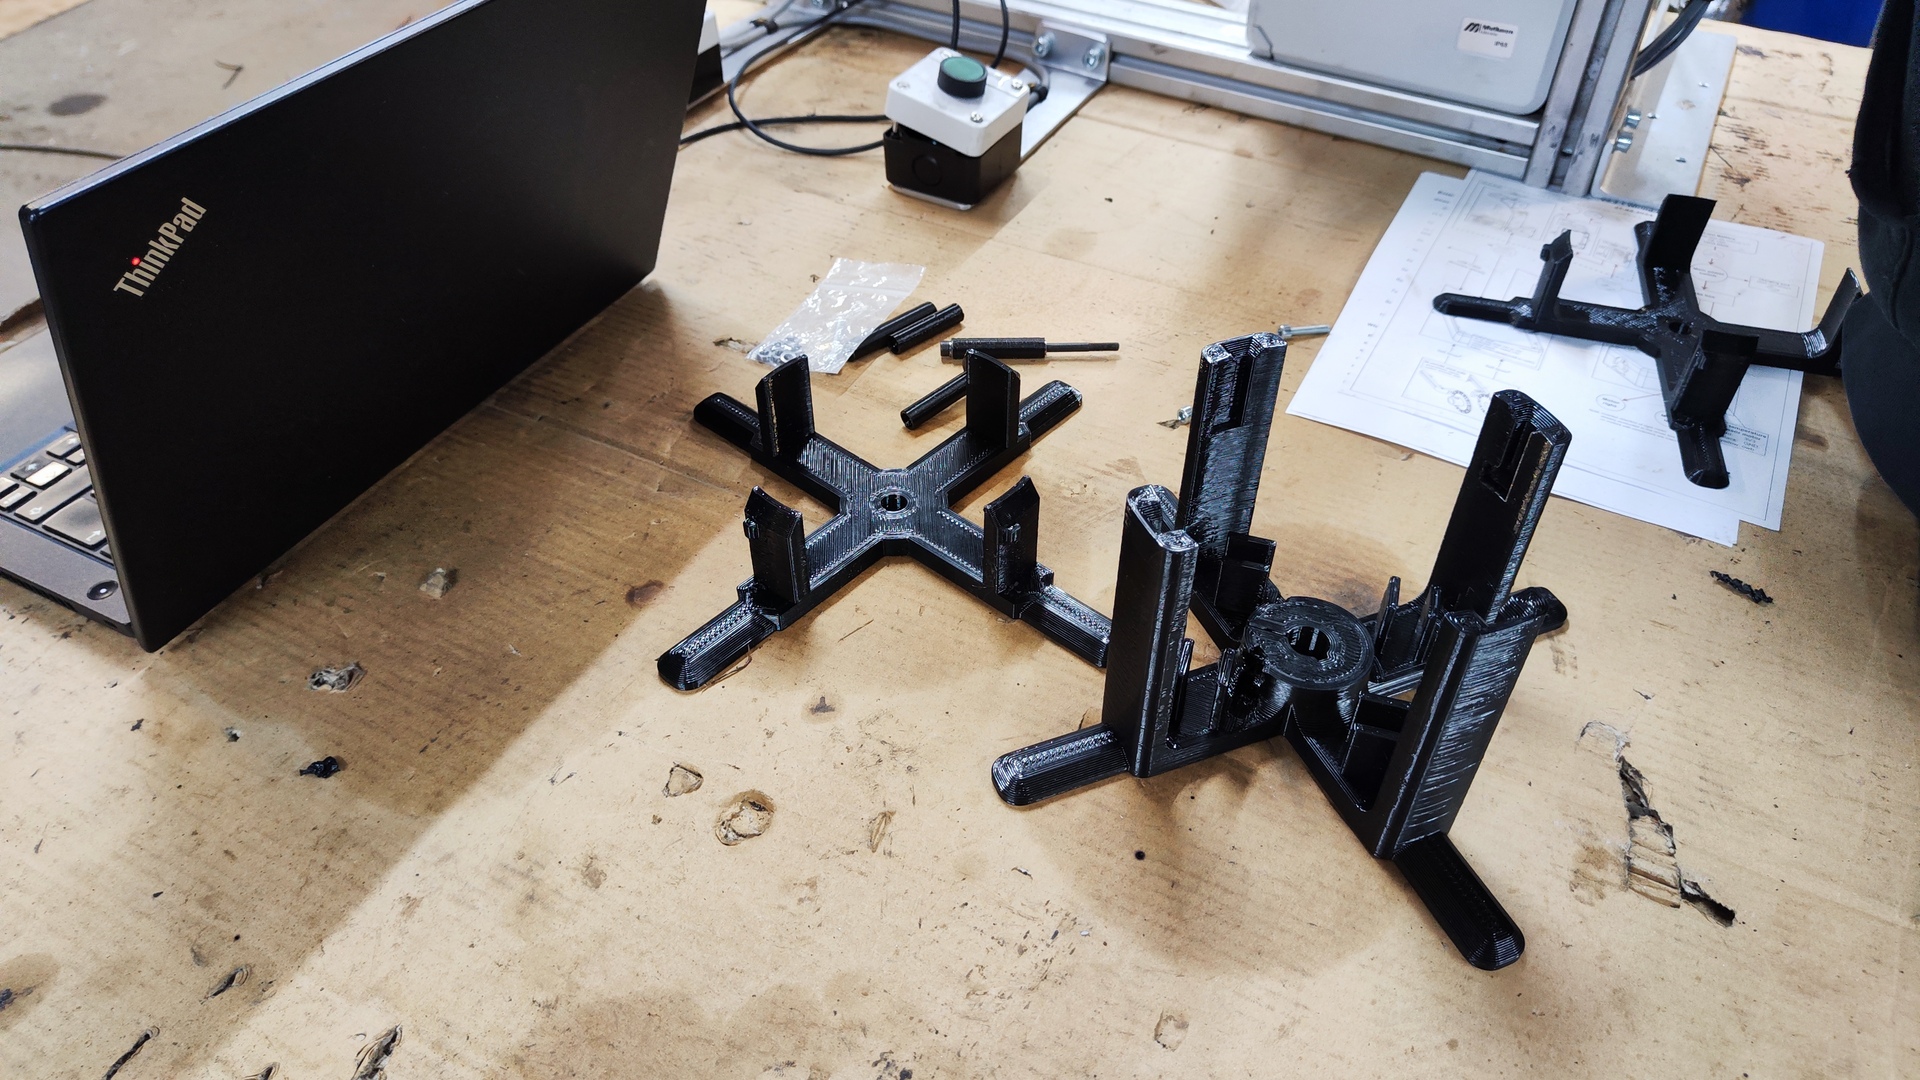
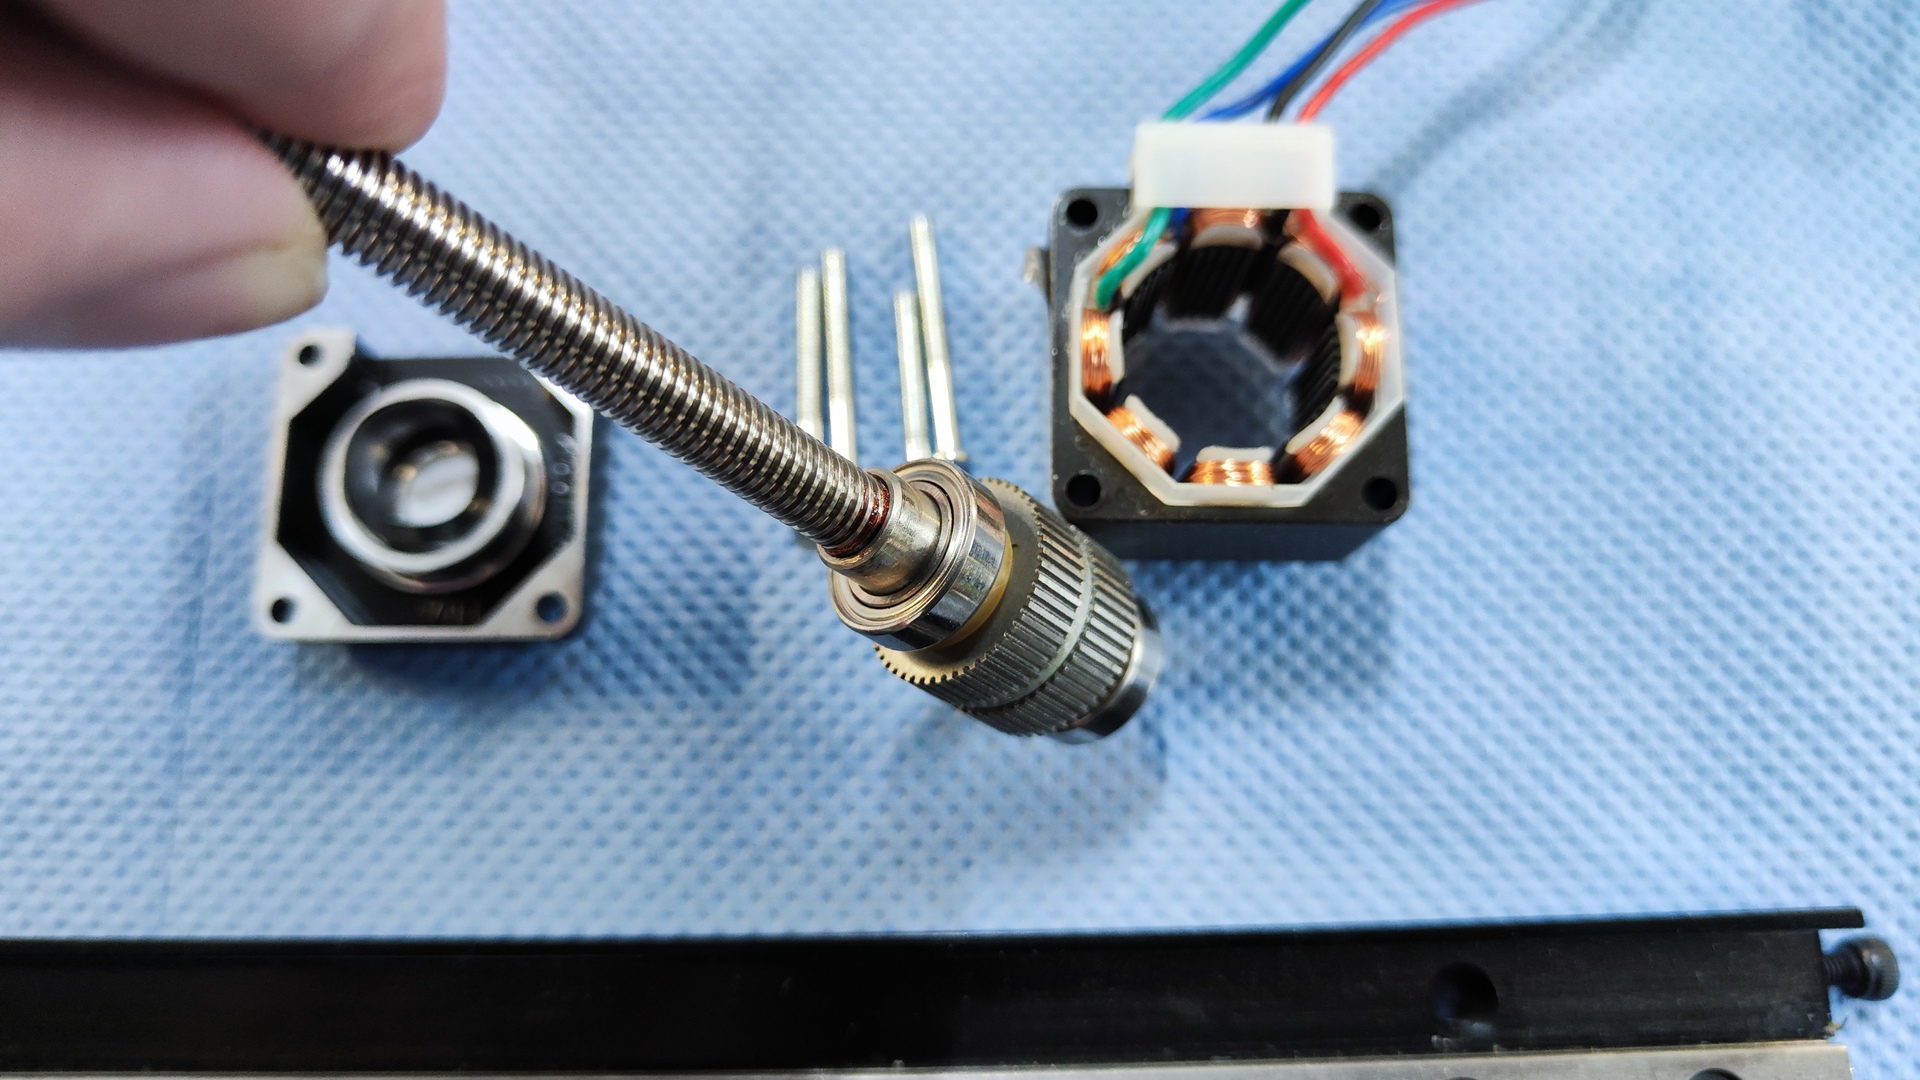
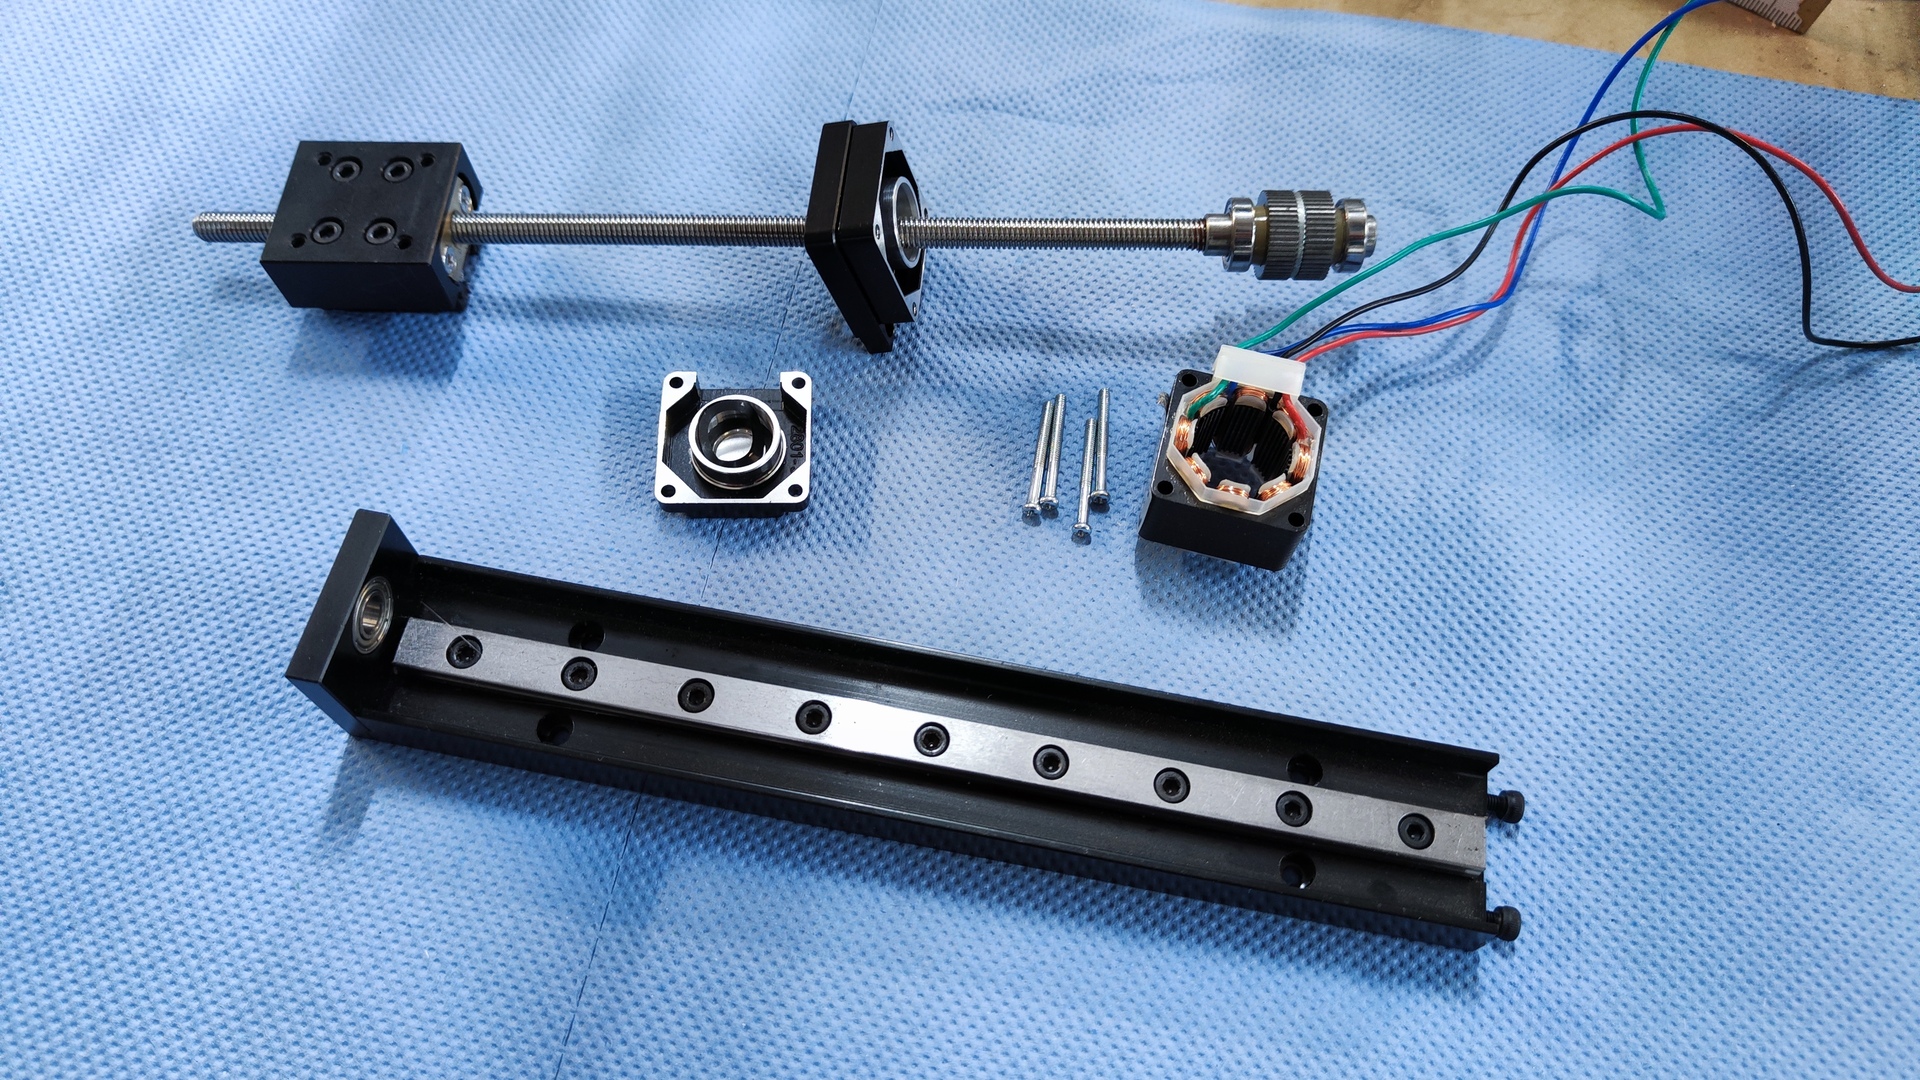
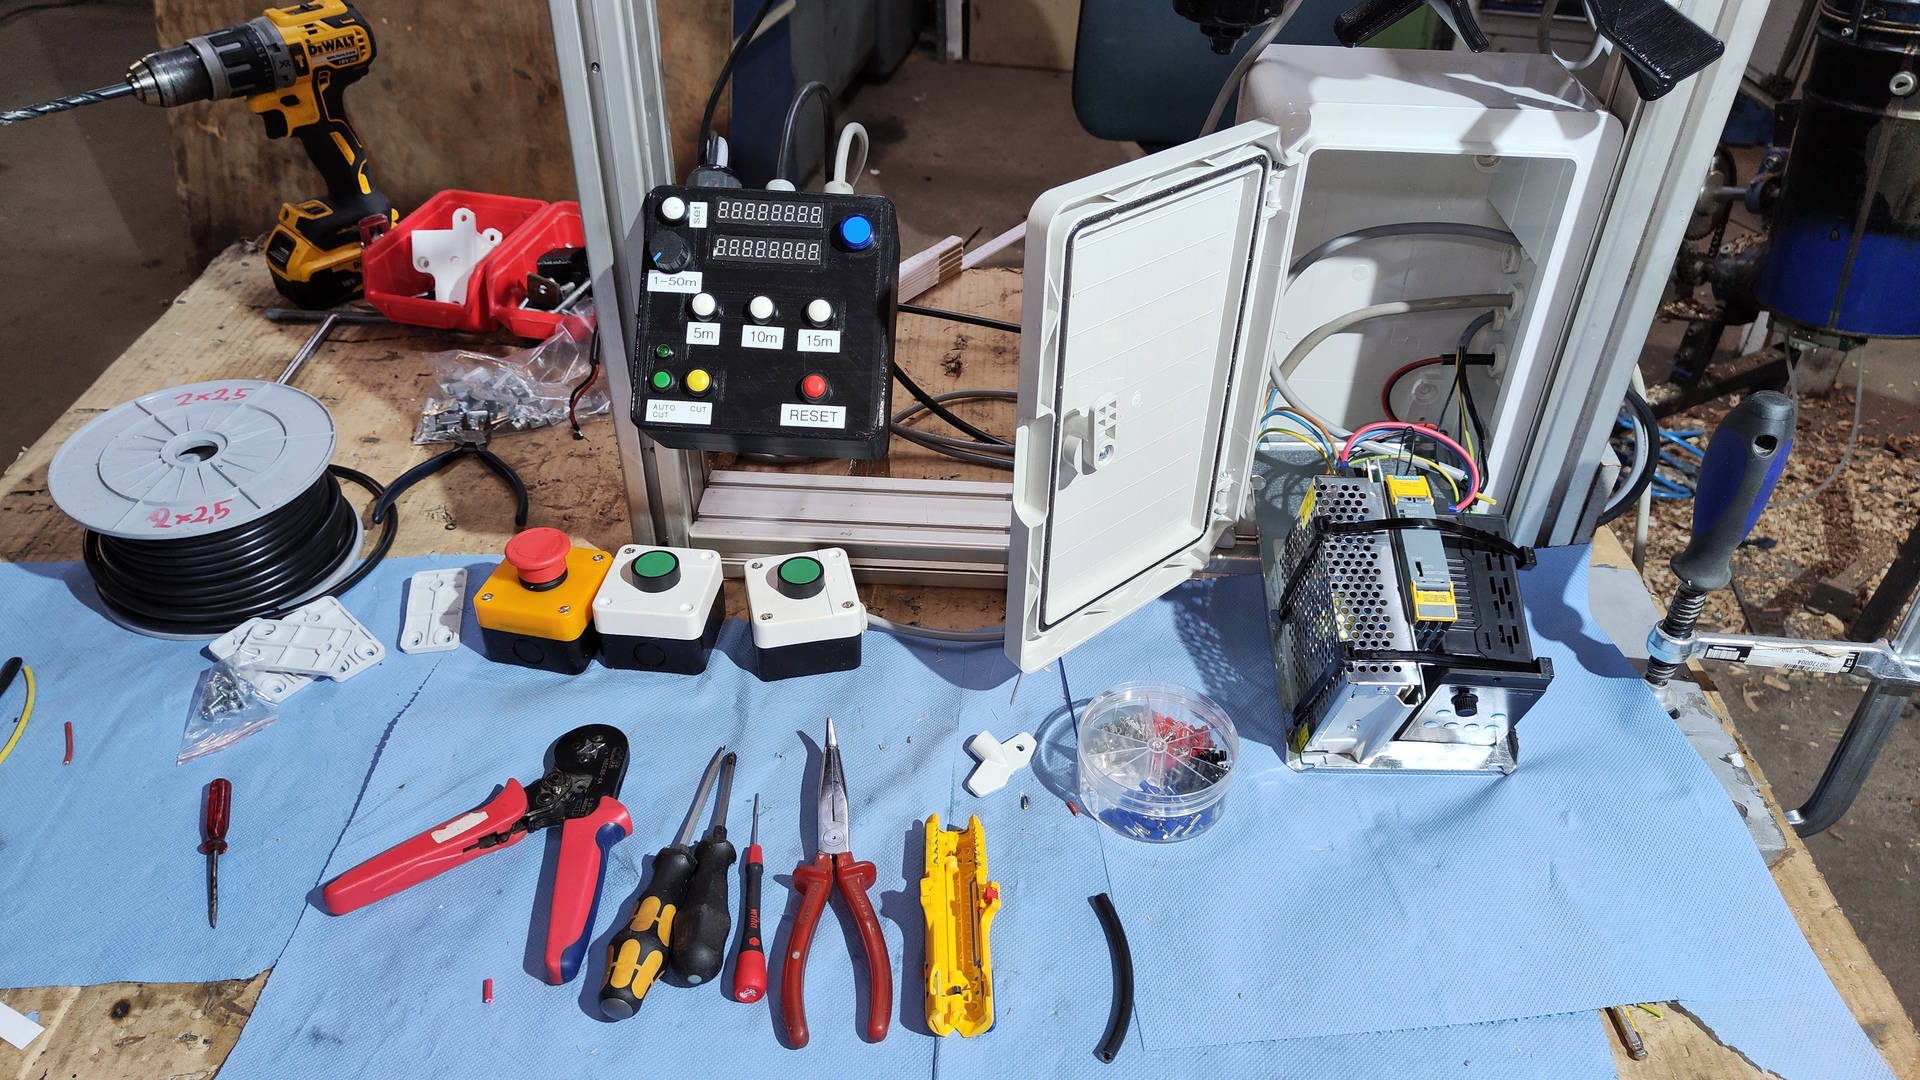
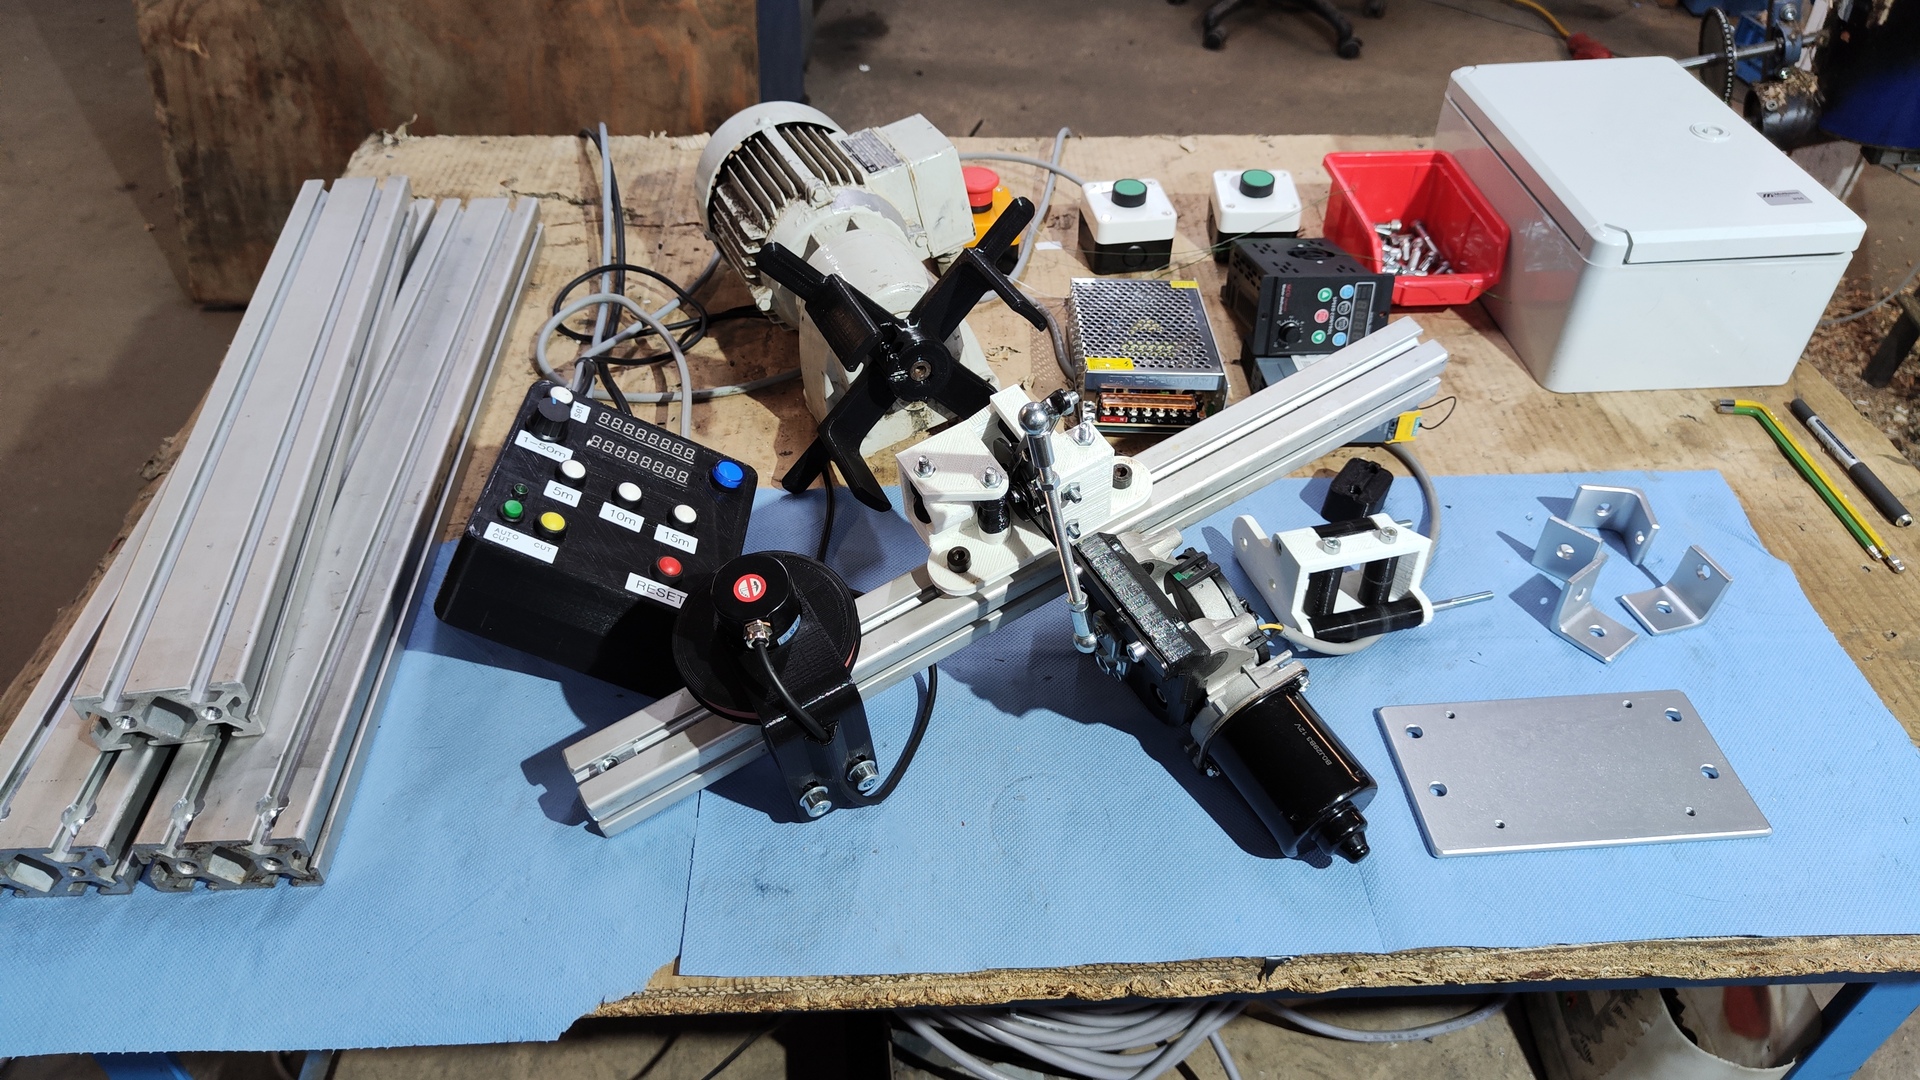
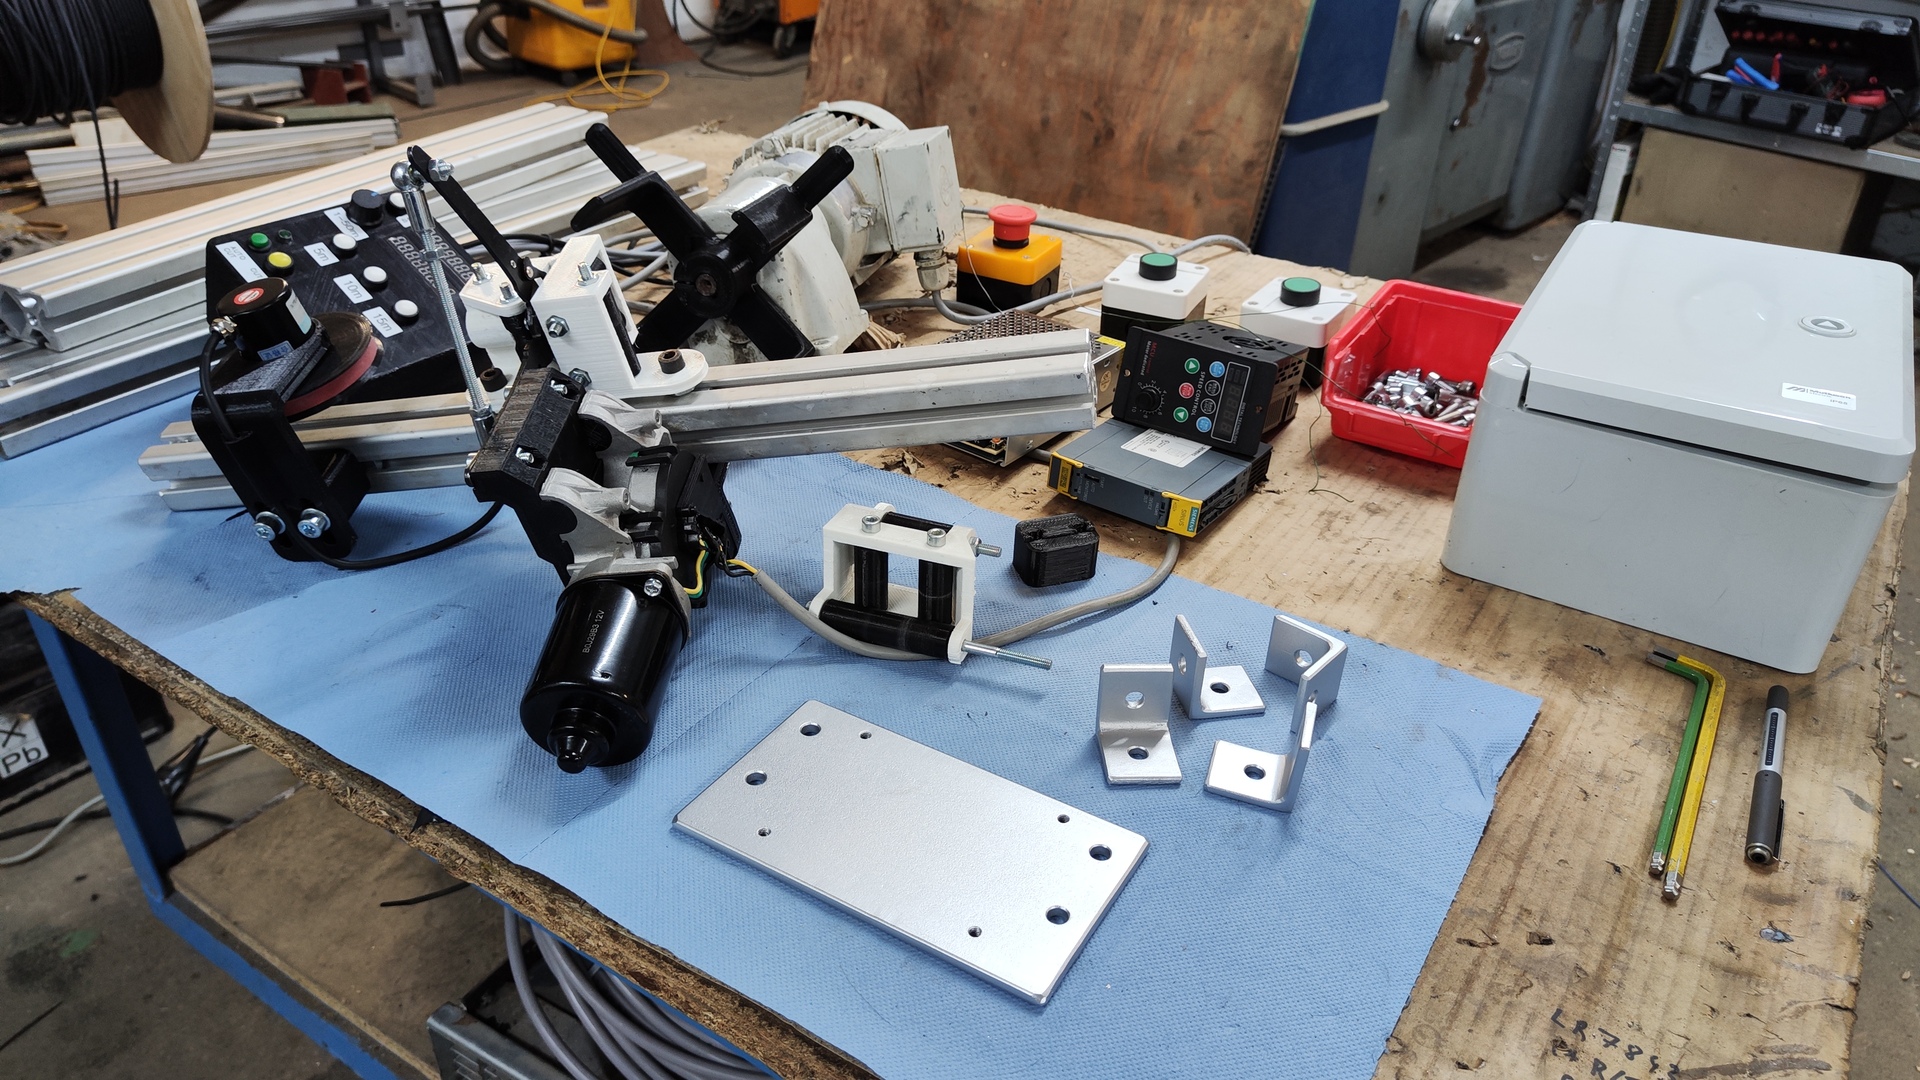
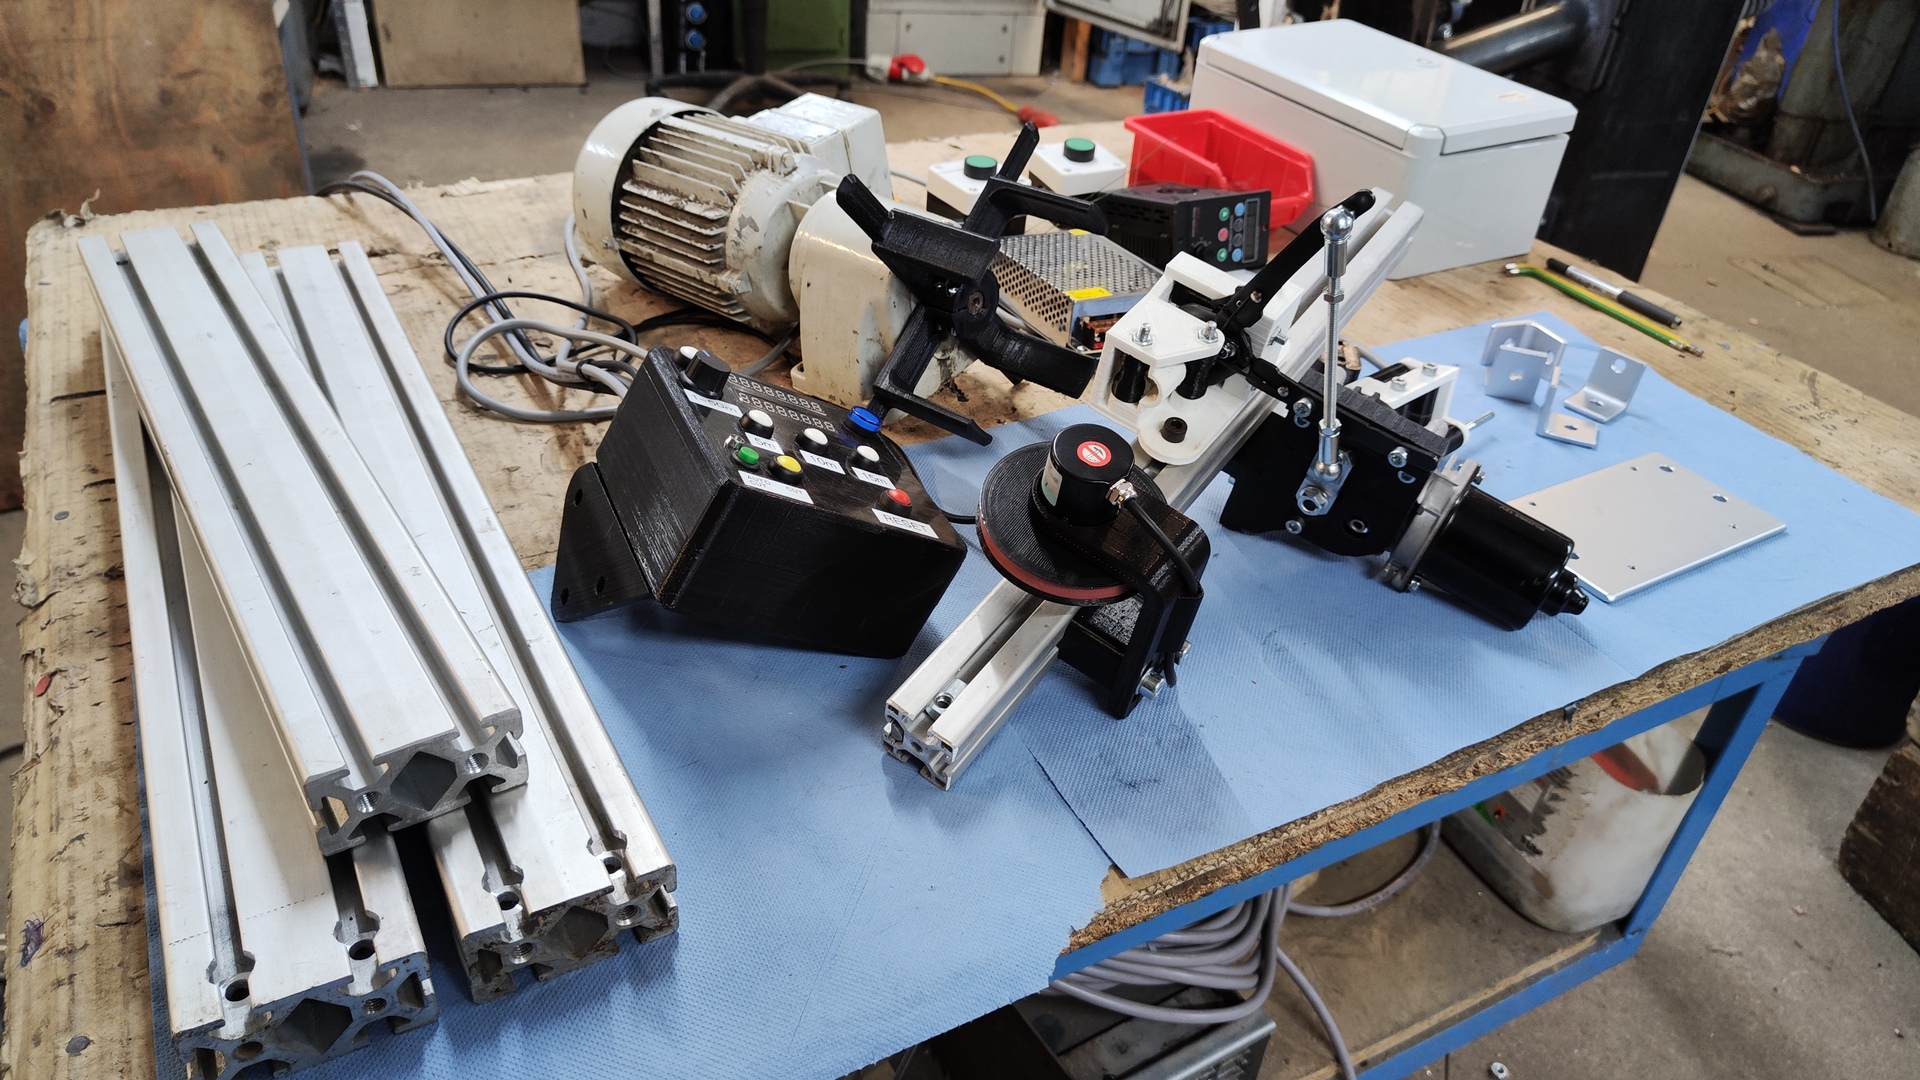
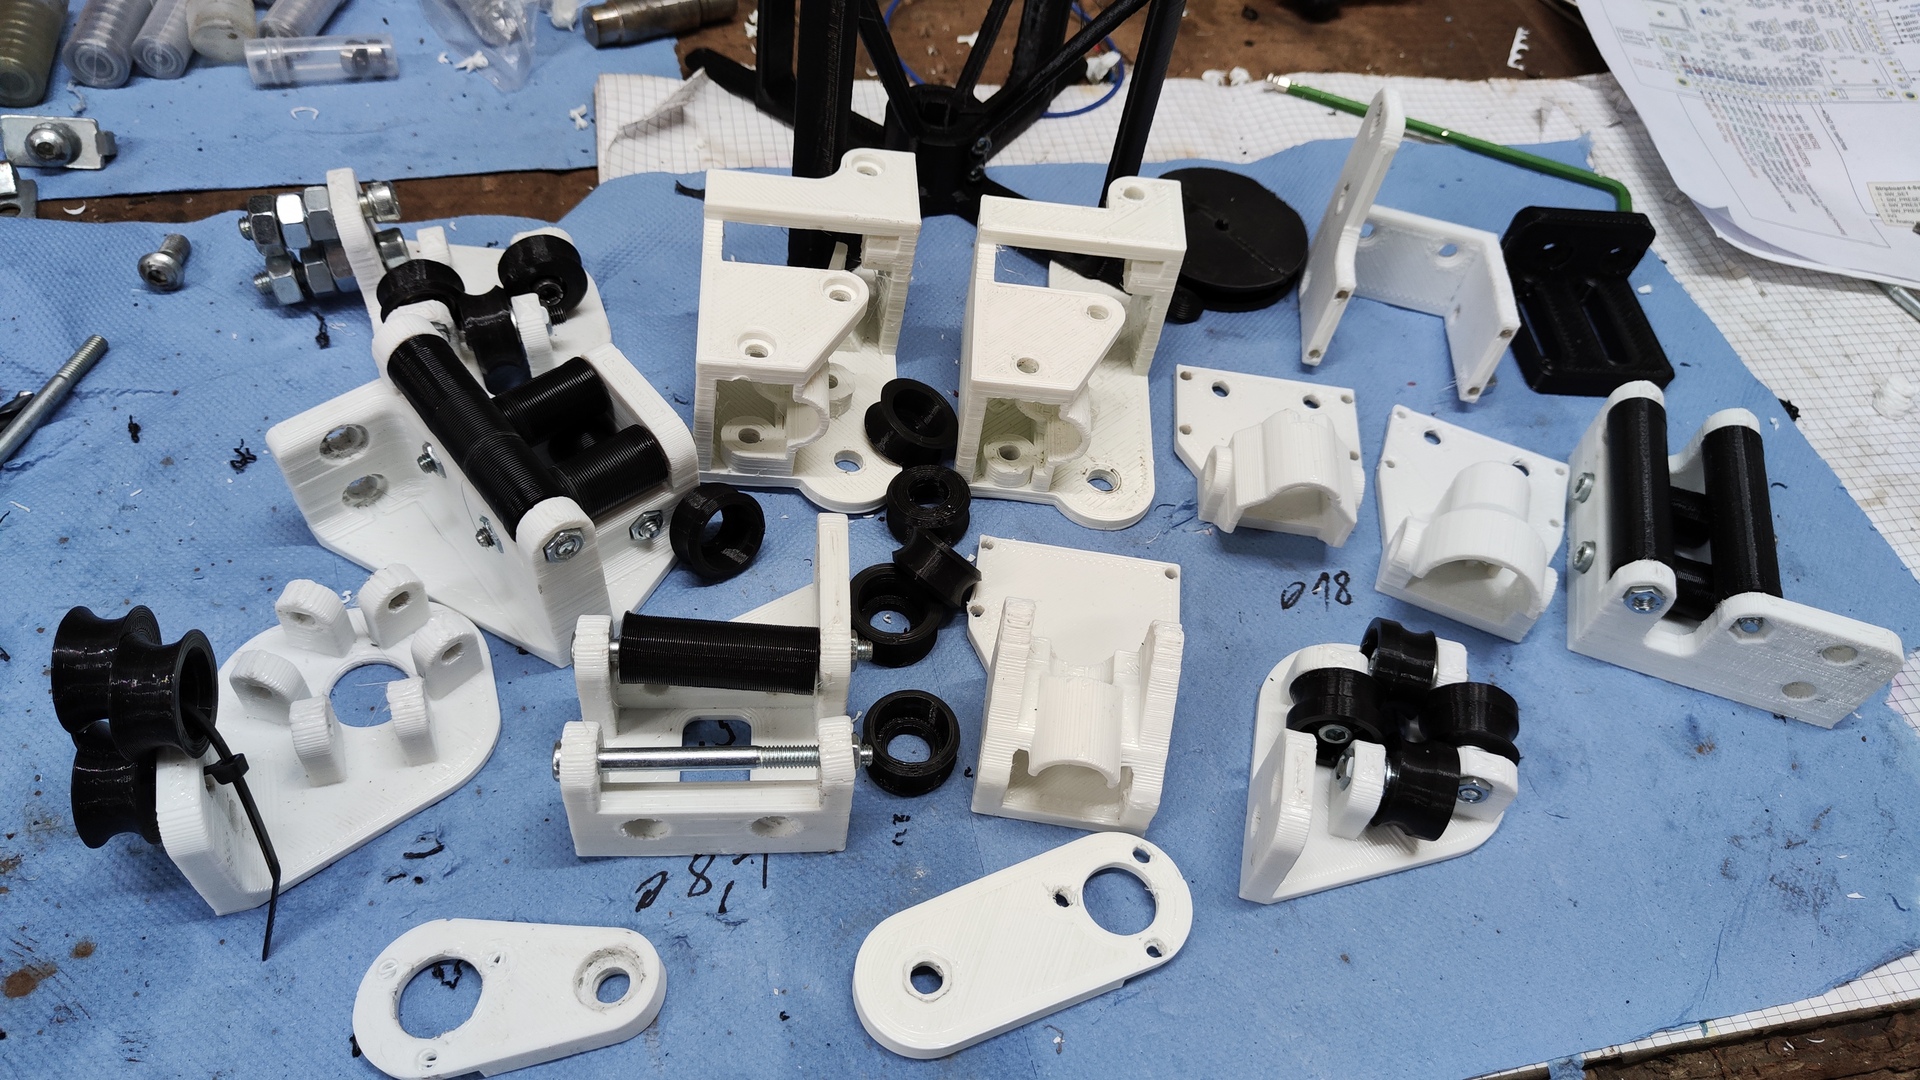
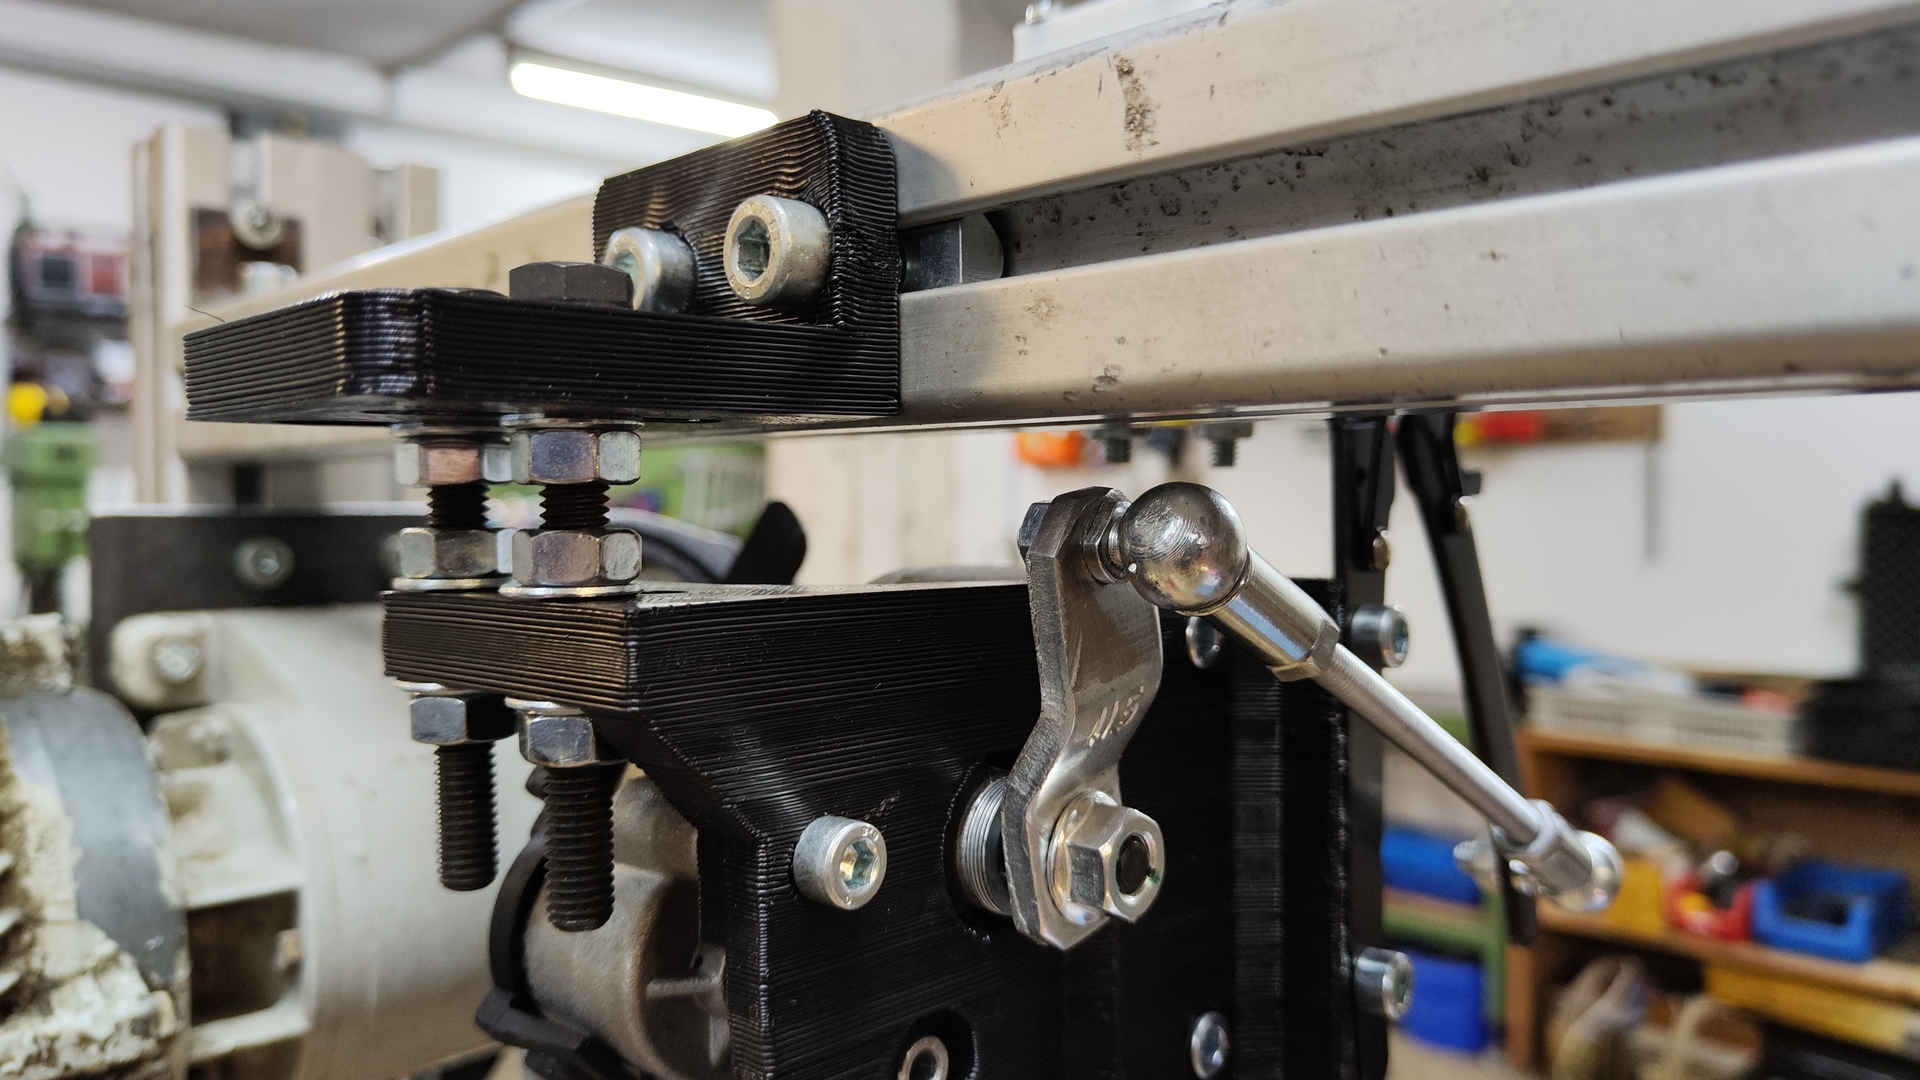
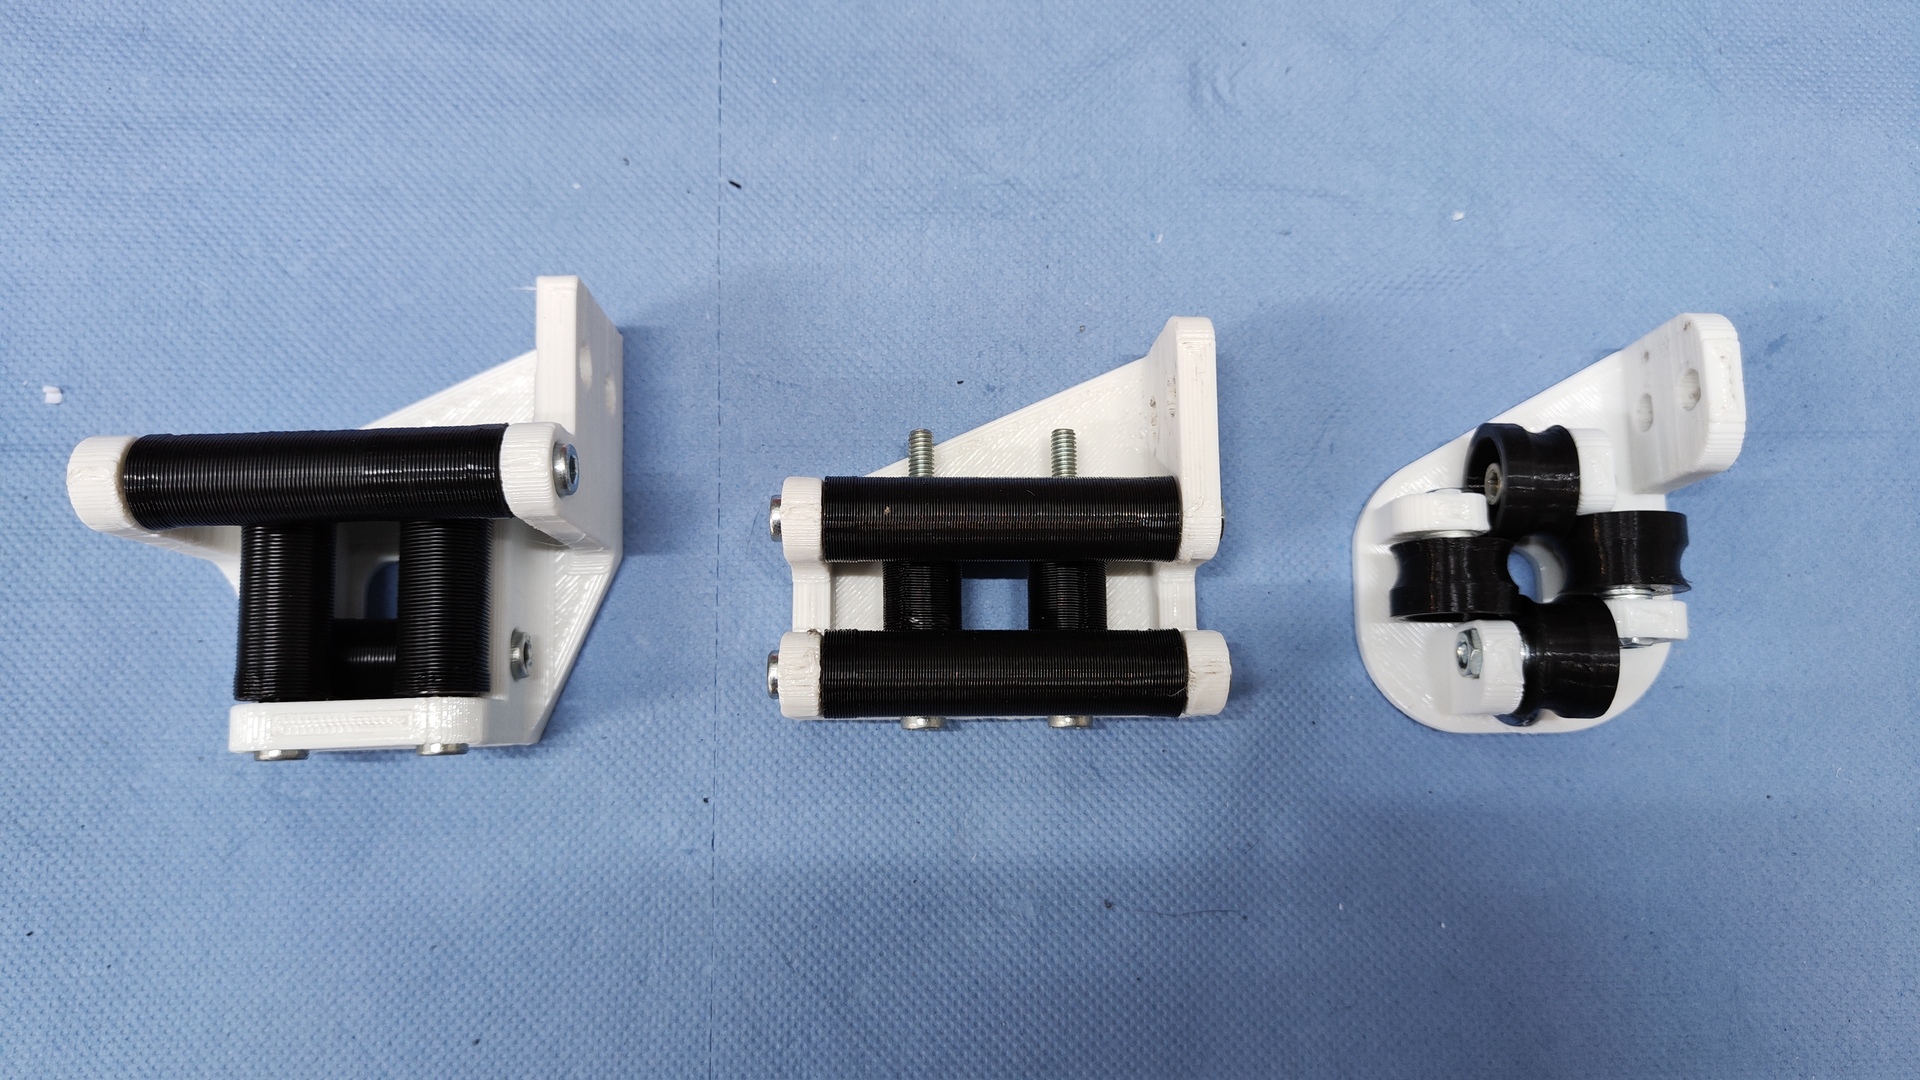
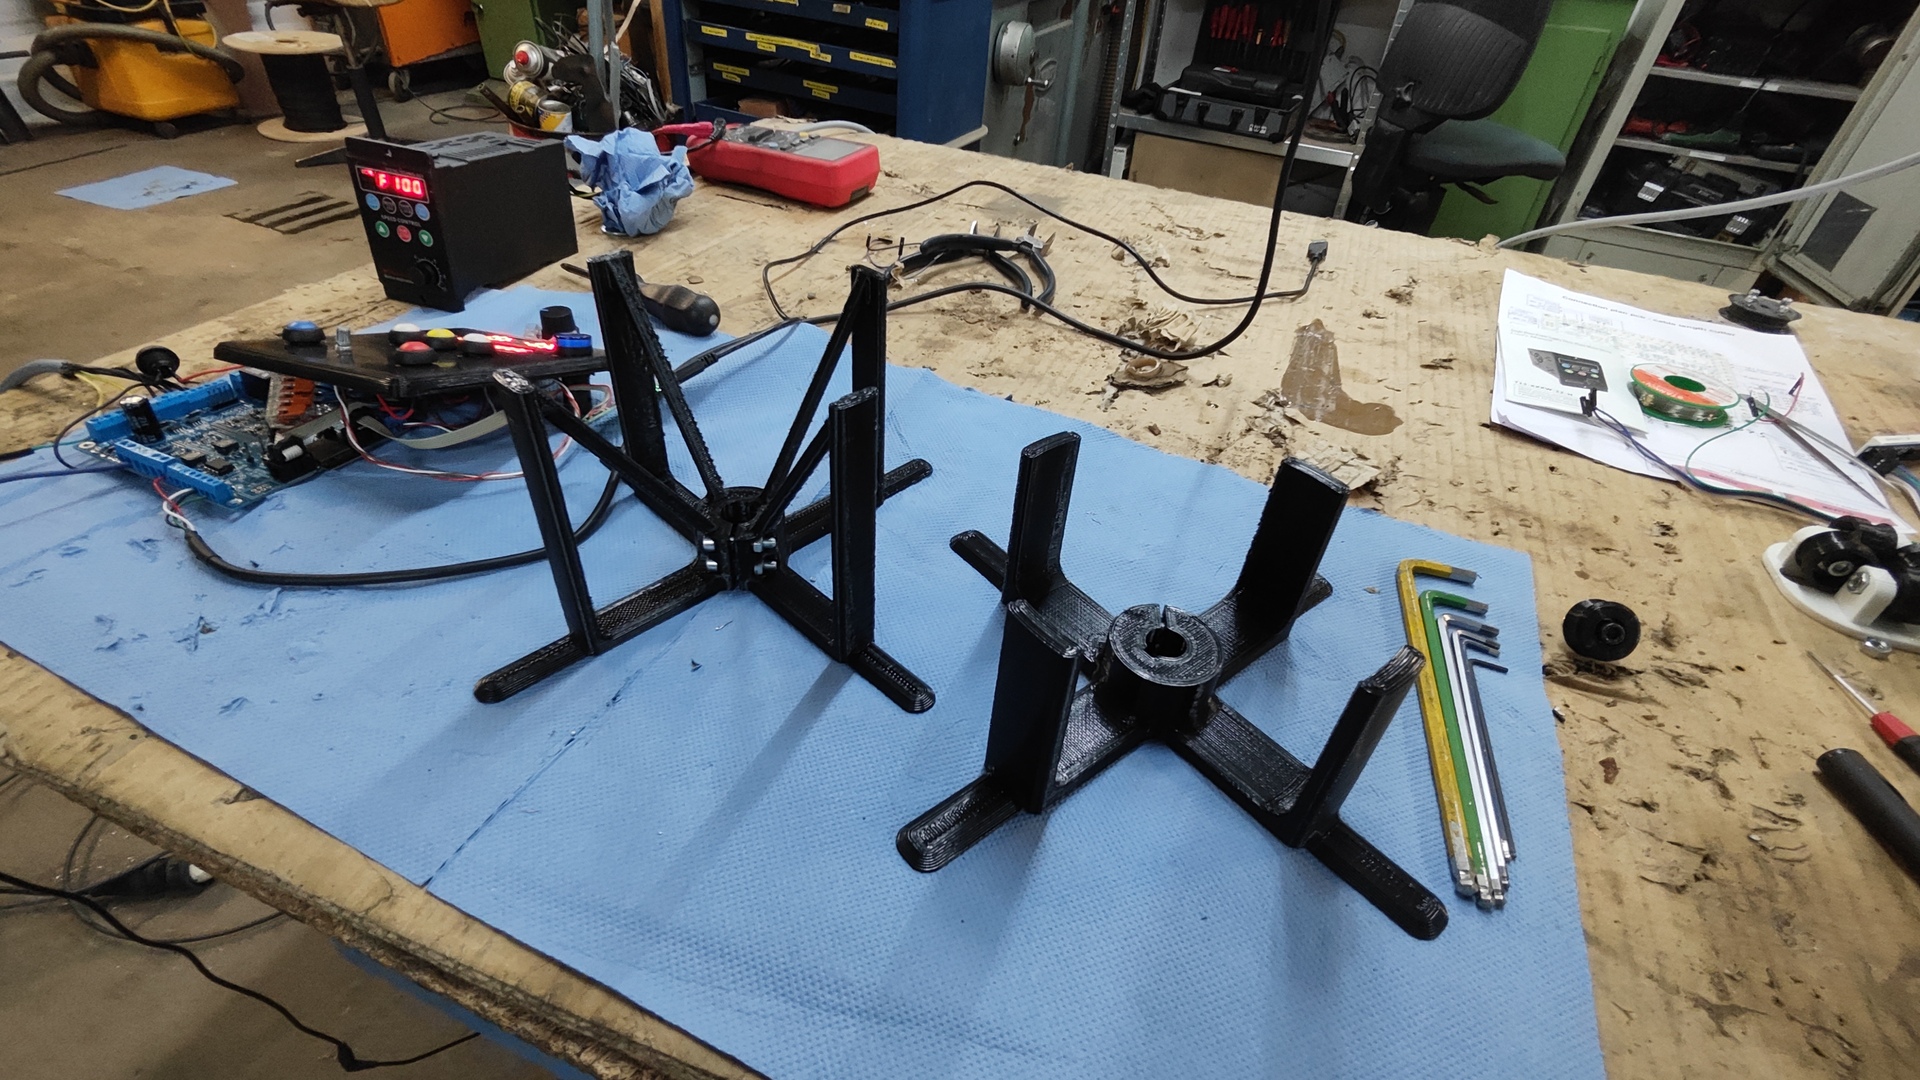
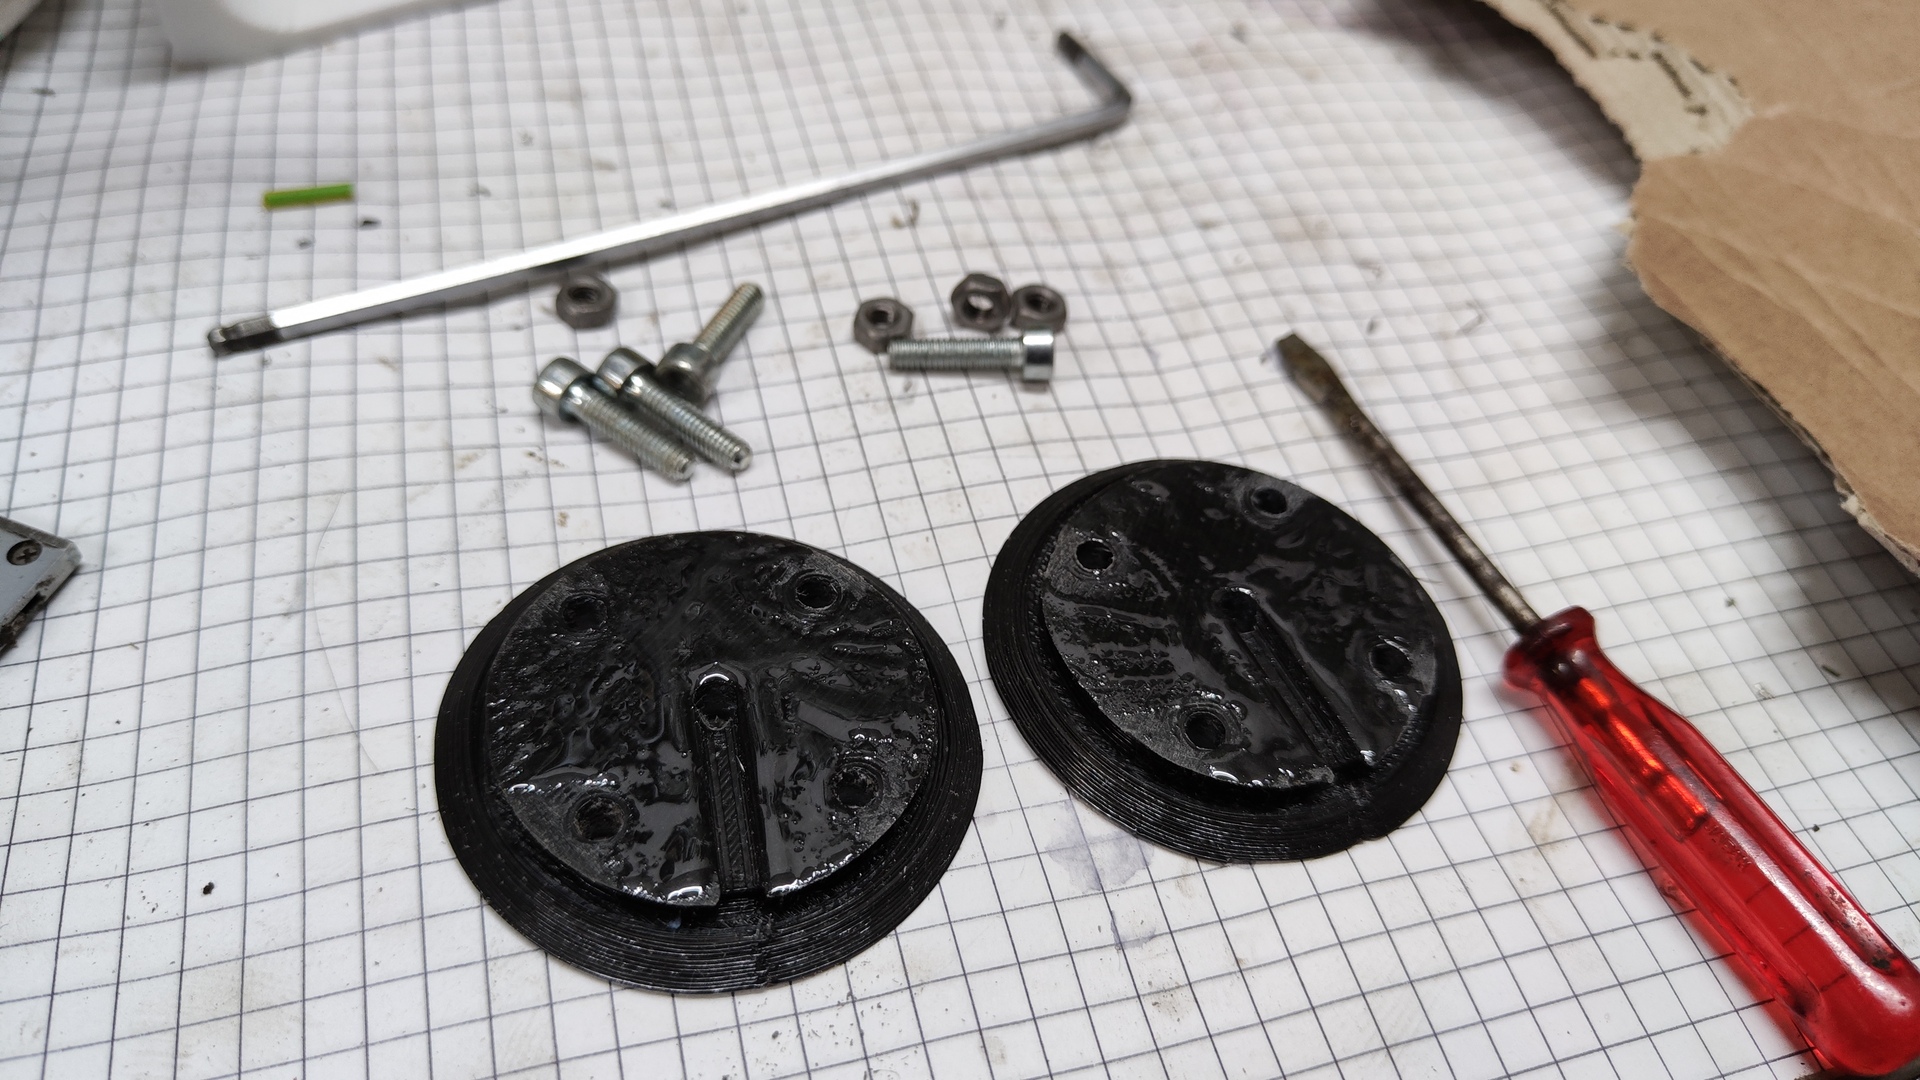
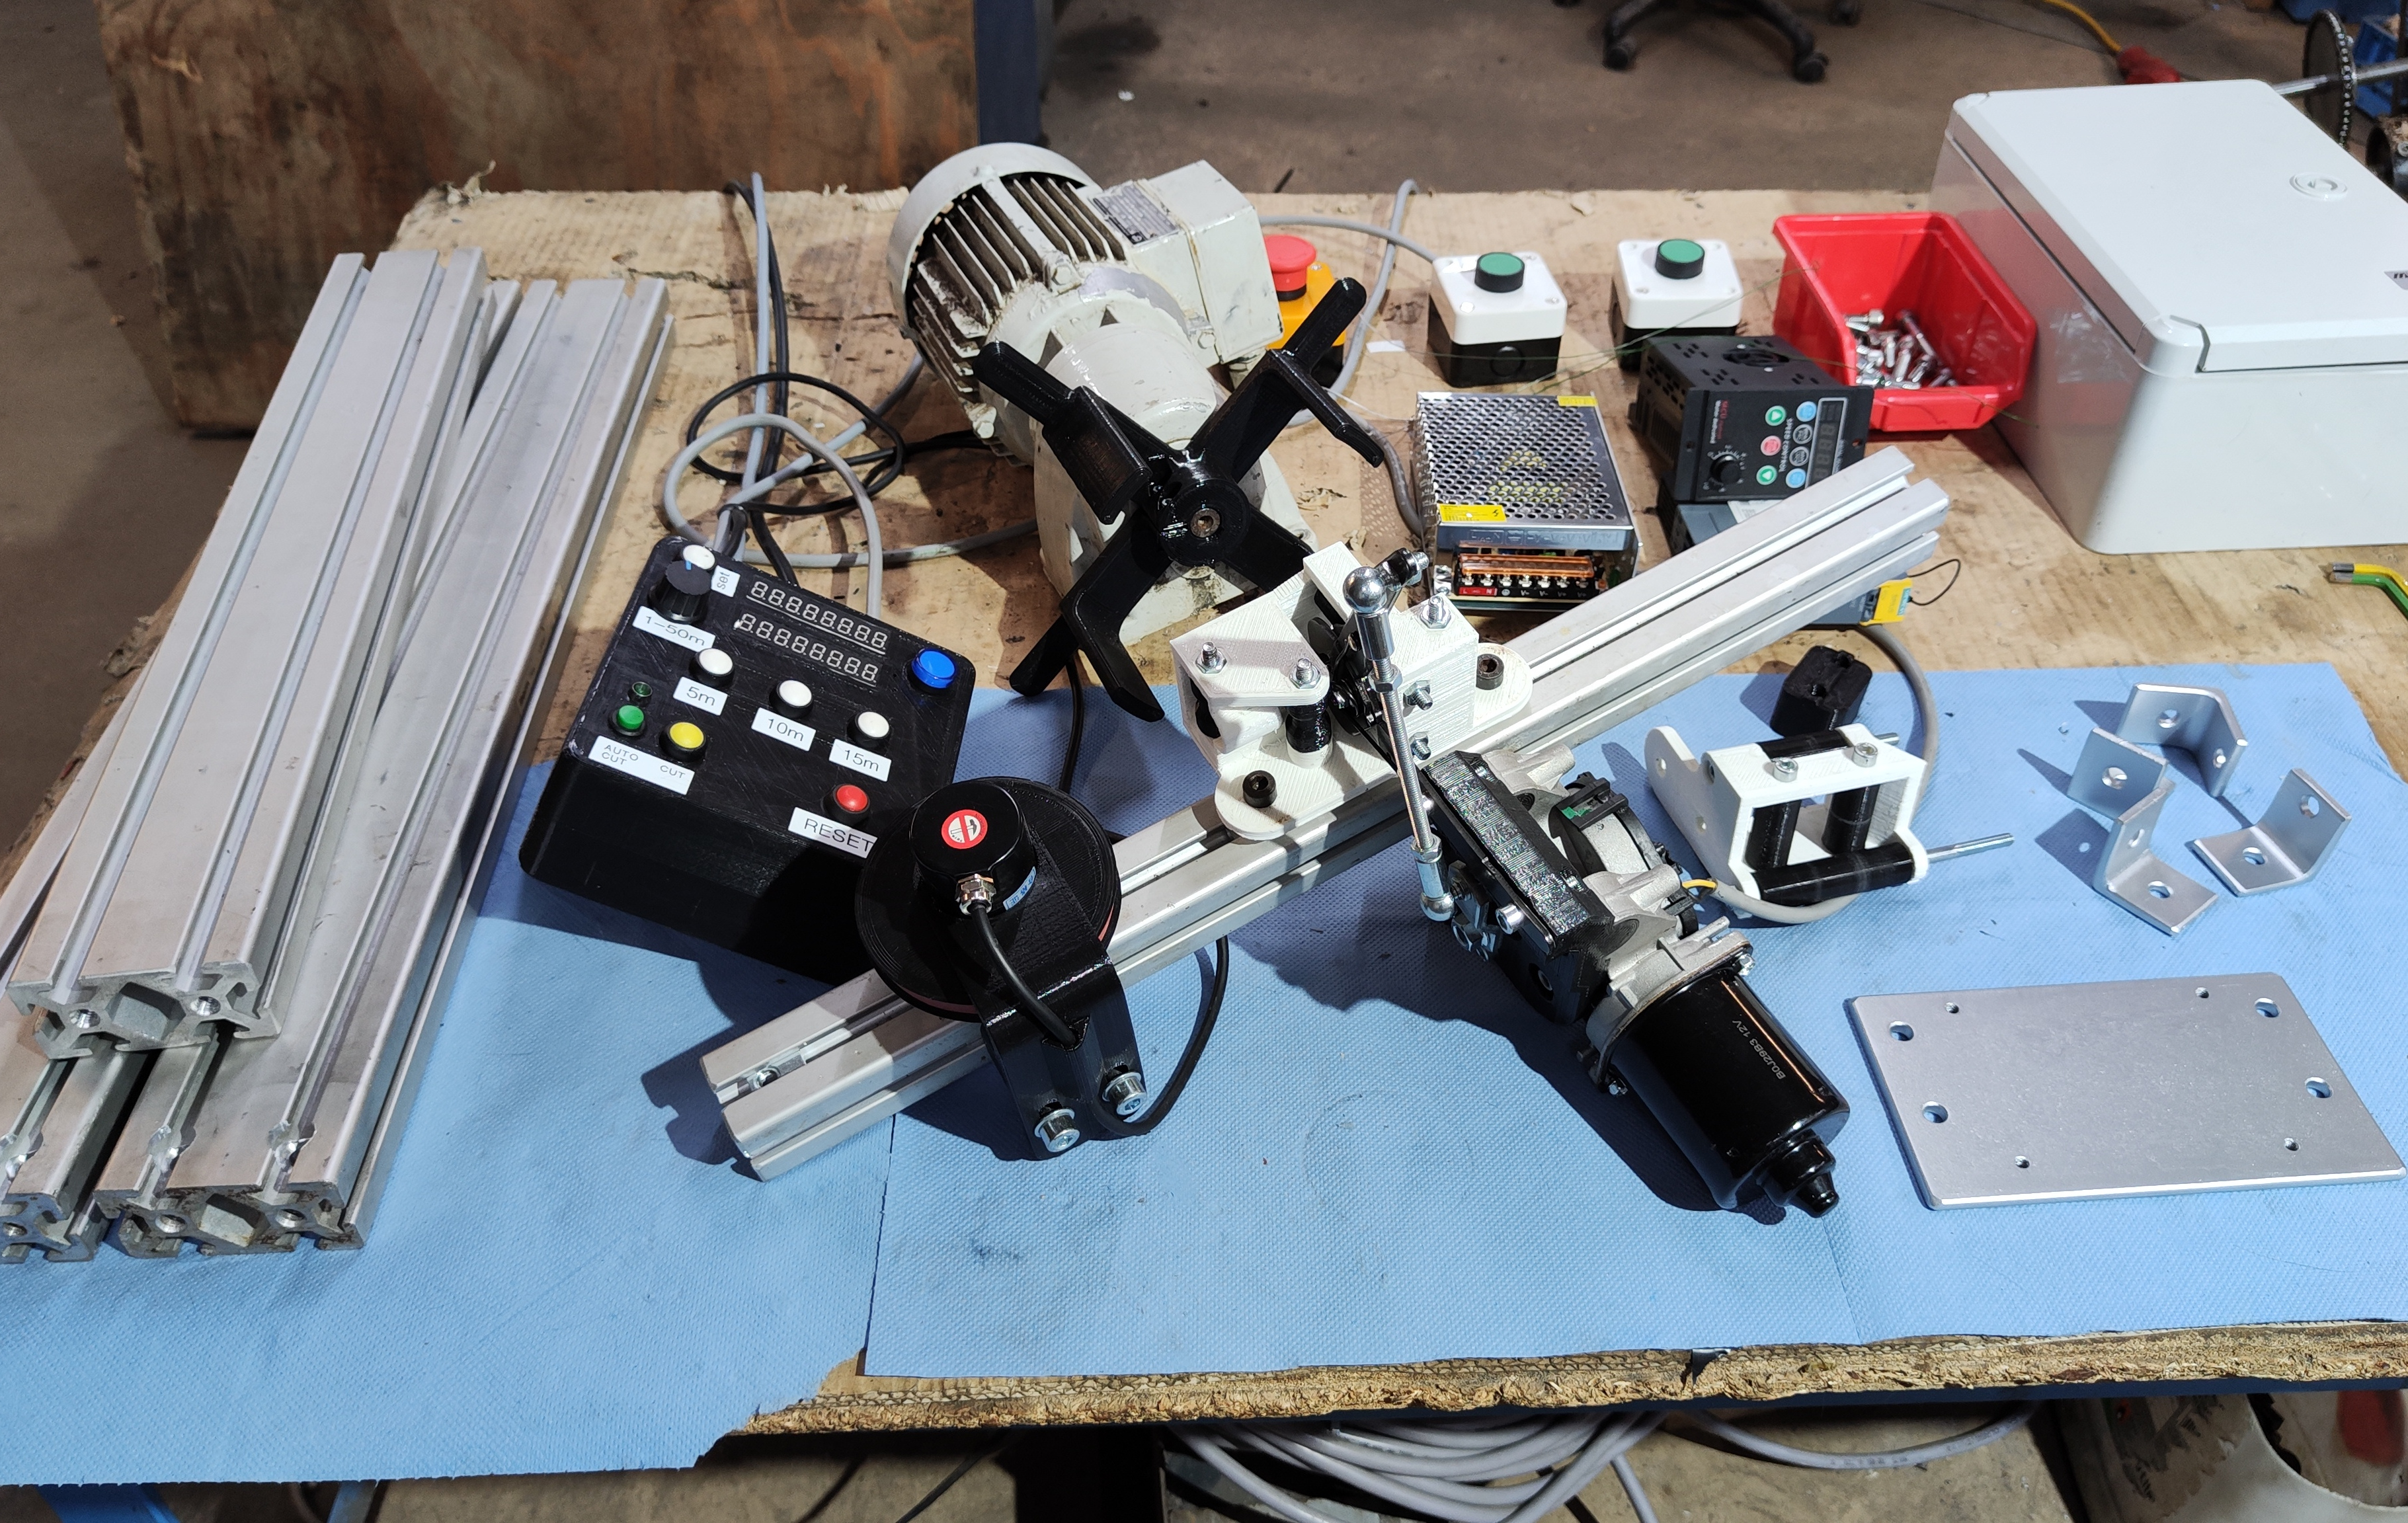 Disassembled machine
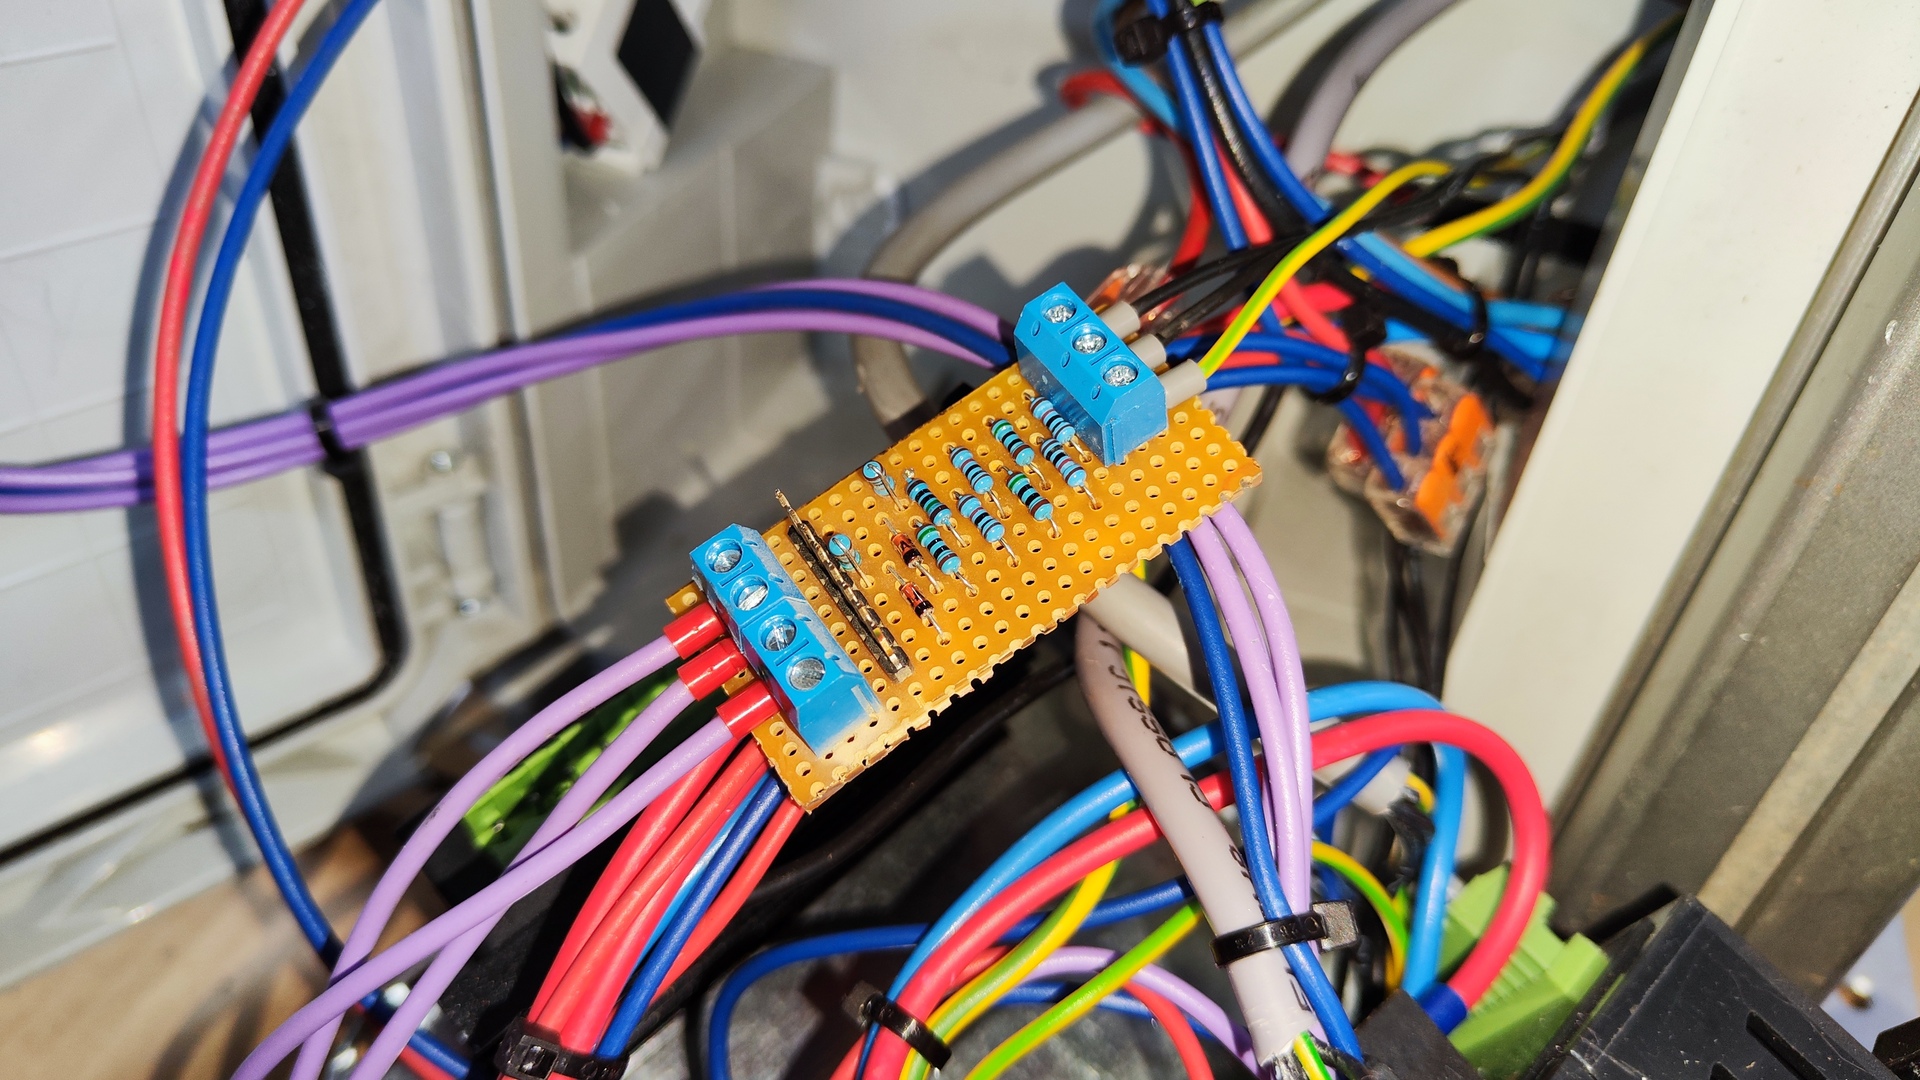
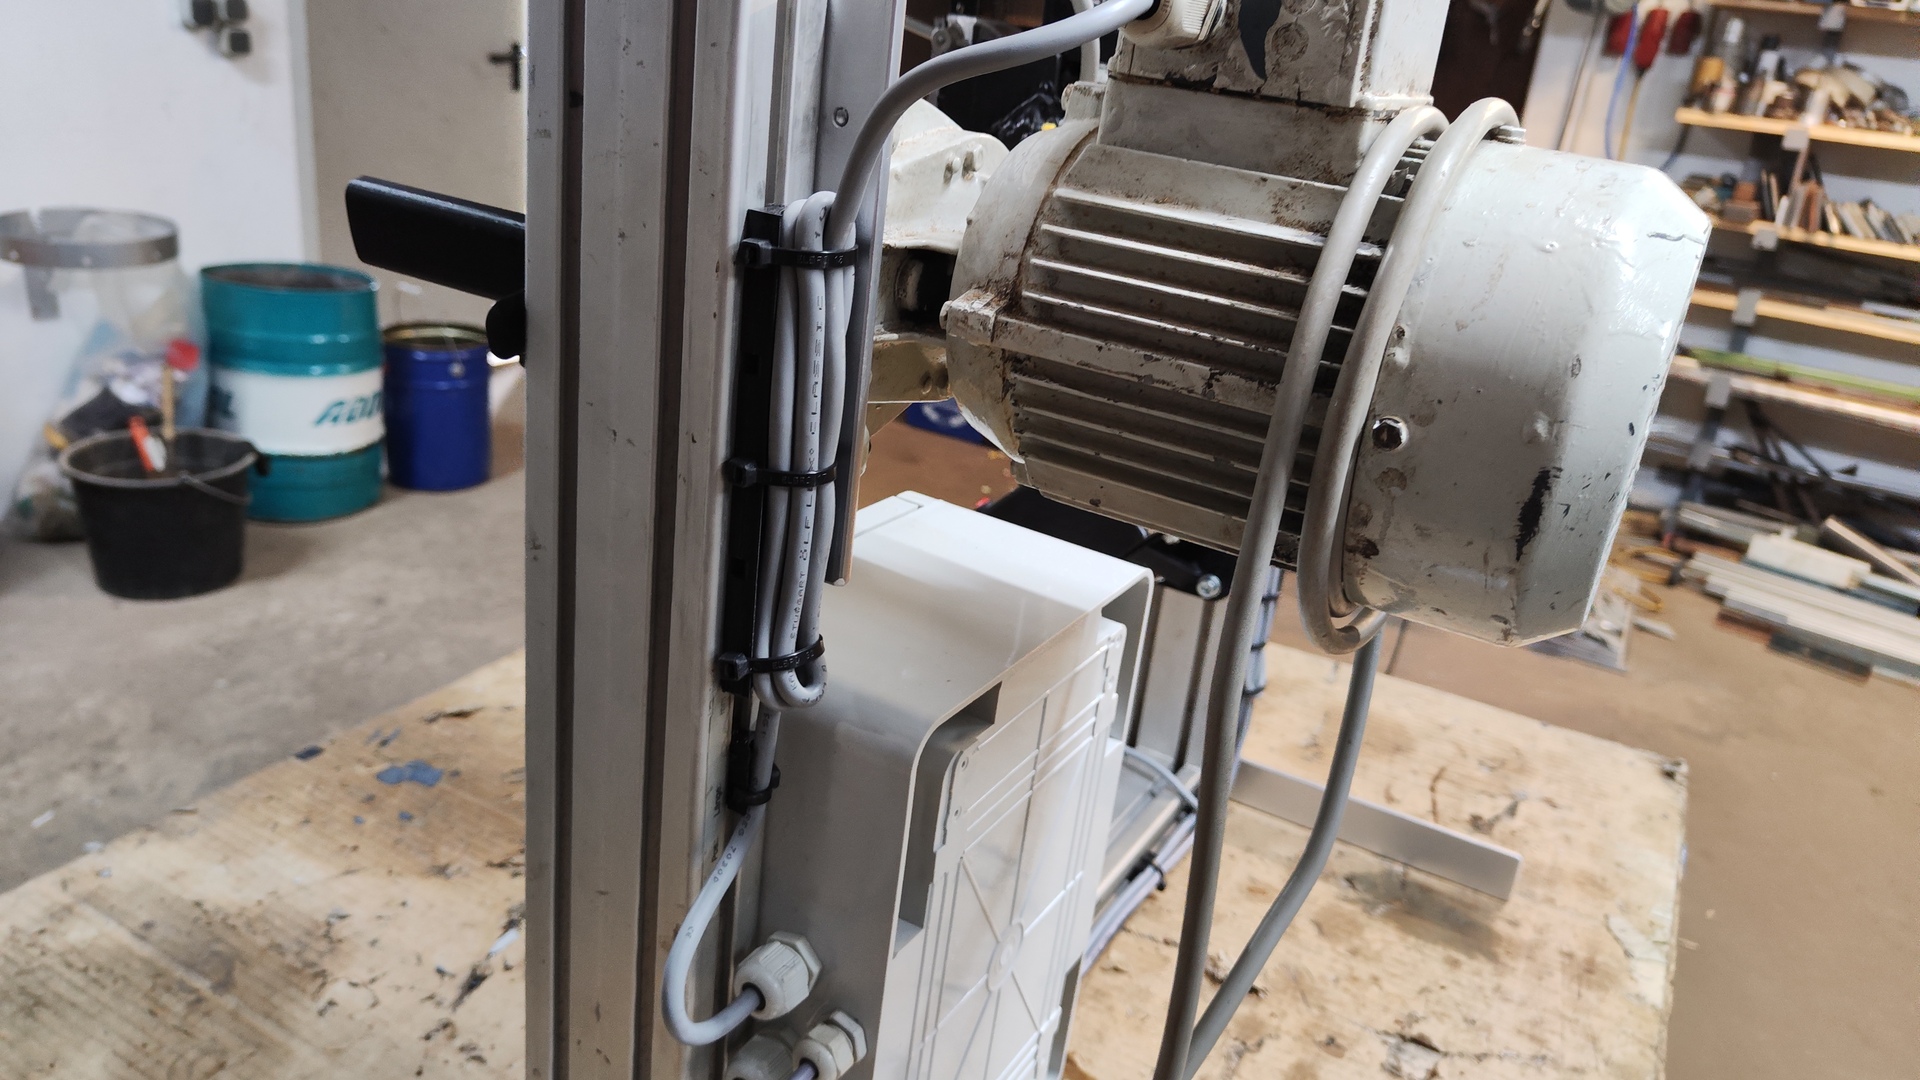
Electrical
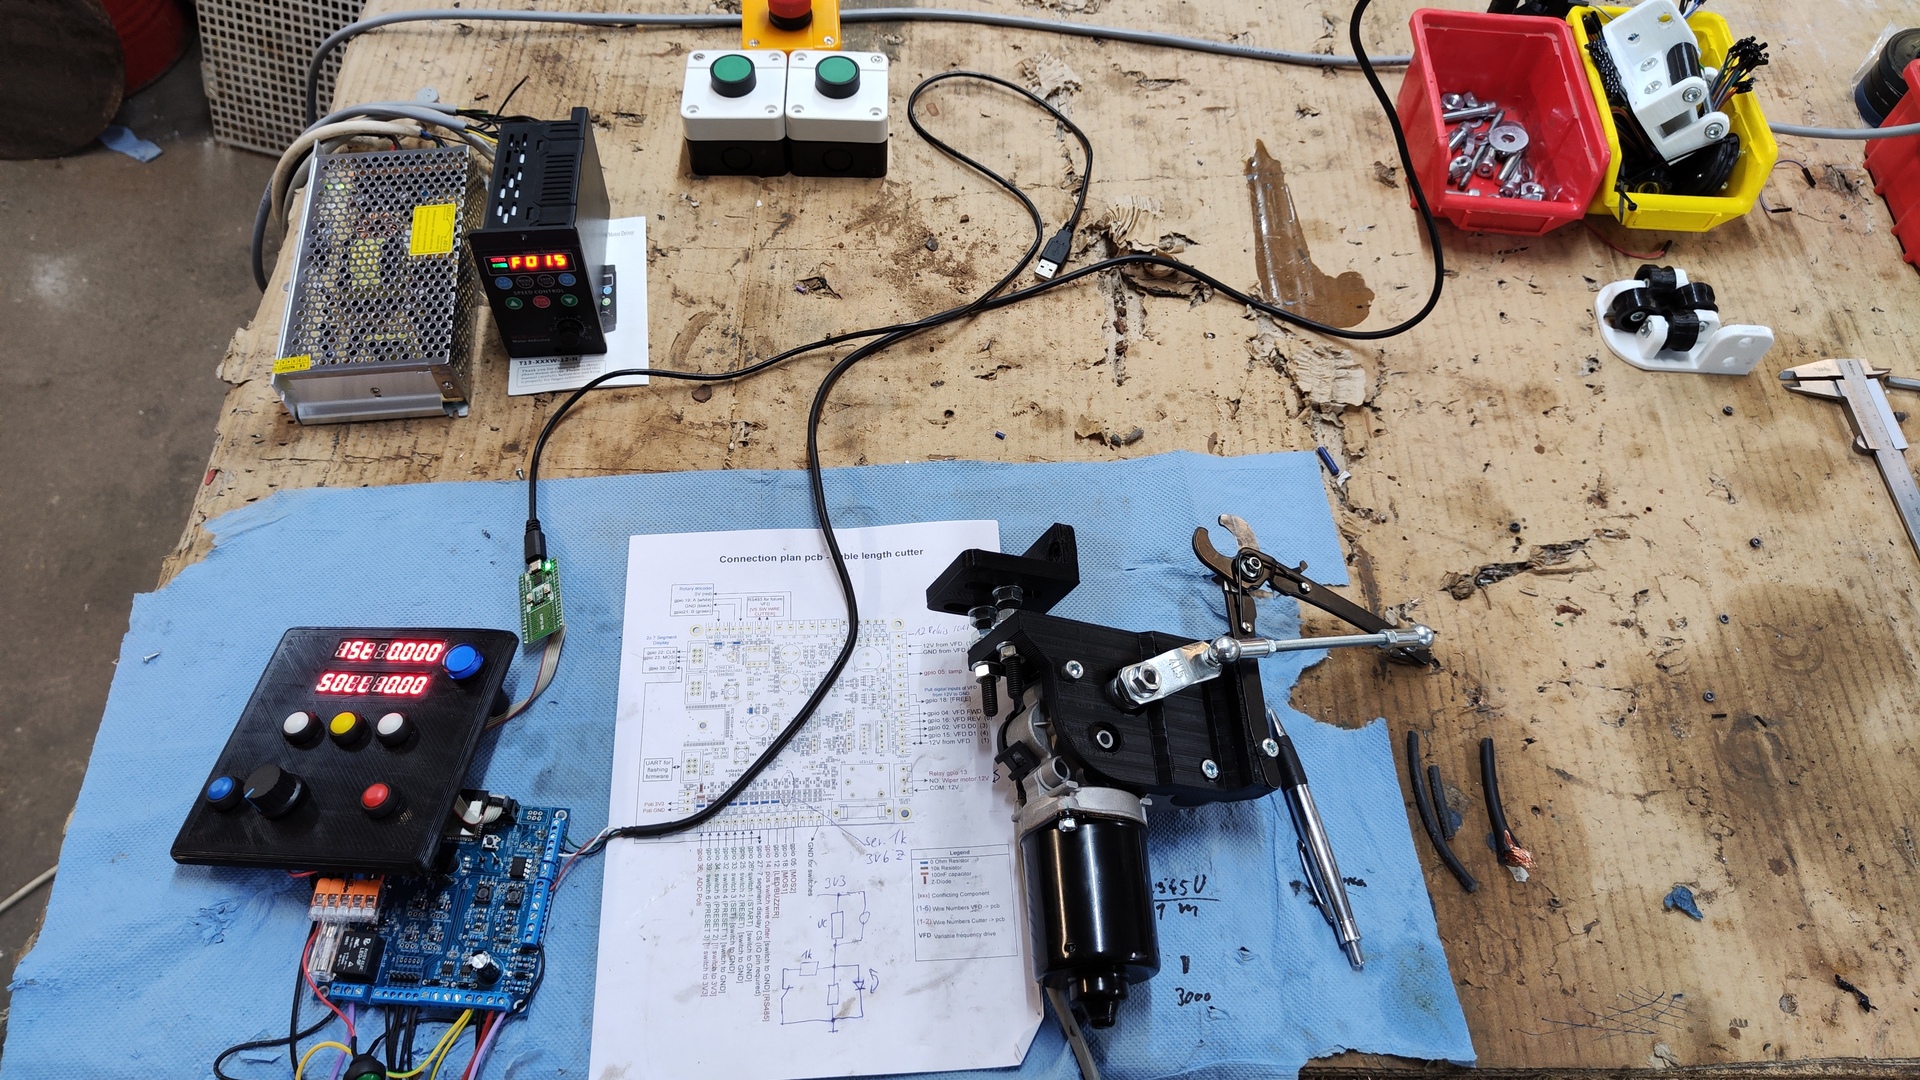
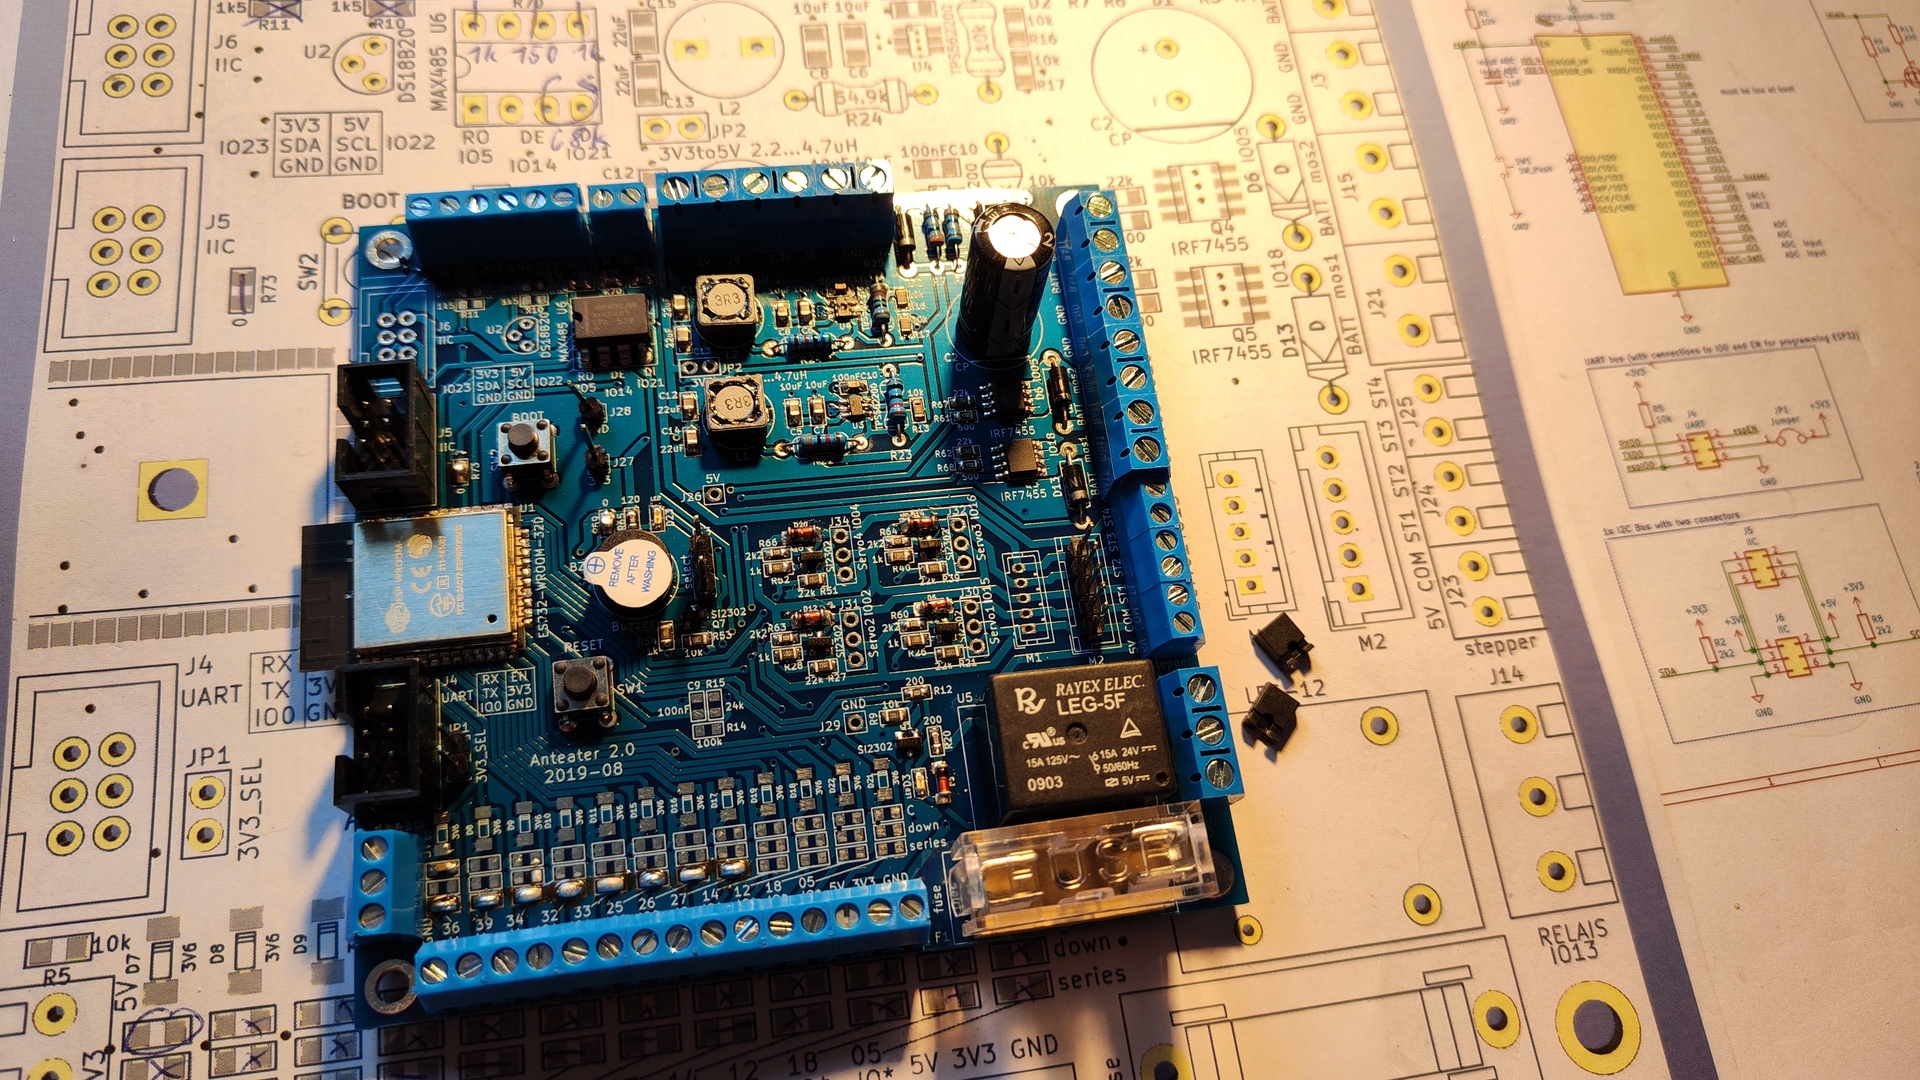
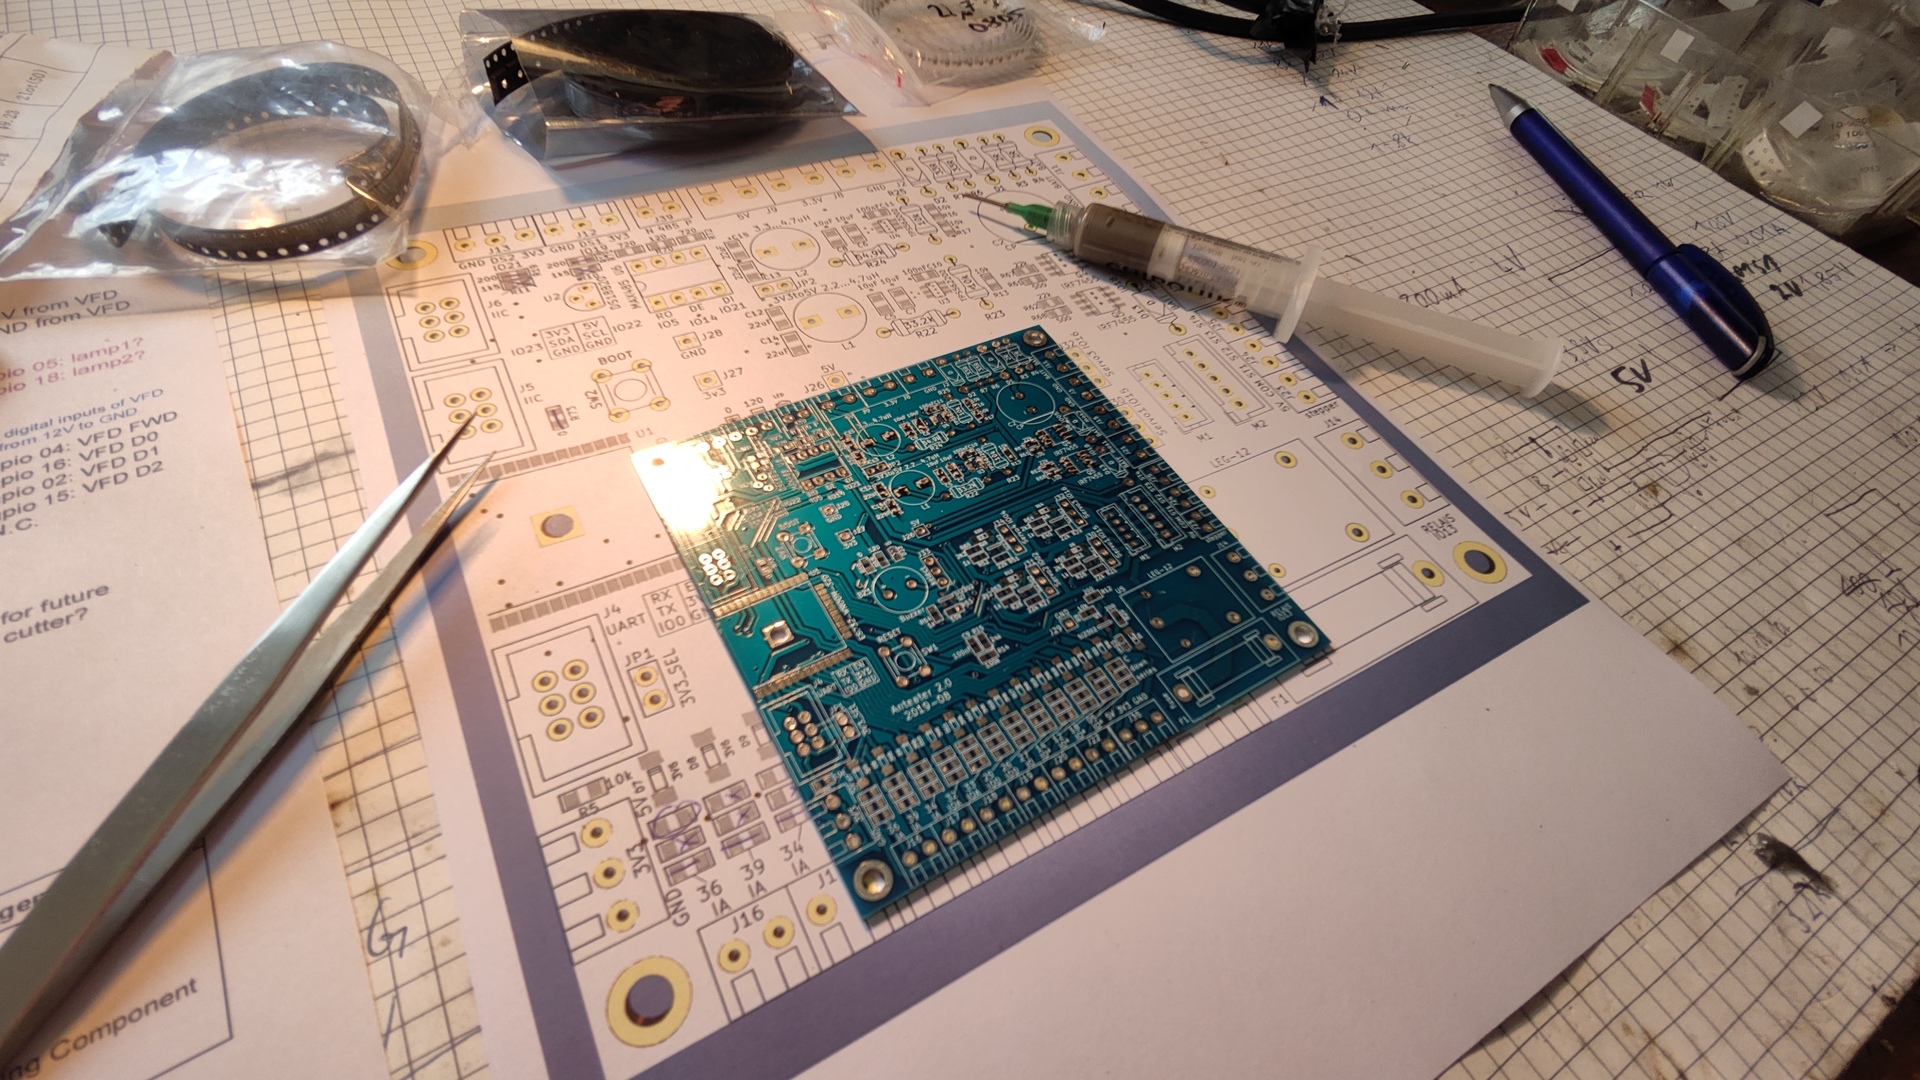
- Custom pcb with ESP-32 microcontroller
- Rotary encoder - LPD3806-600BM
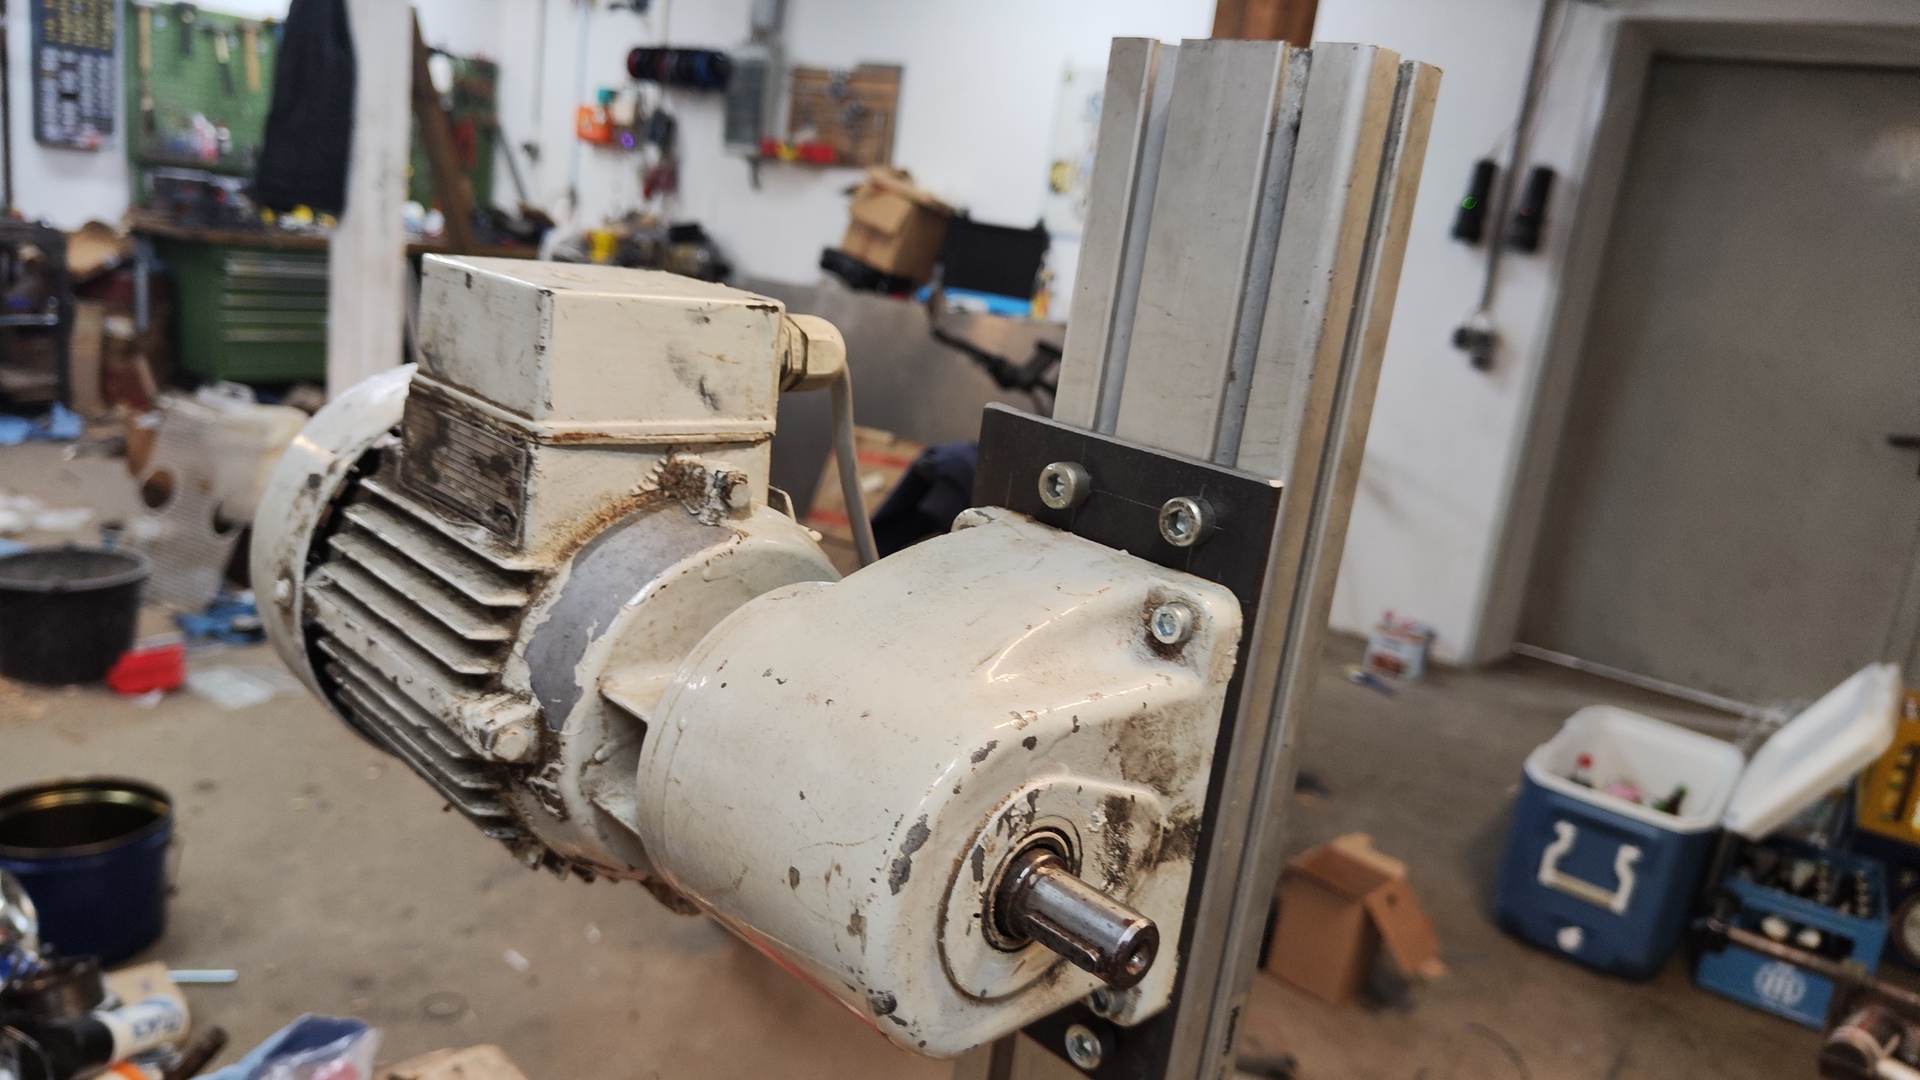
- Three-phase motor - 0.3kW with 18:1 Gearbox
- Variable frequency drive (VFD) - T13-750W-12-h
- Stepper motor - Nema 12 28HB40 0.6 A
- Stepper driver - Microstep TB6600 9-42 V, 0.5-4 A
- Switching power supply - 12 V, 8 A
- Wiper motor
- Safety relay - Siemens 3SK1111-1AB30
- 2x 7-Segment display MAX7219
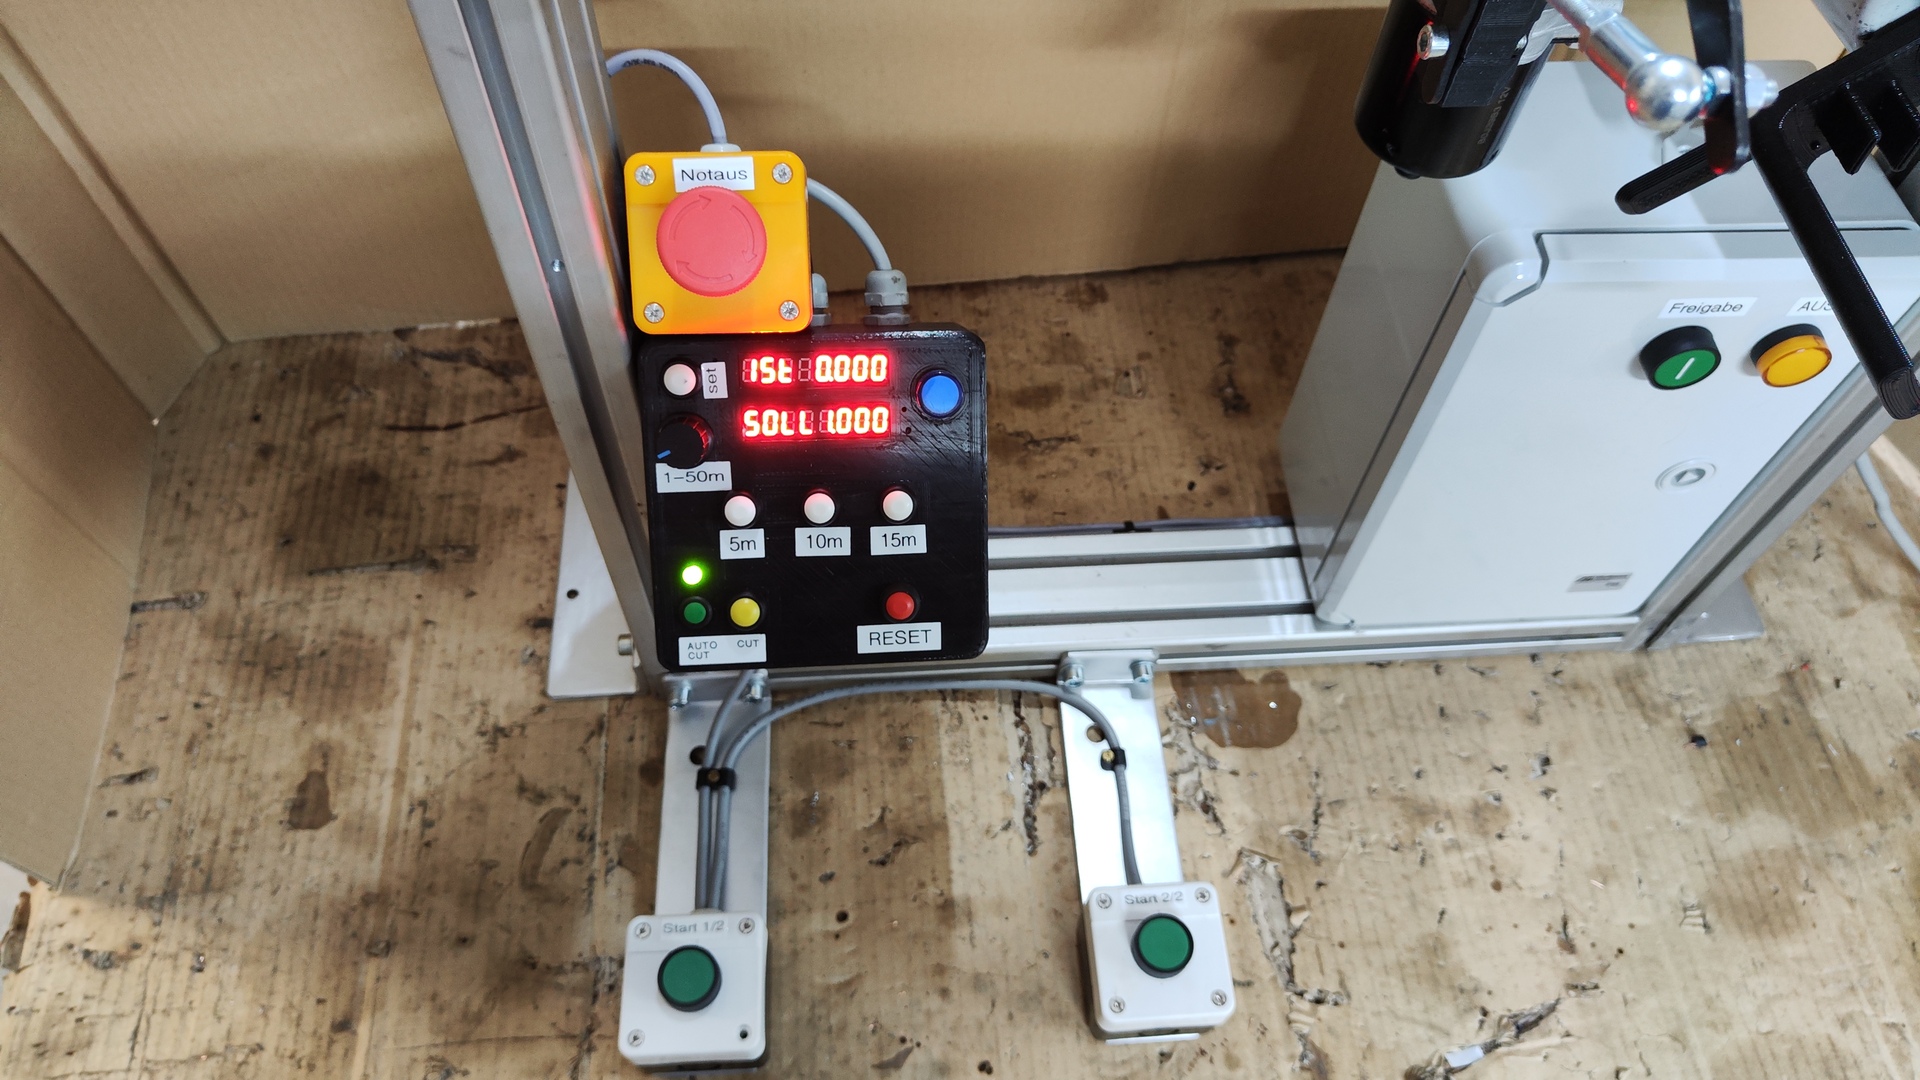
- Various push buttons and LED lights
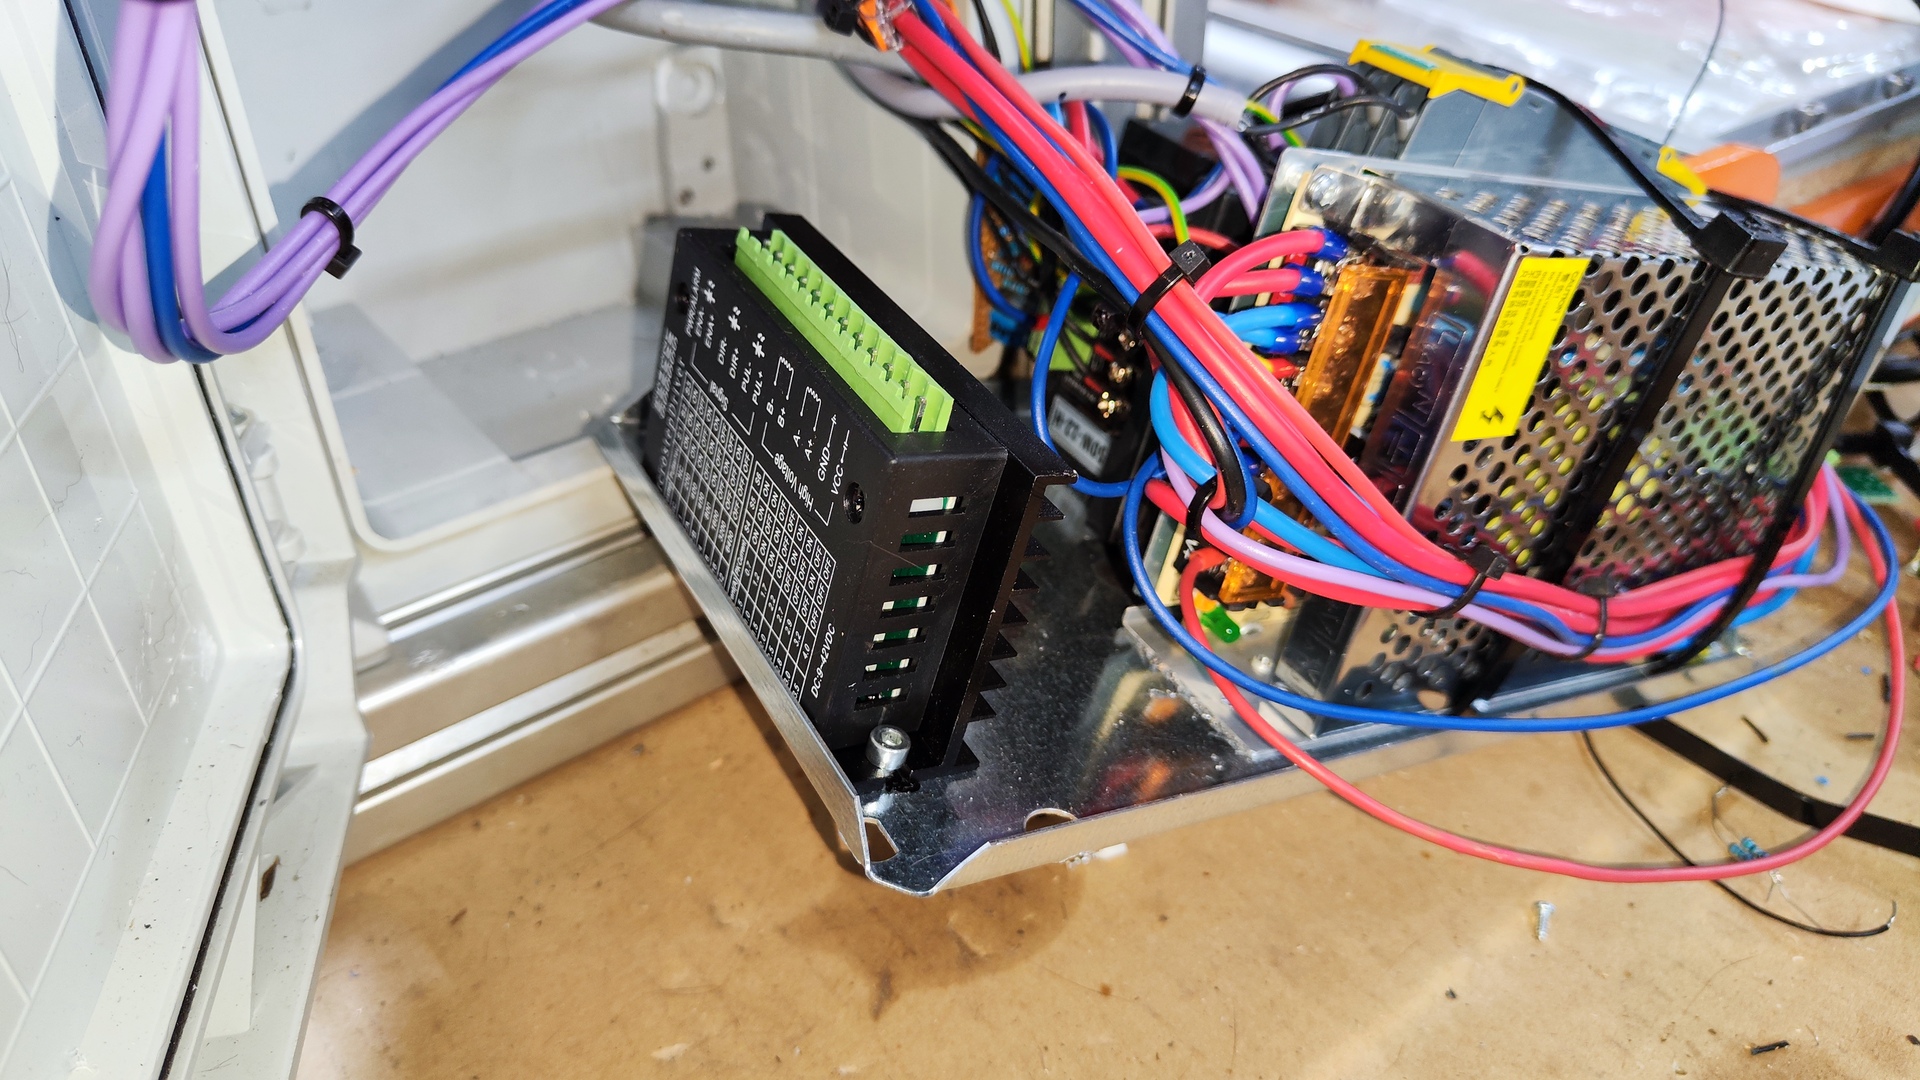
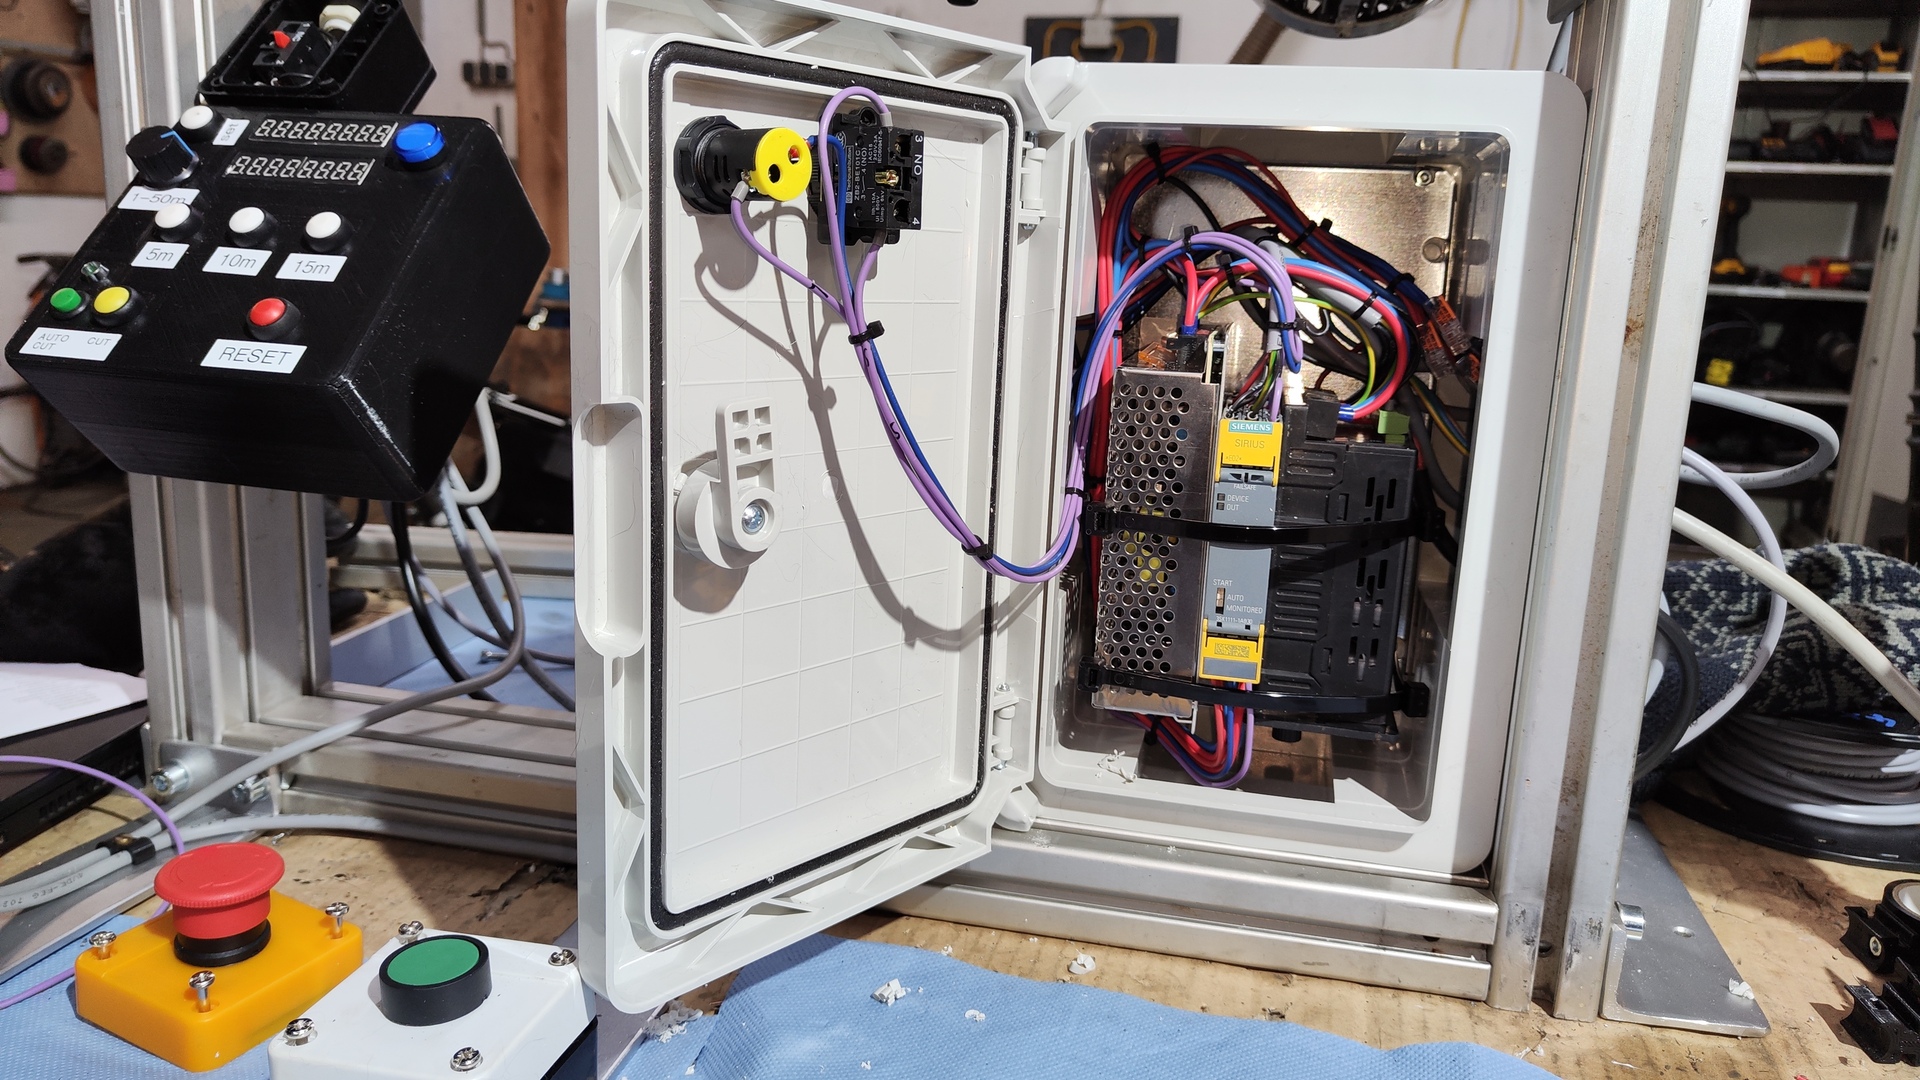
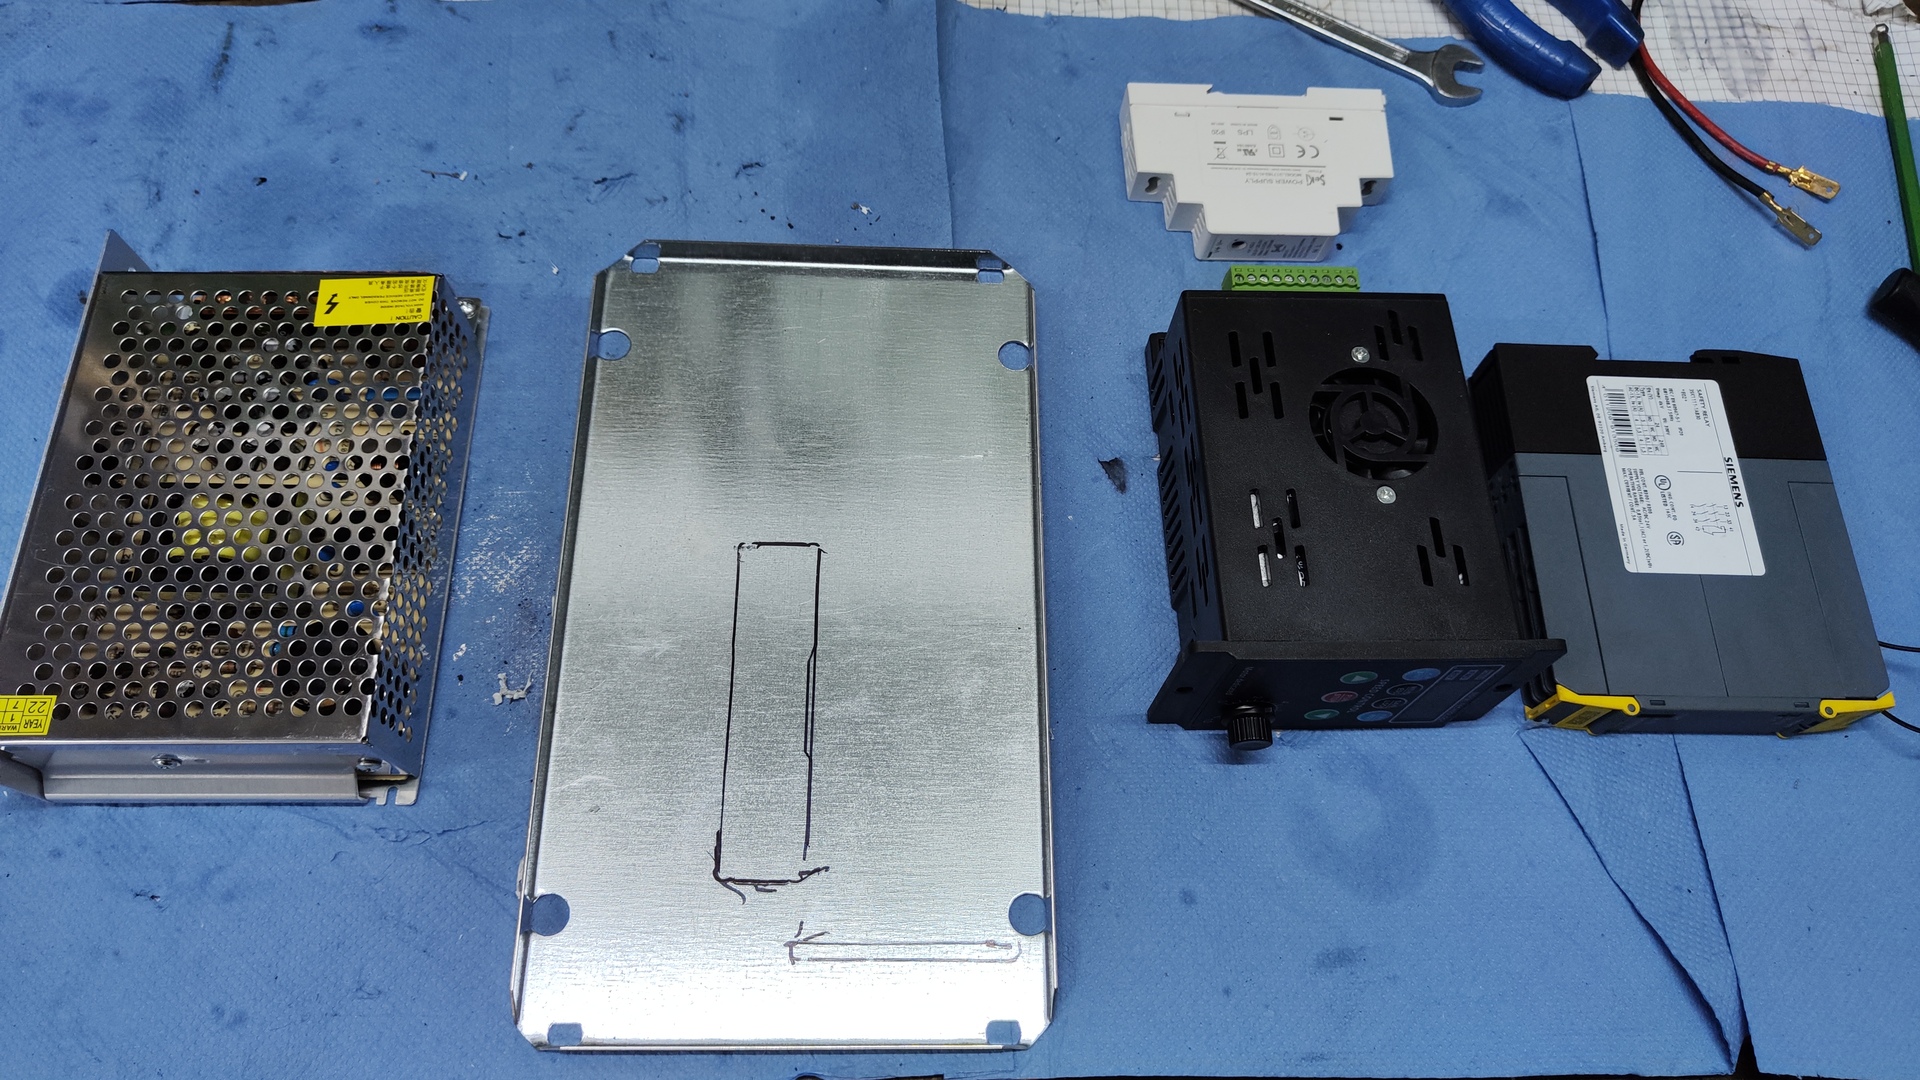
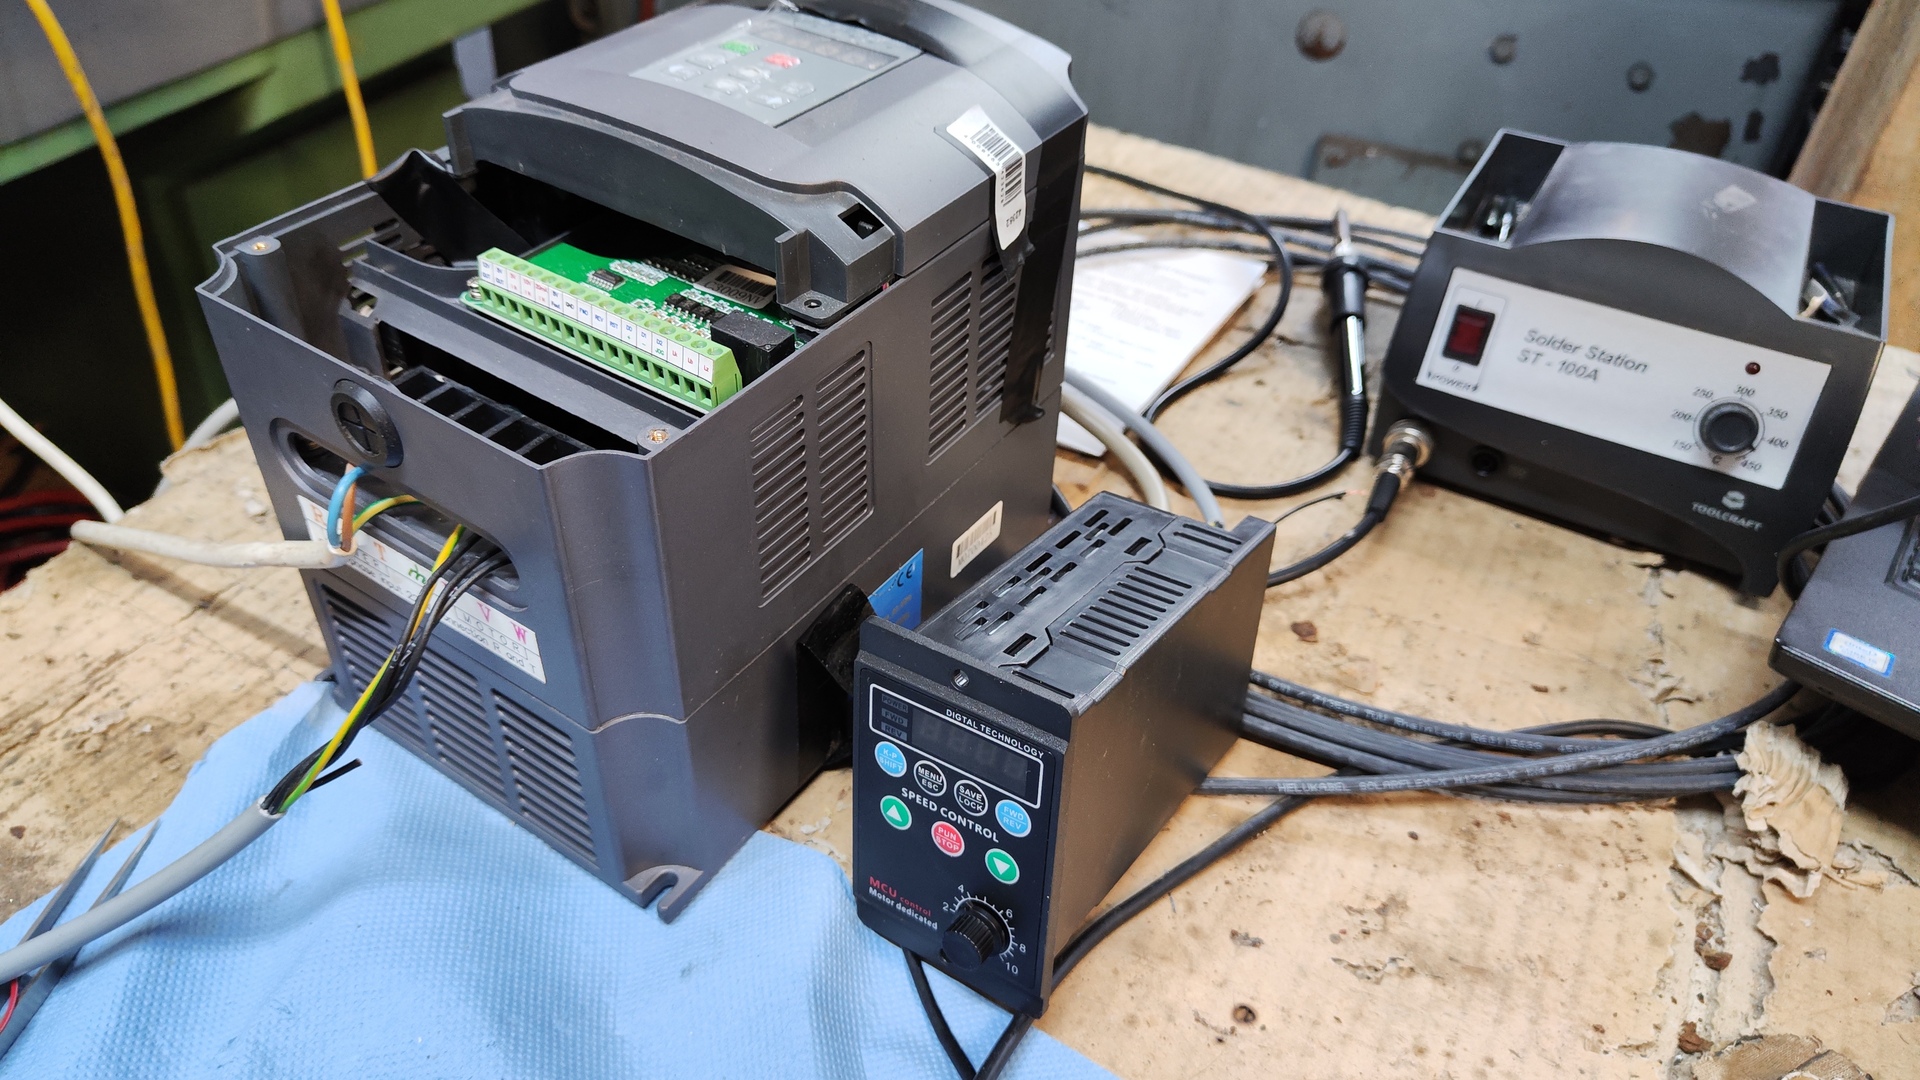
 Switching cabinet with power supply, safety relay, VFD and stepper driver
Course of action
Planning
All electrical aspects were planned in the following document:


Complete Document
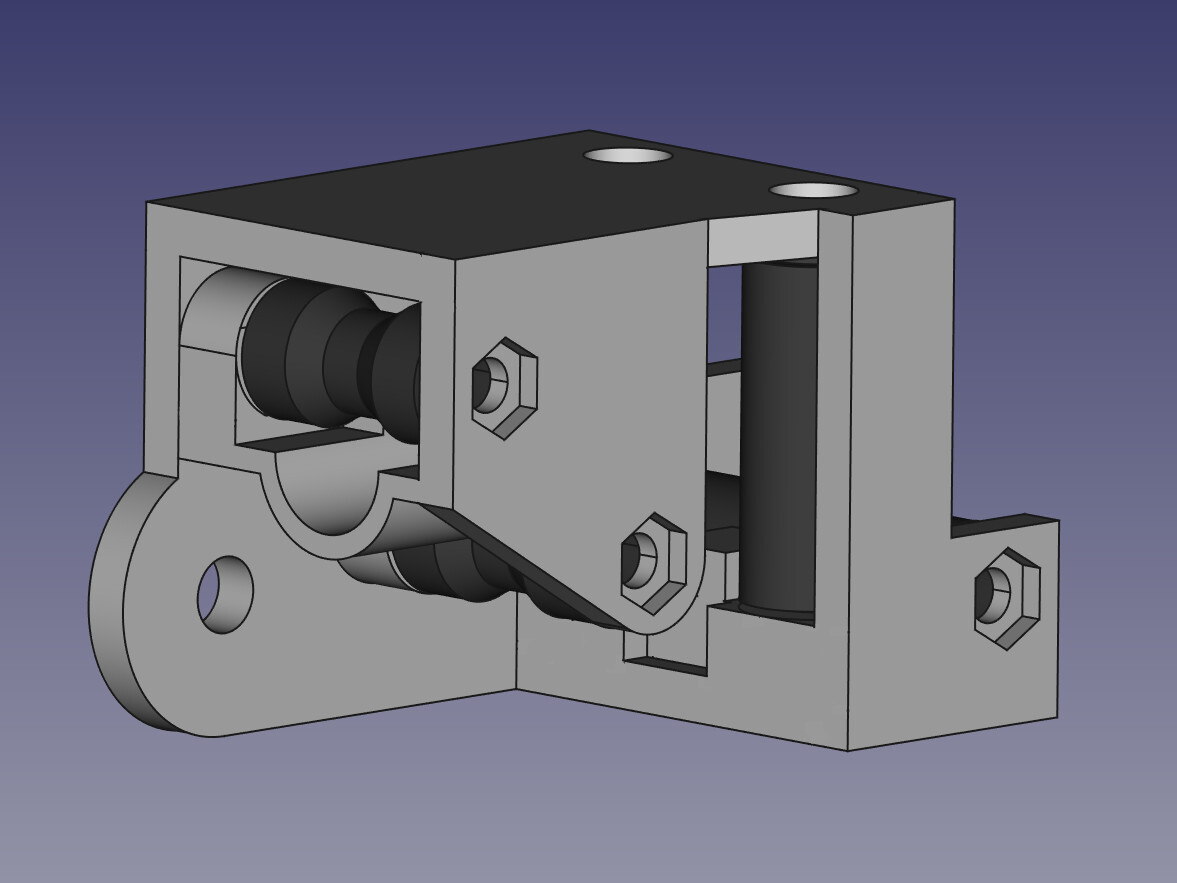
CAD
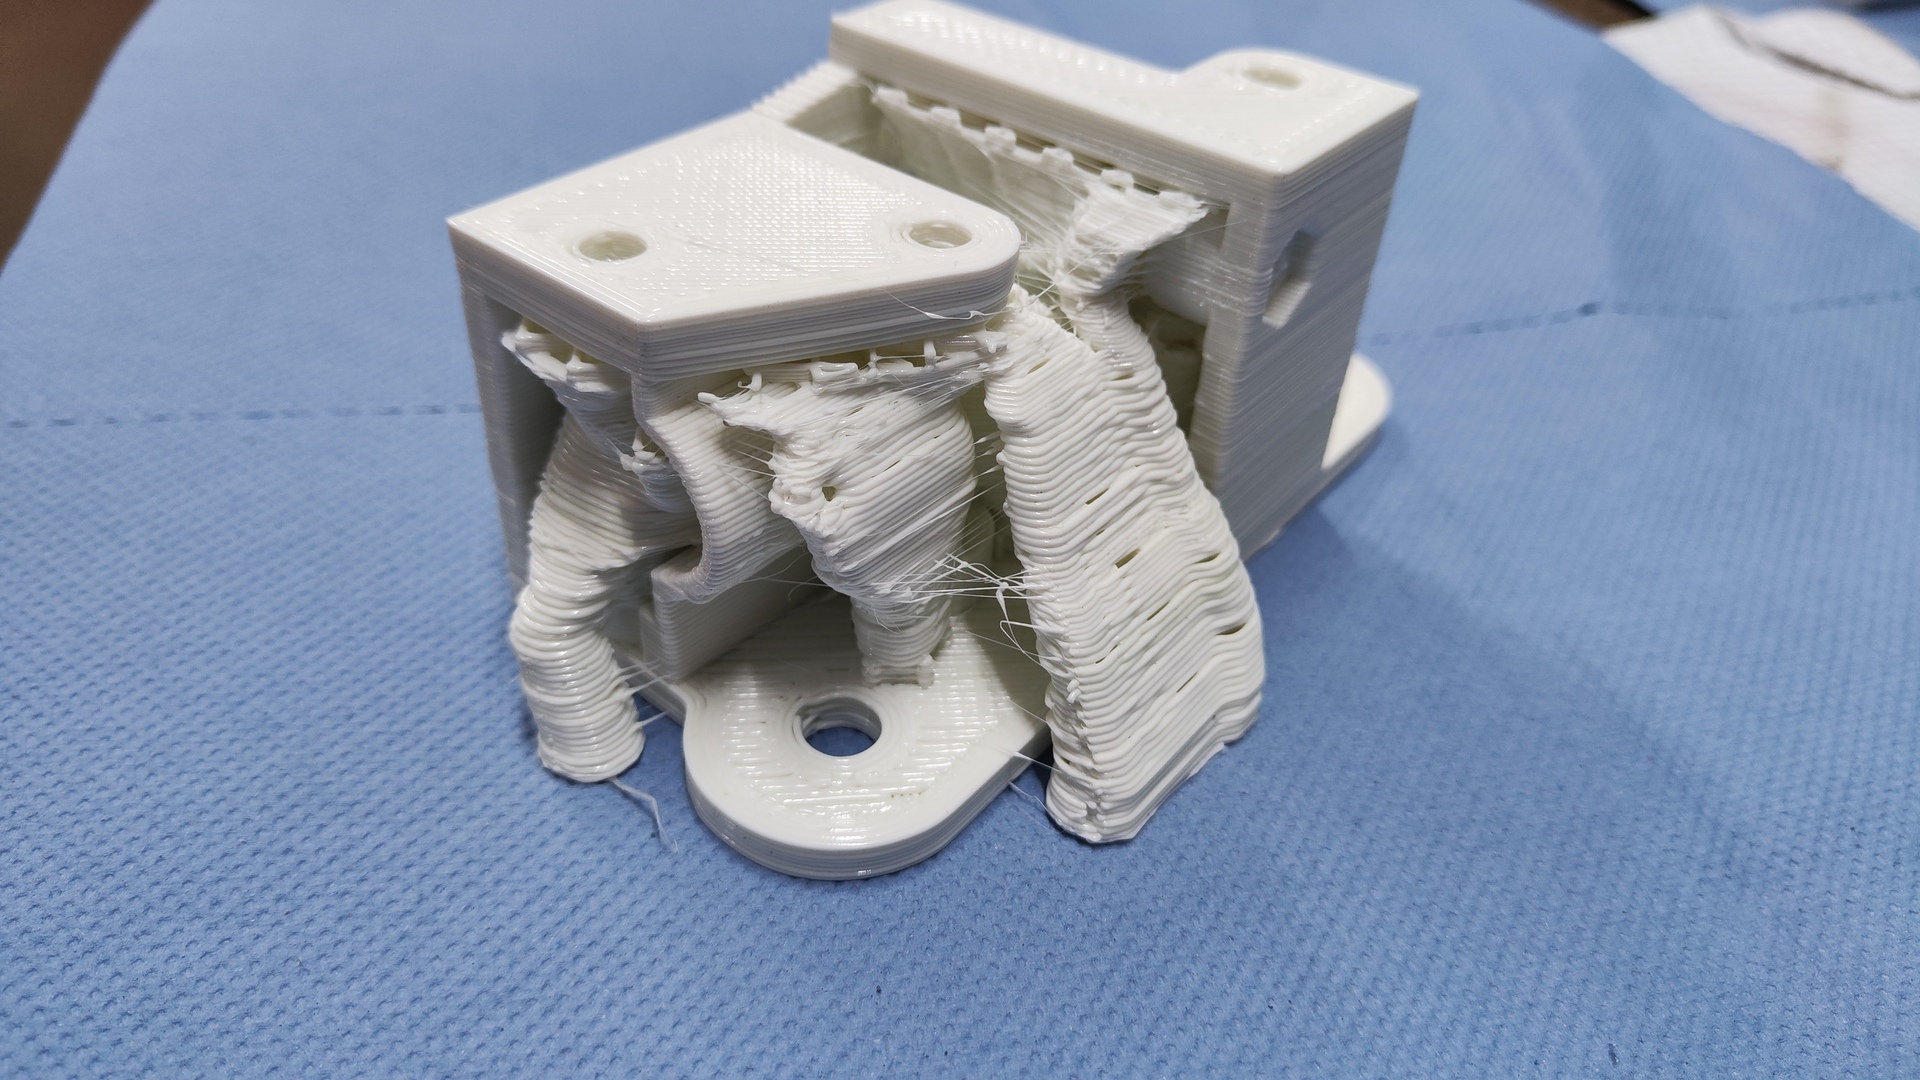
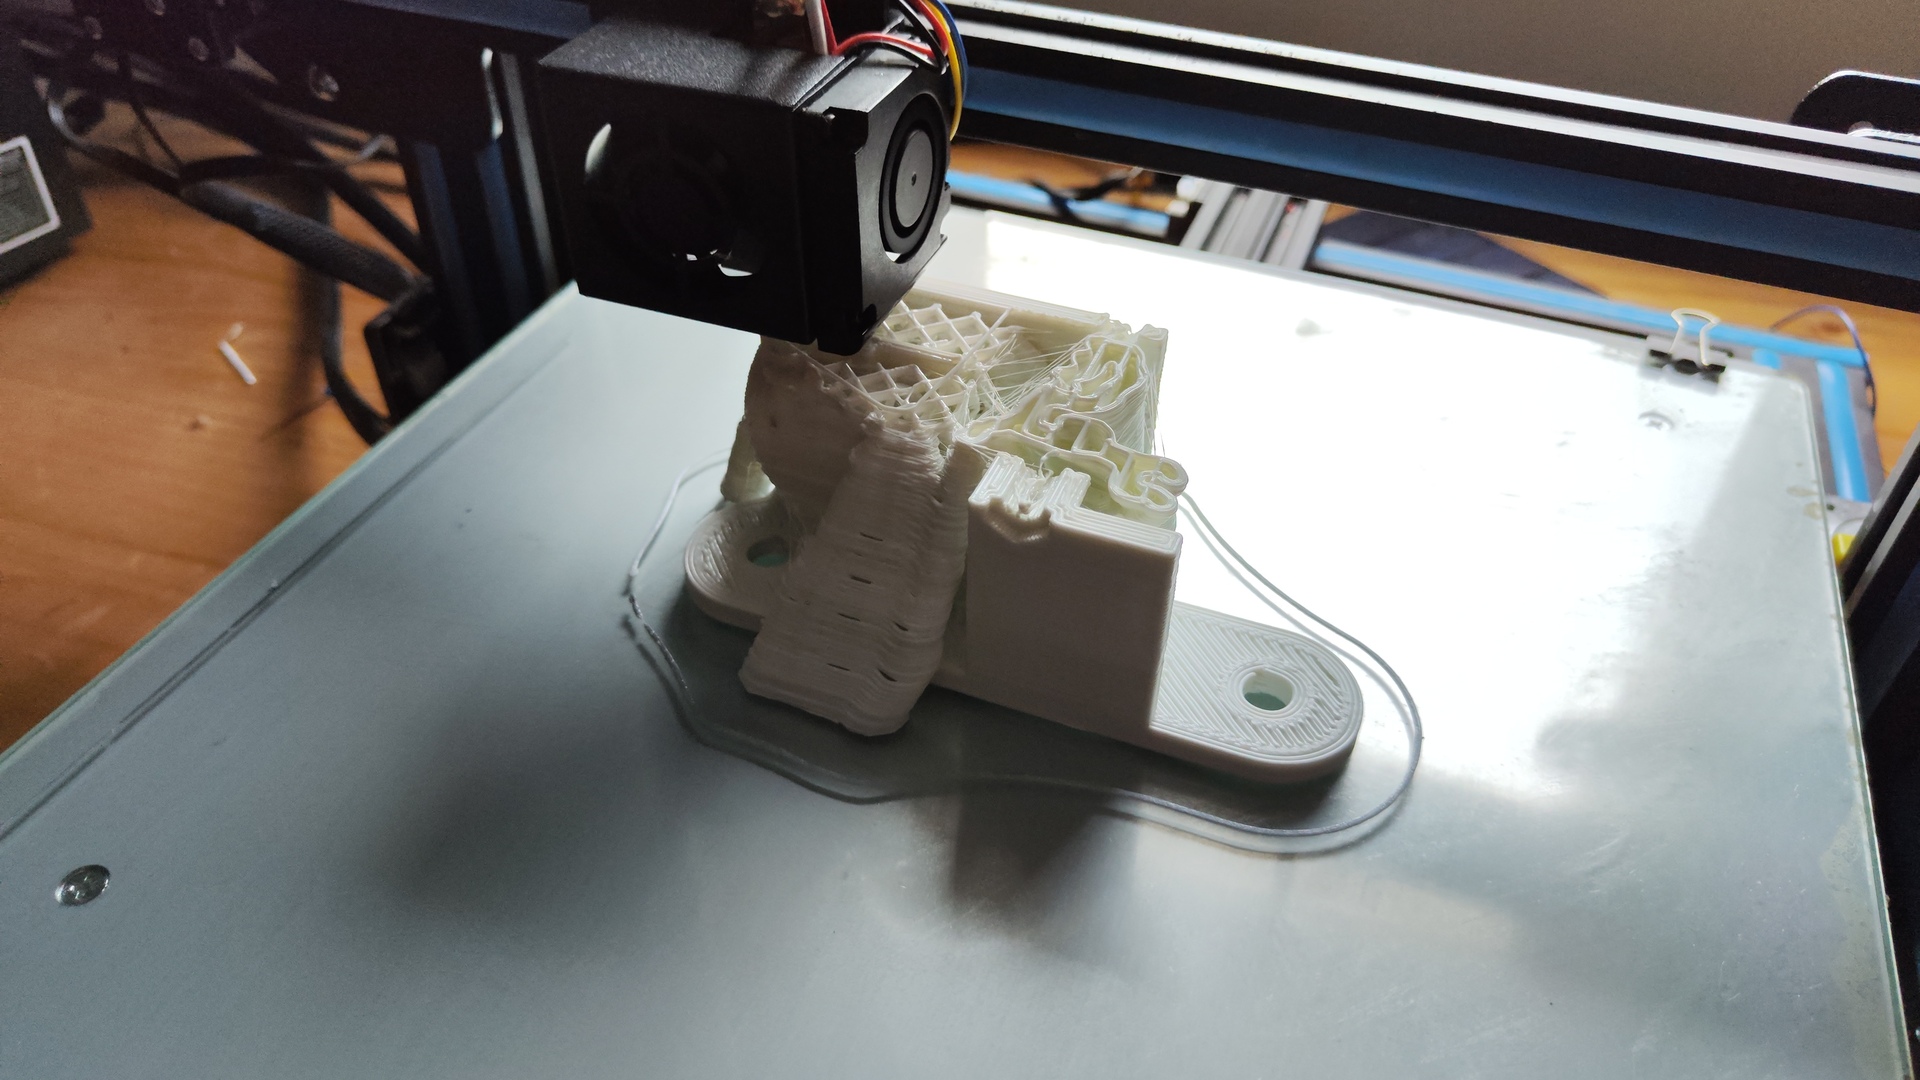
Most mechanical components in this project were 3D-printed. All 3D-printed parts were designed using FreeCAD, then sliced using Cura and printed on a CR-10 3D printer:
 3D model of a cable guide
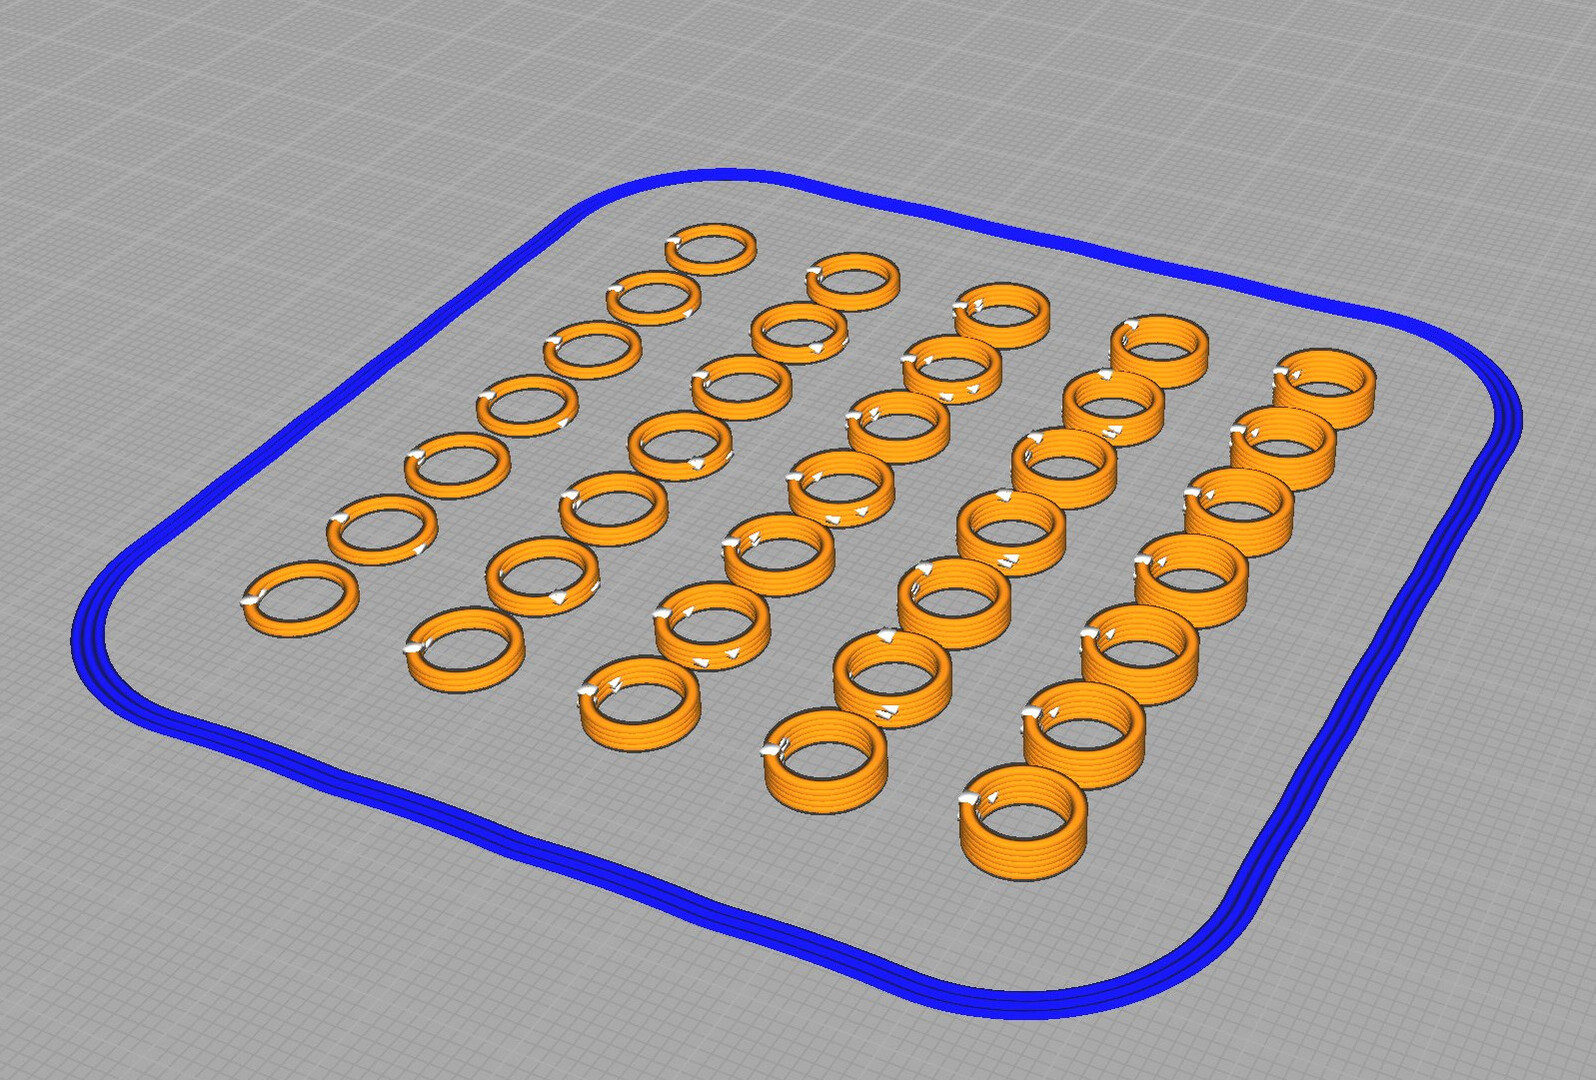
 Sliced model for 3D printing
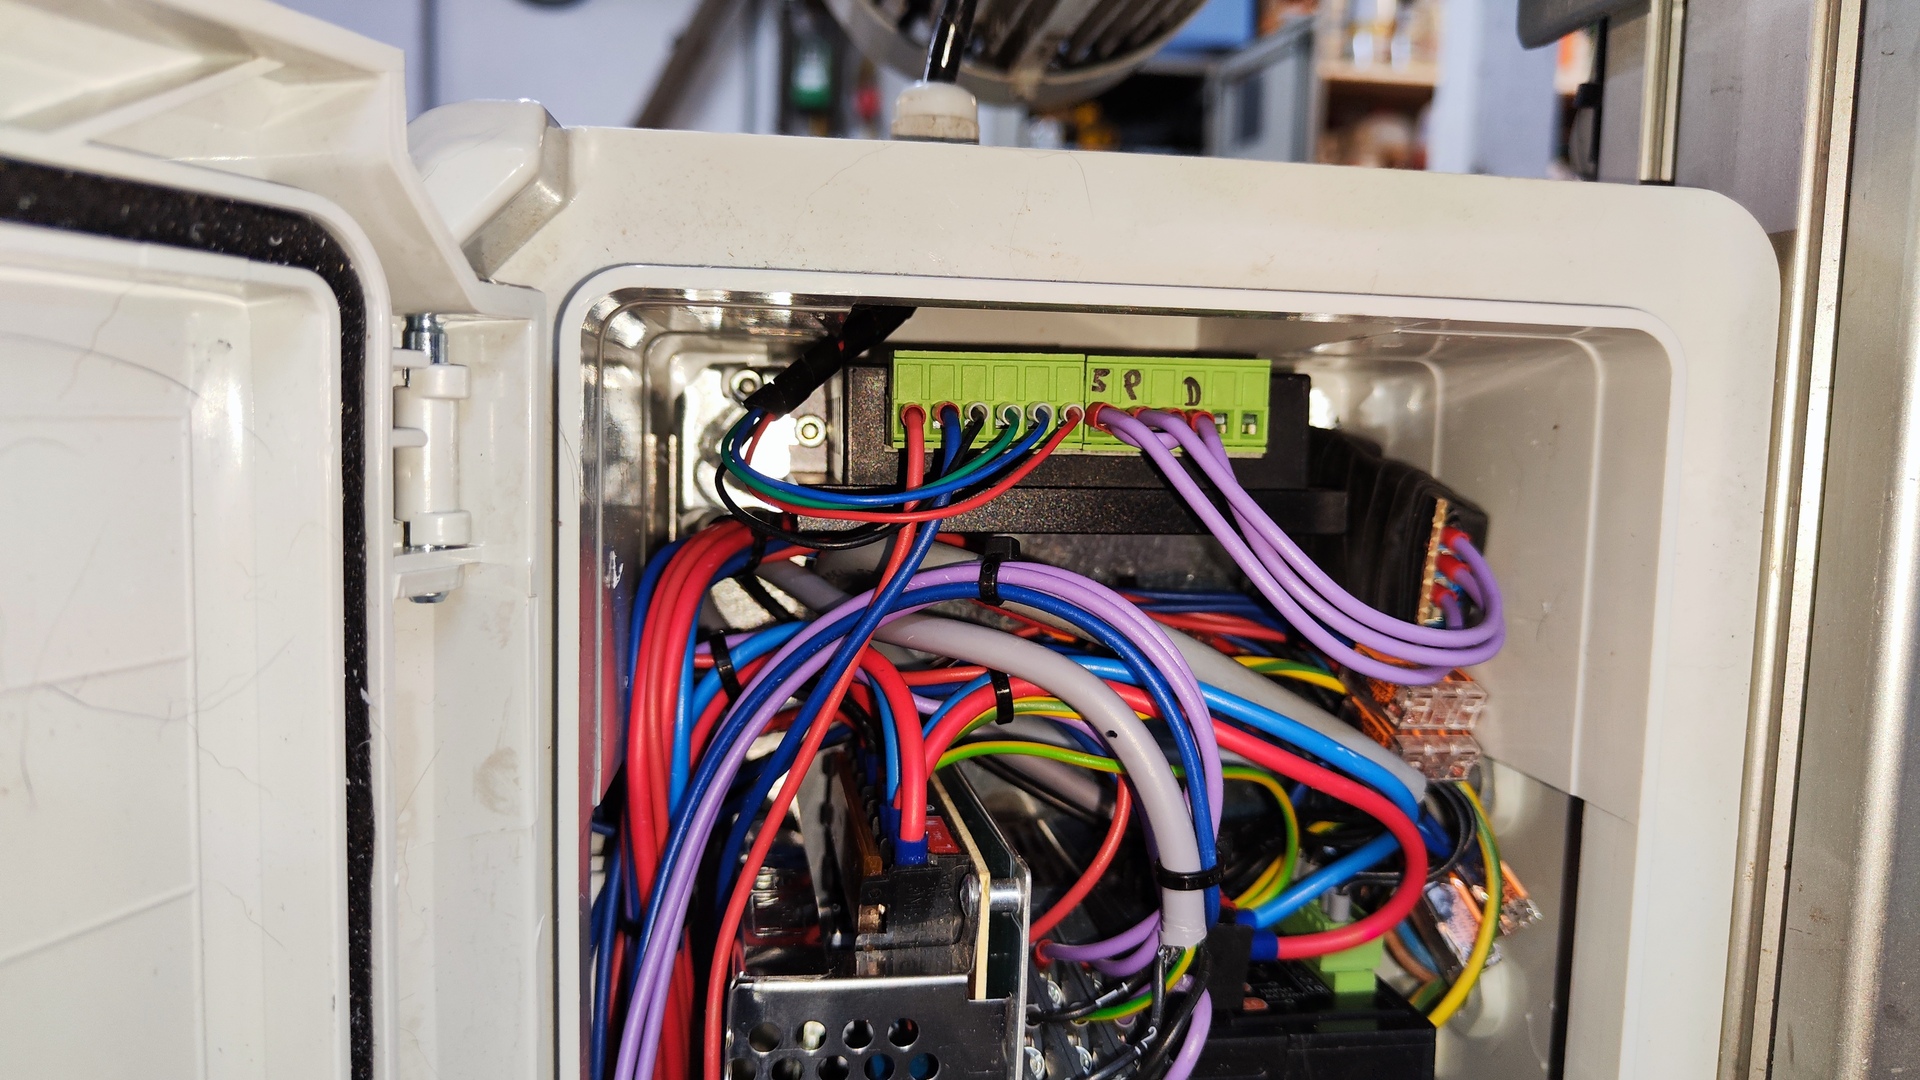
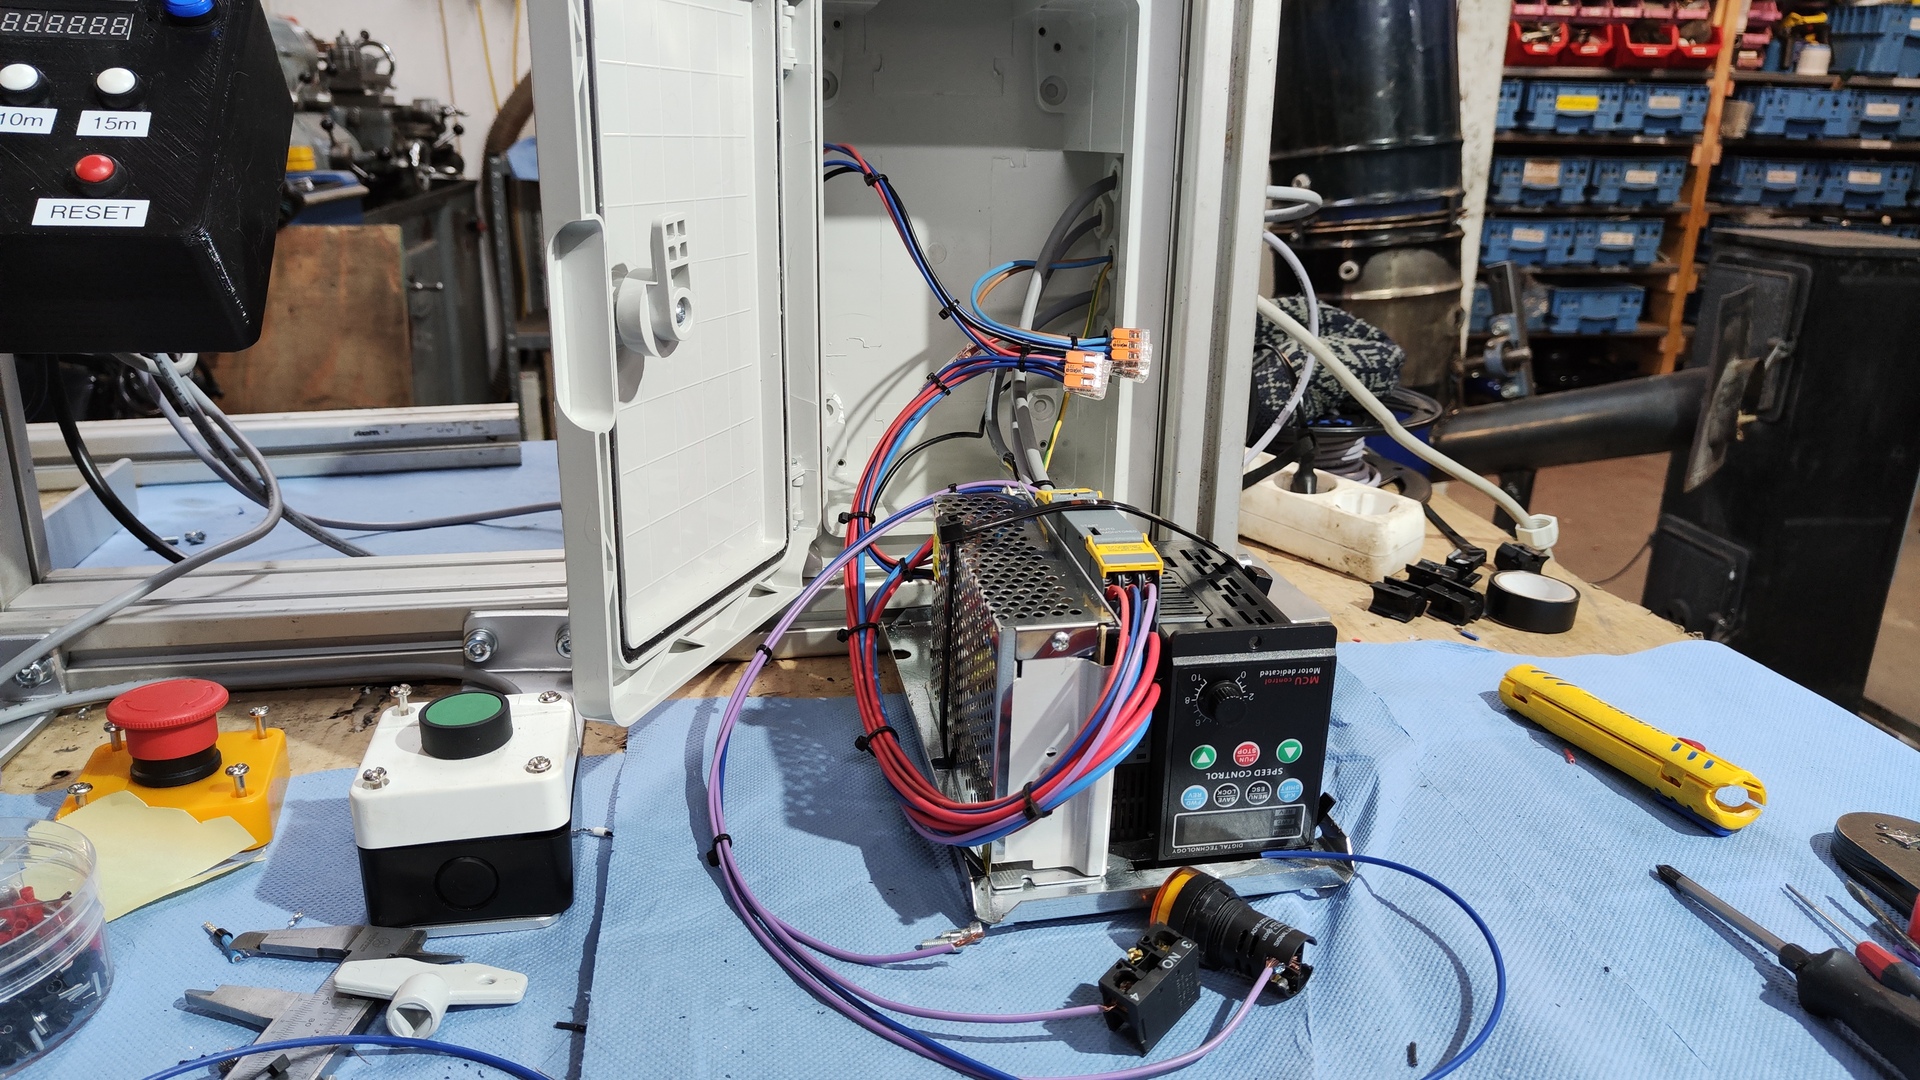
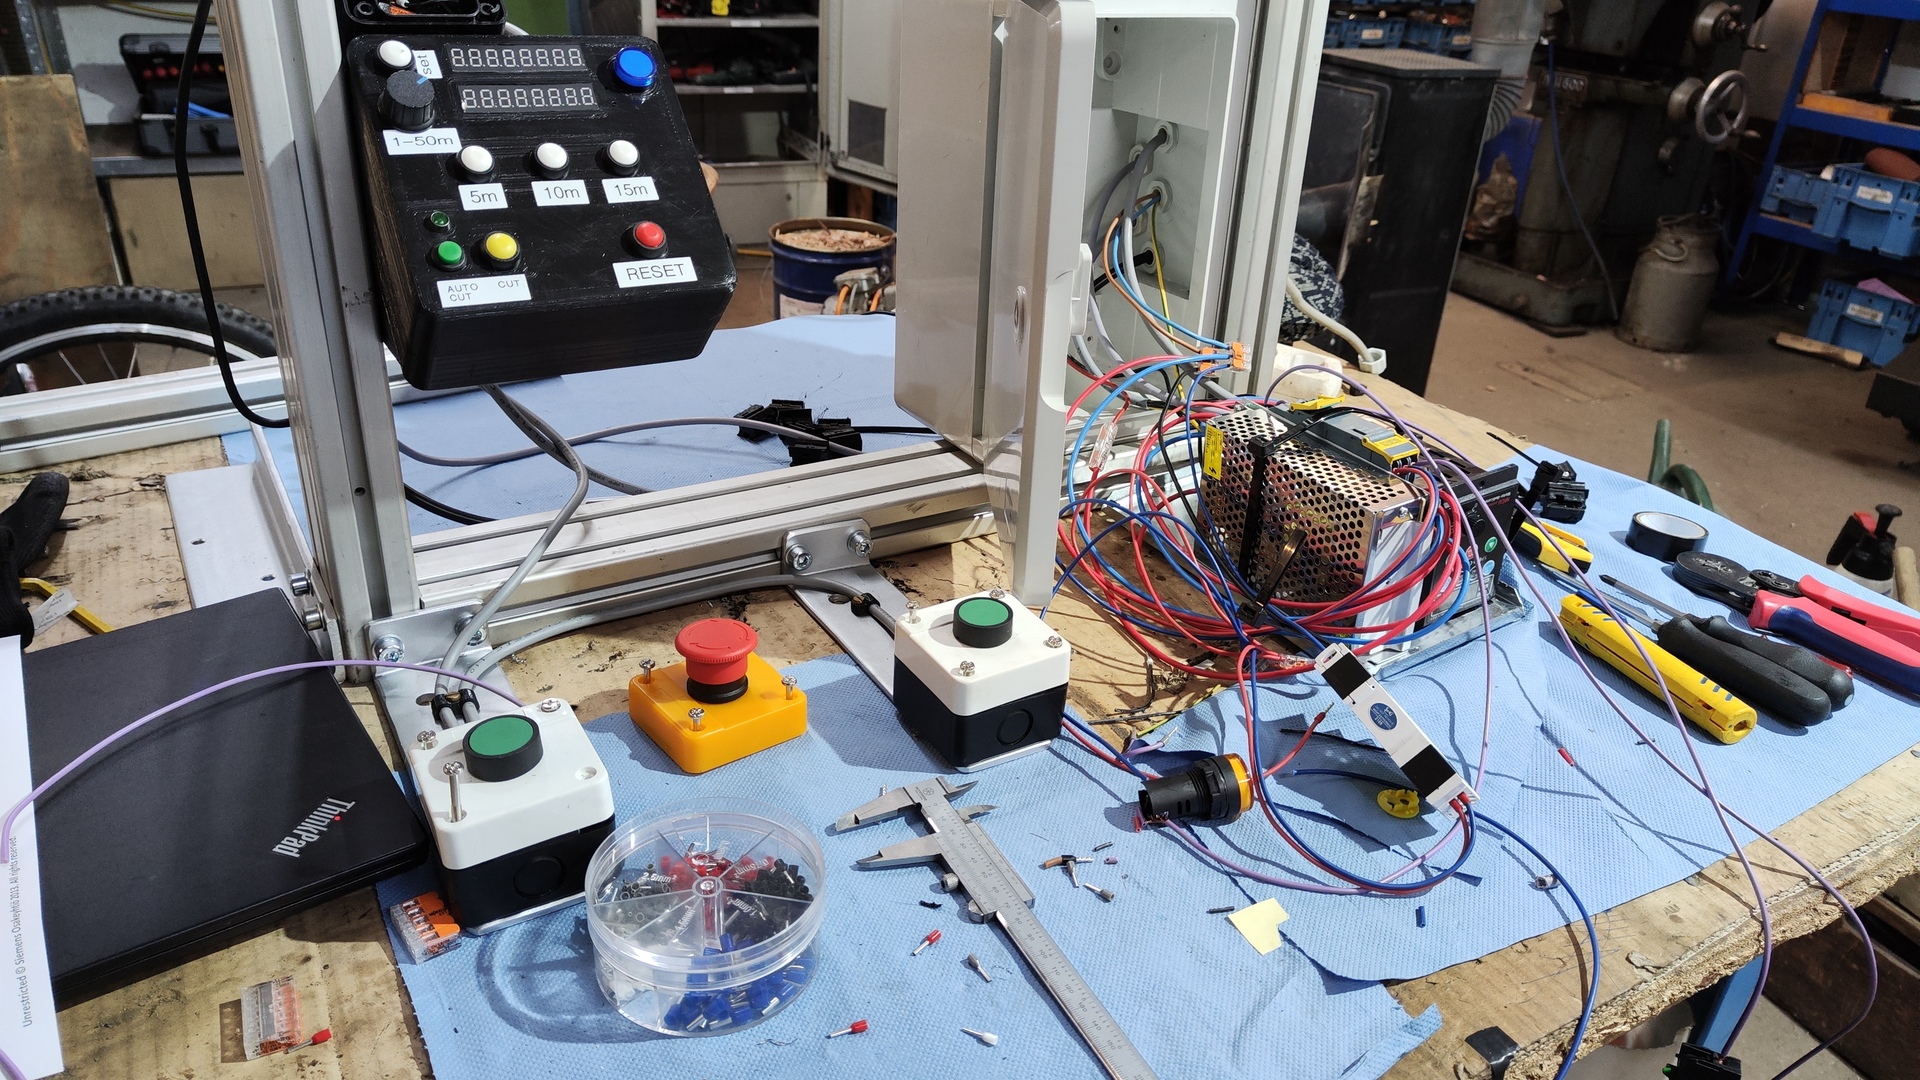
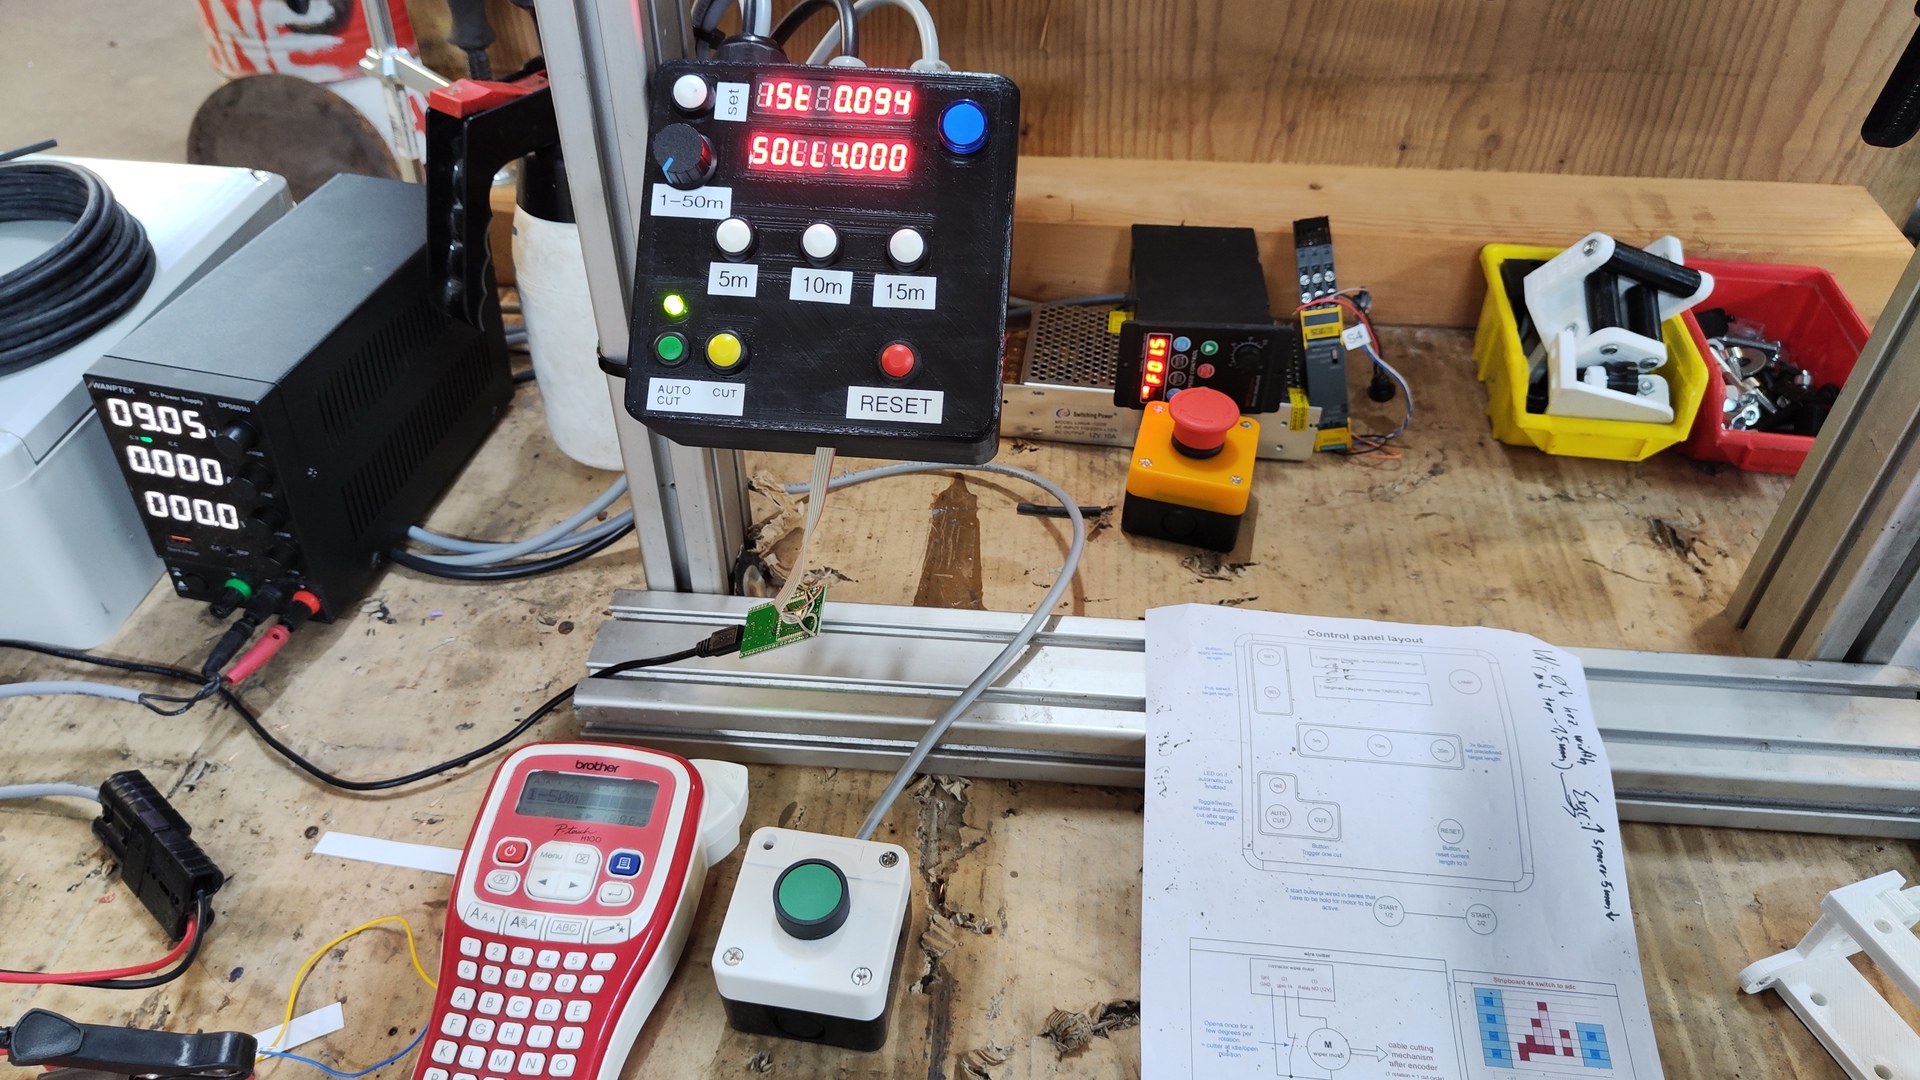
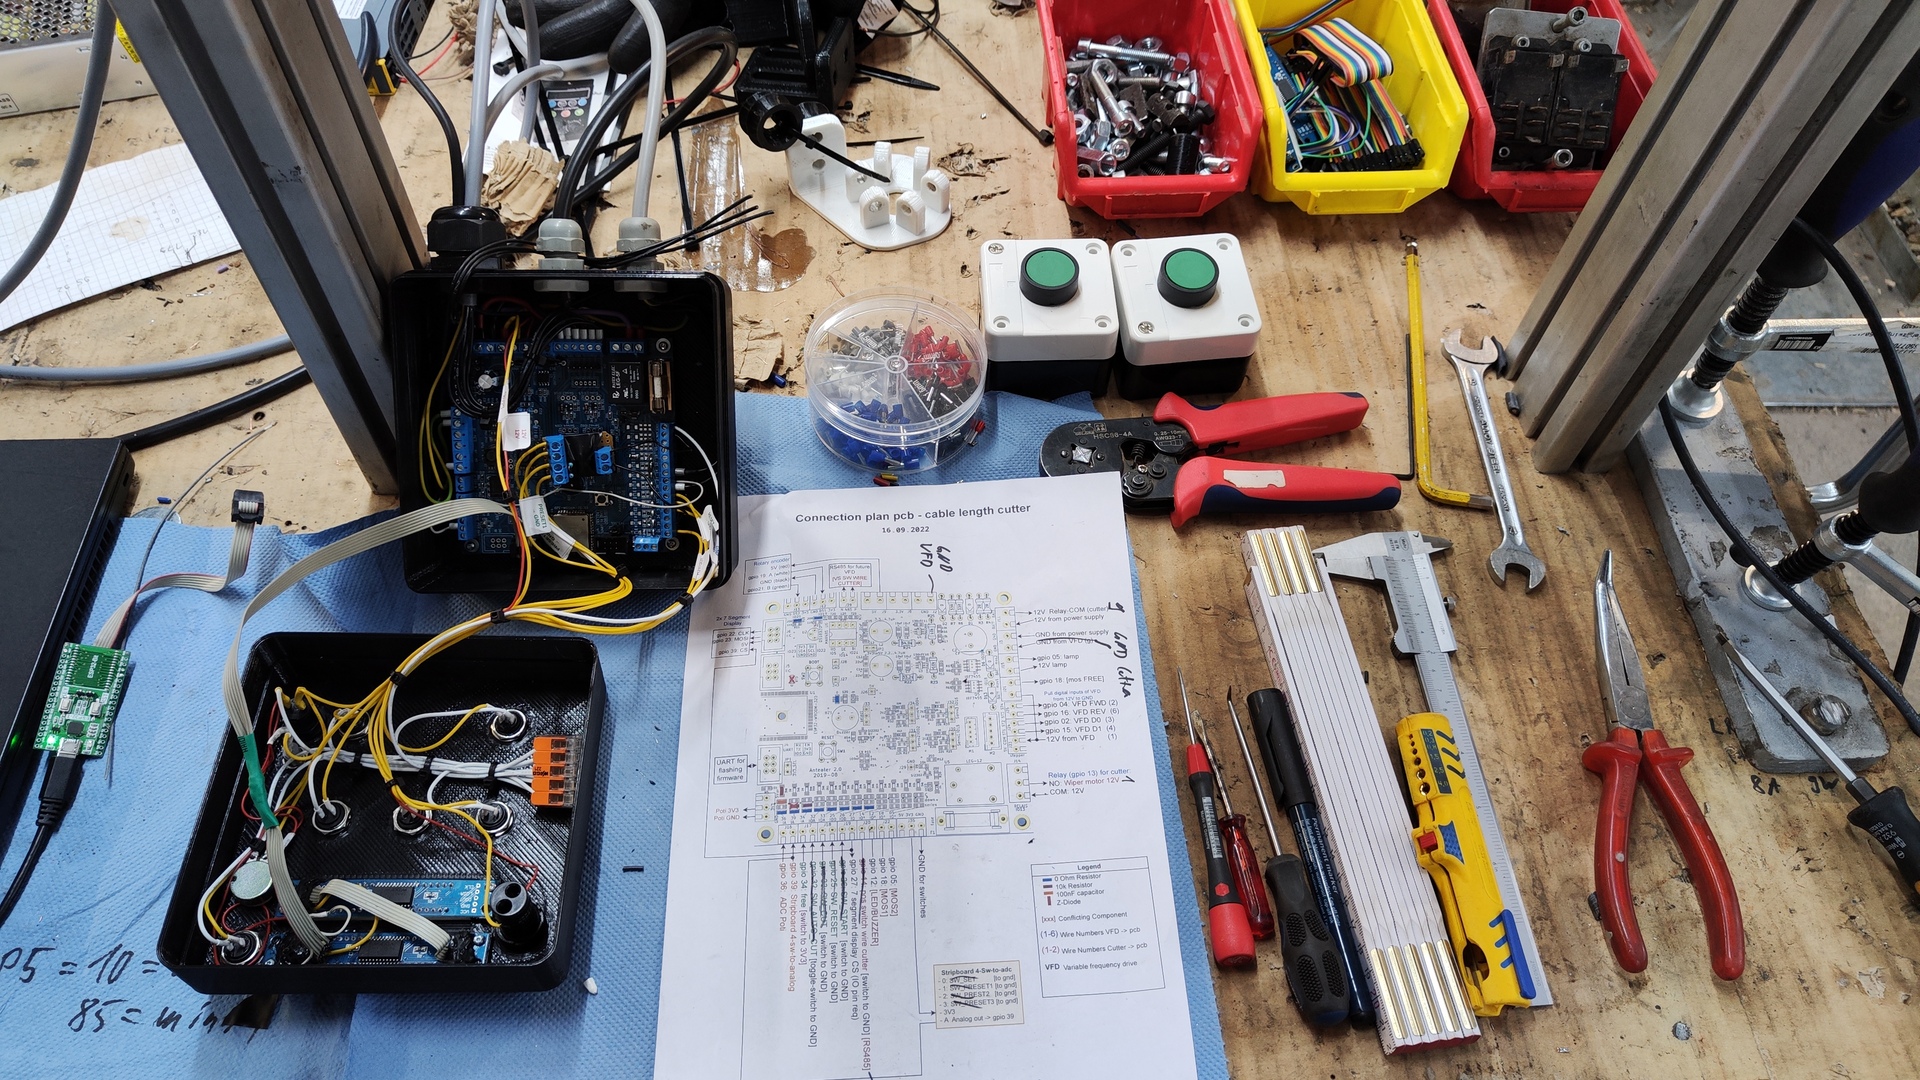
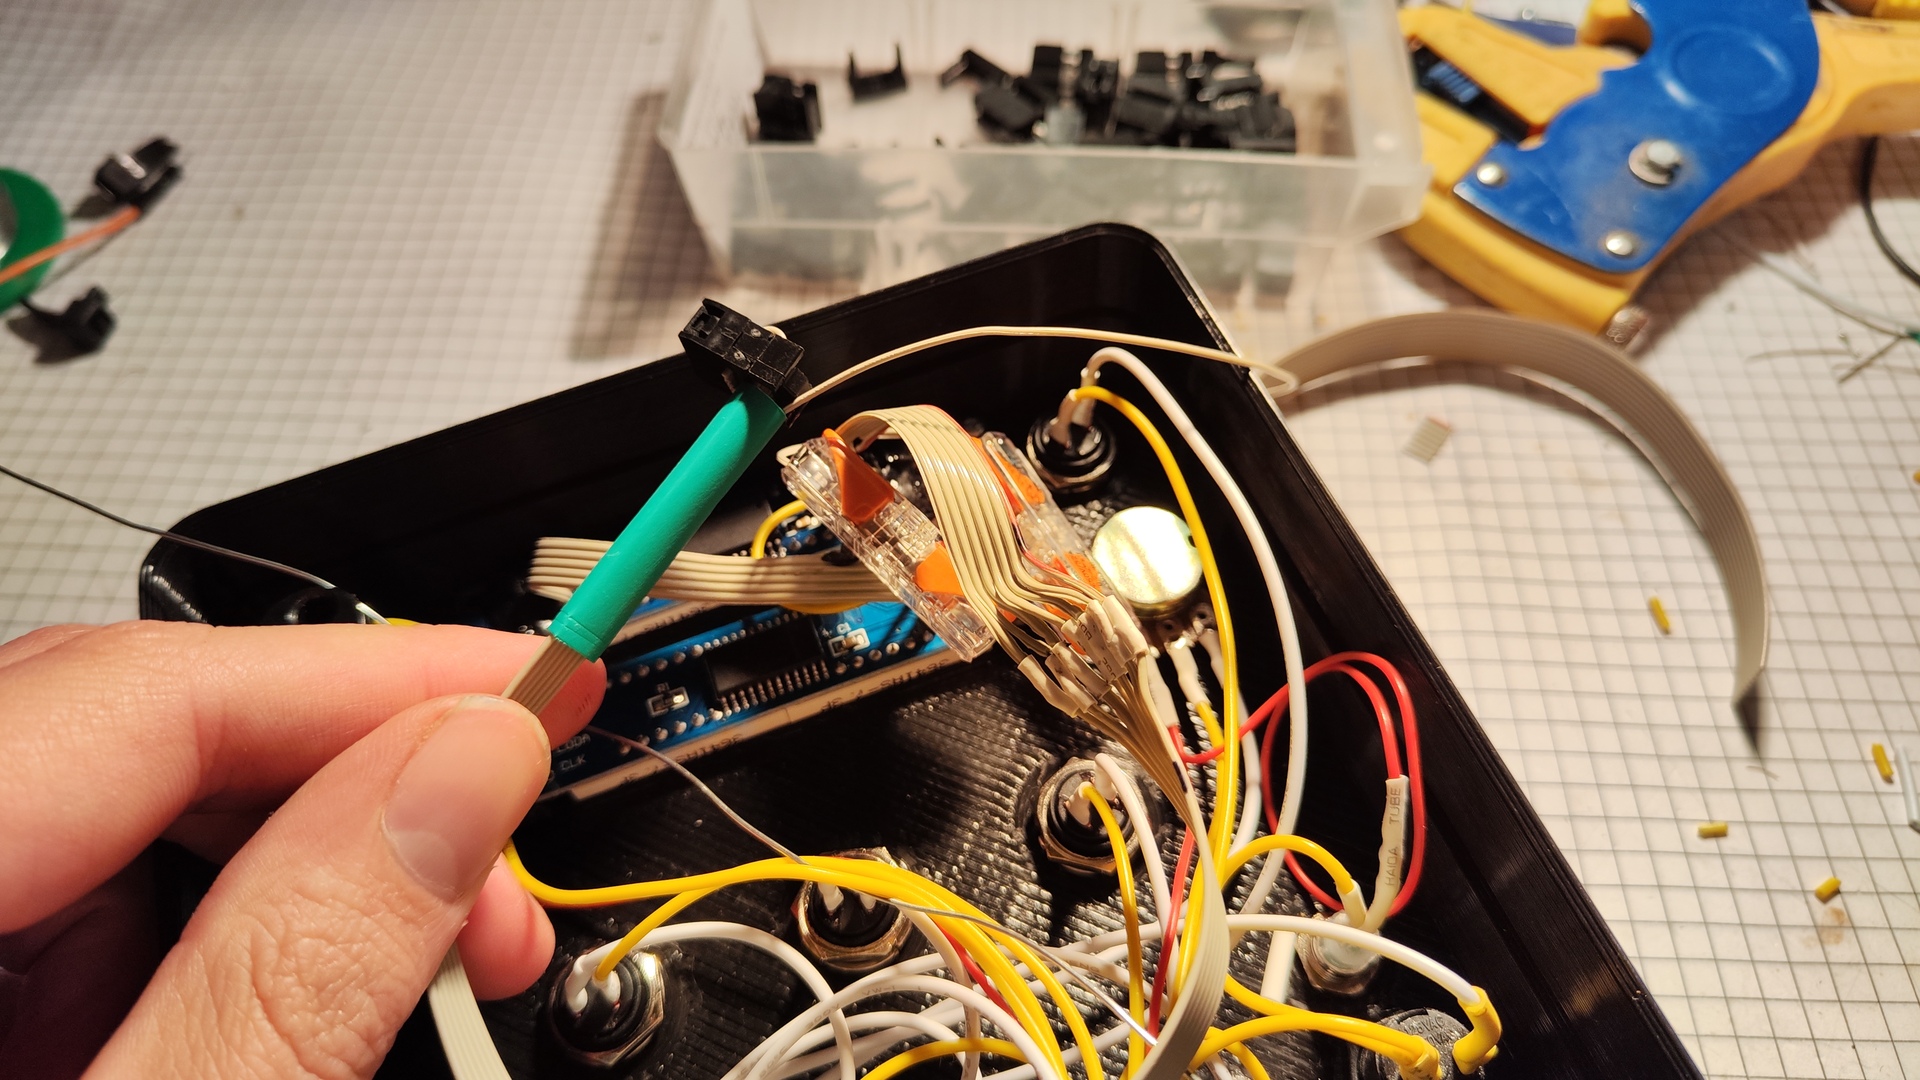
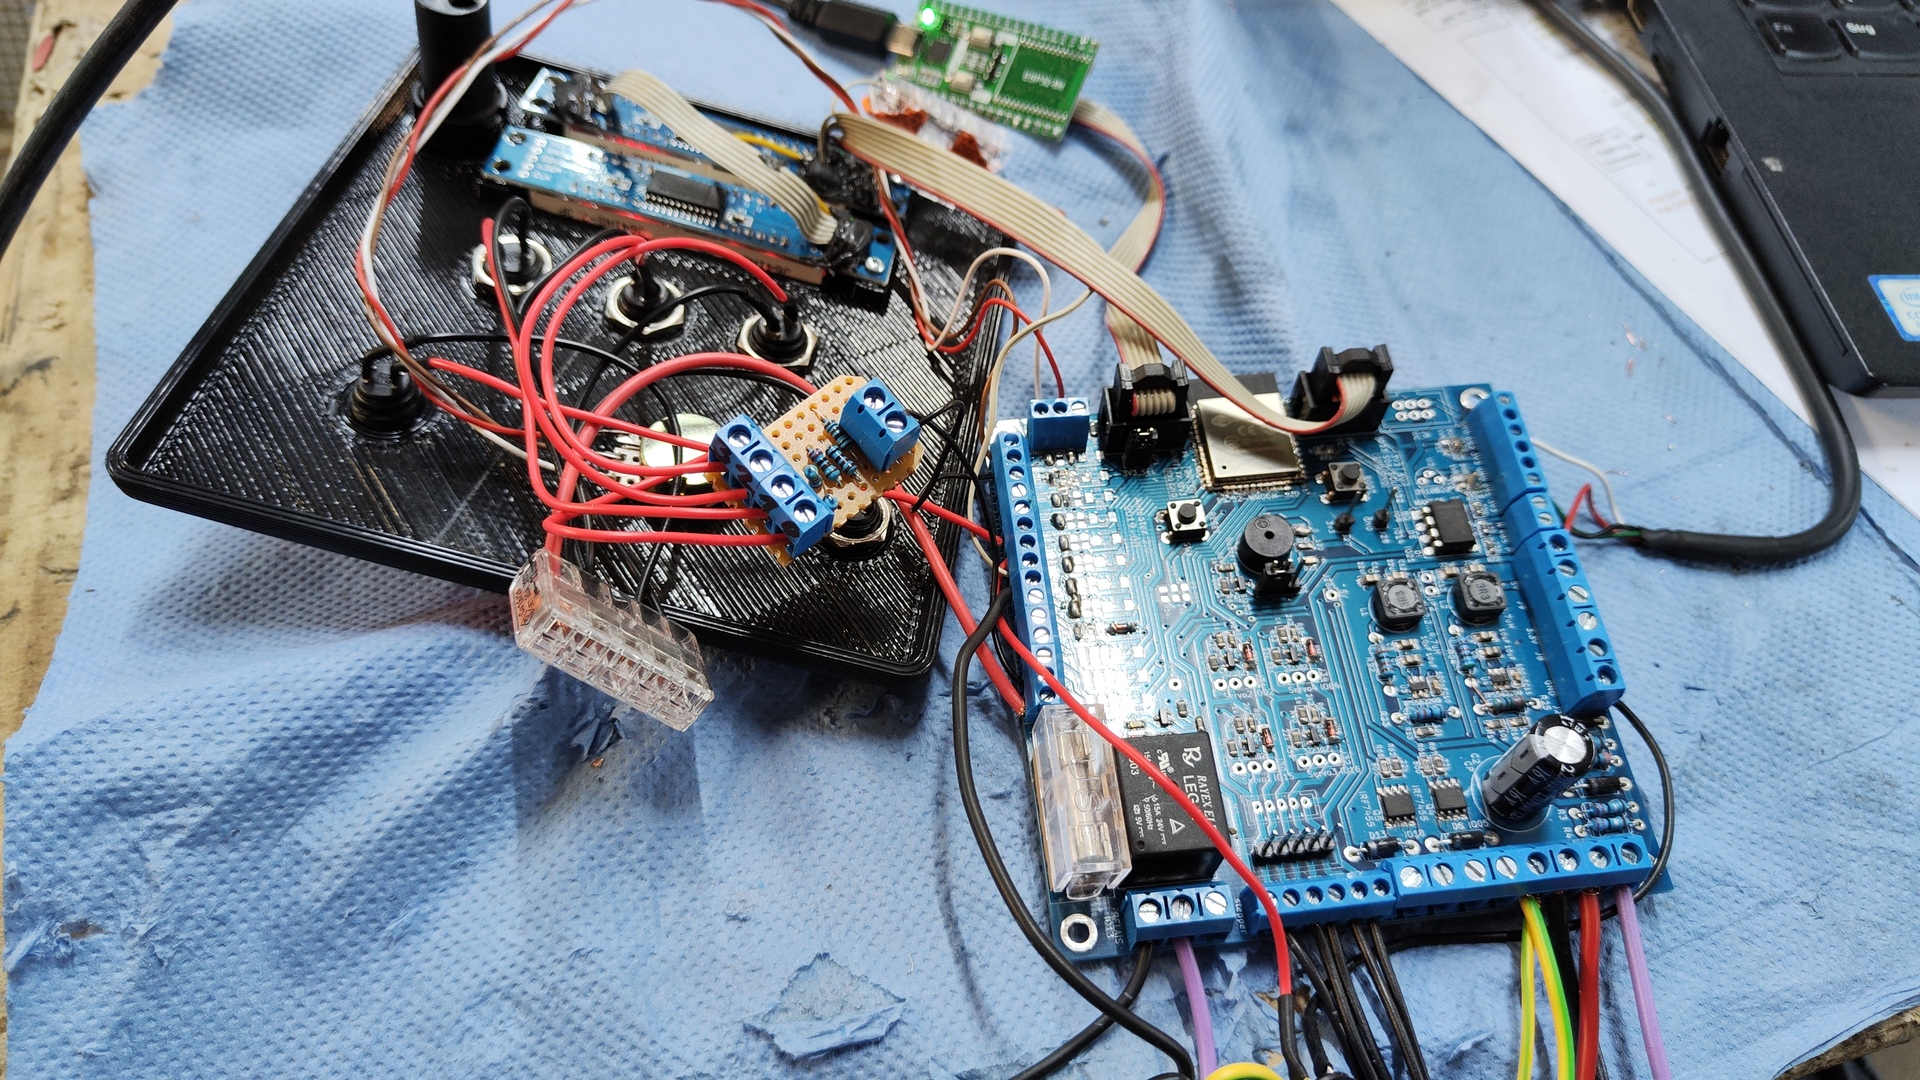
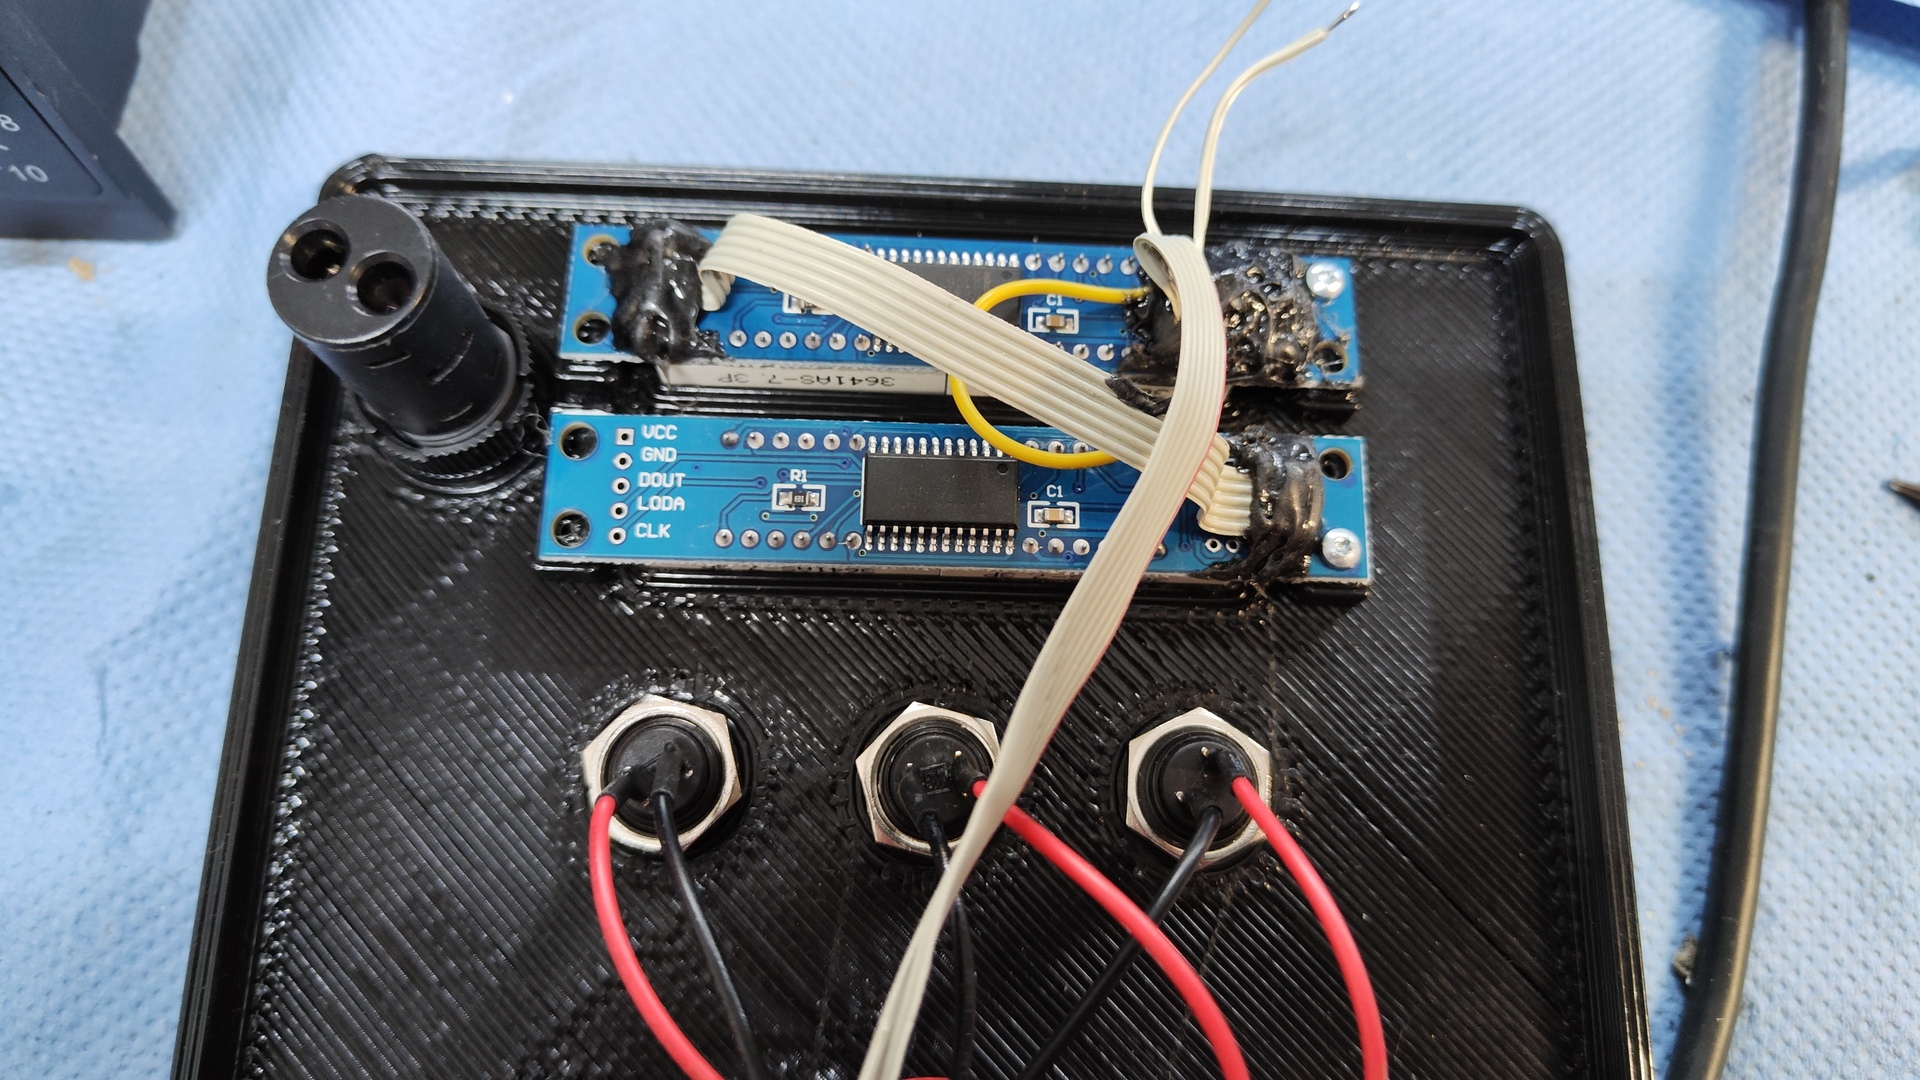
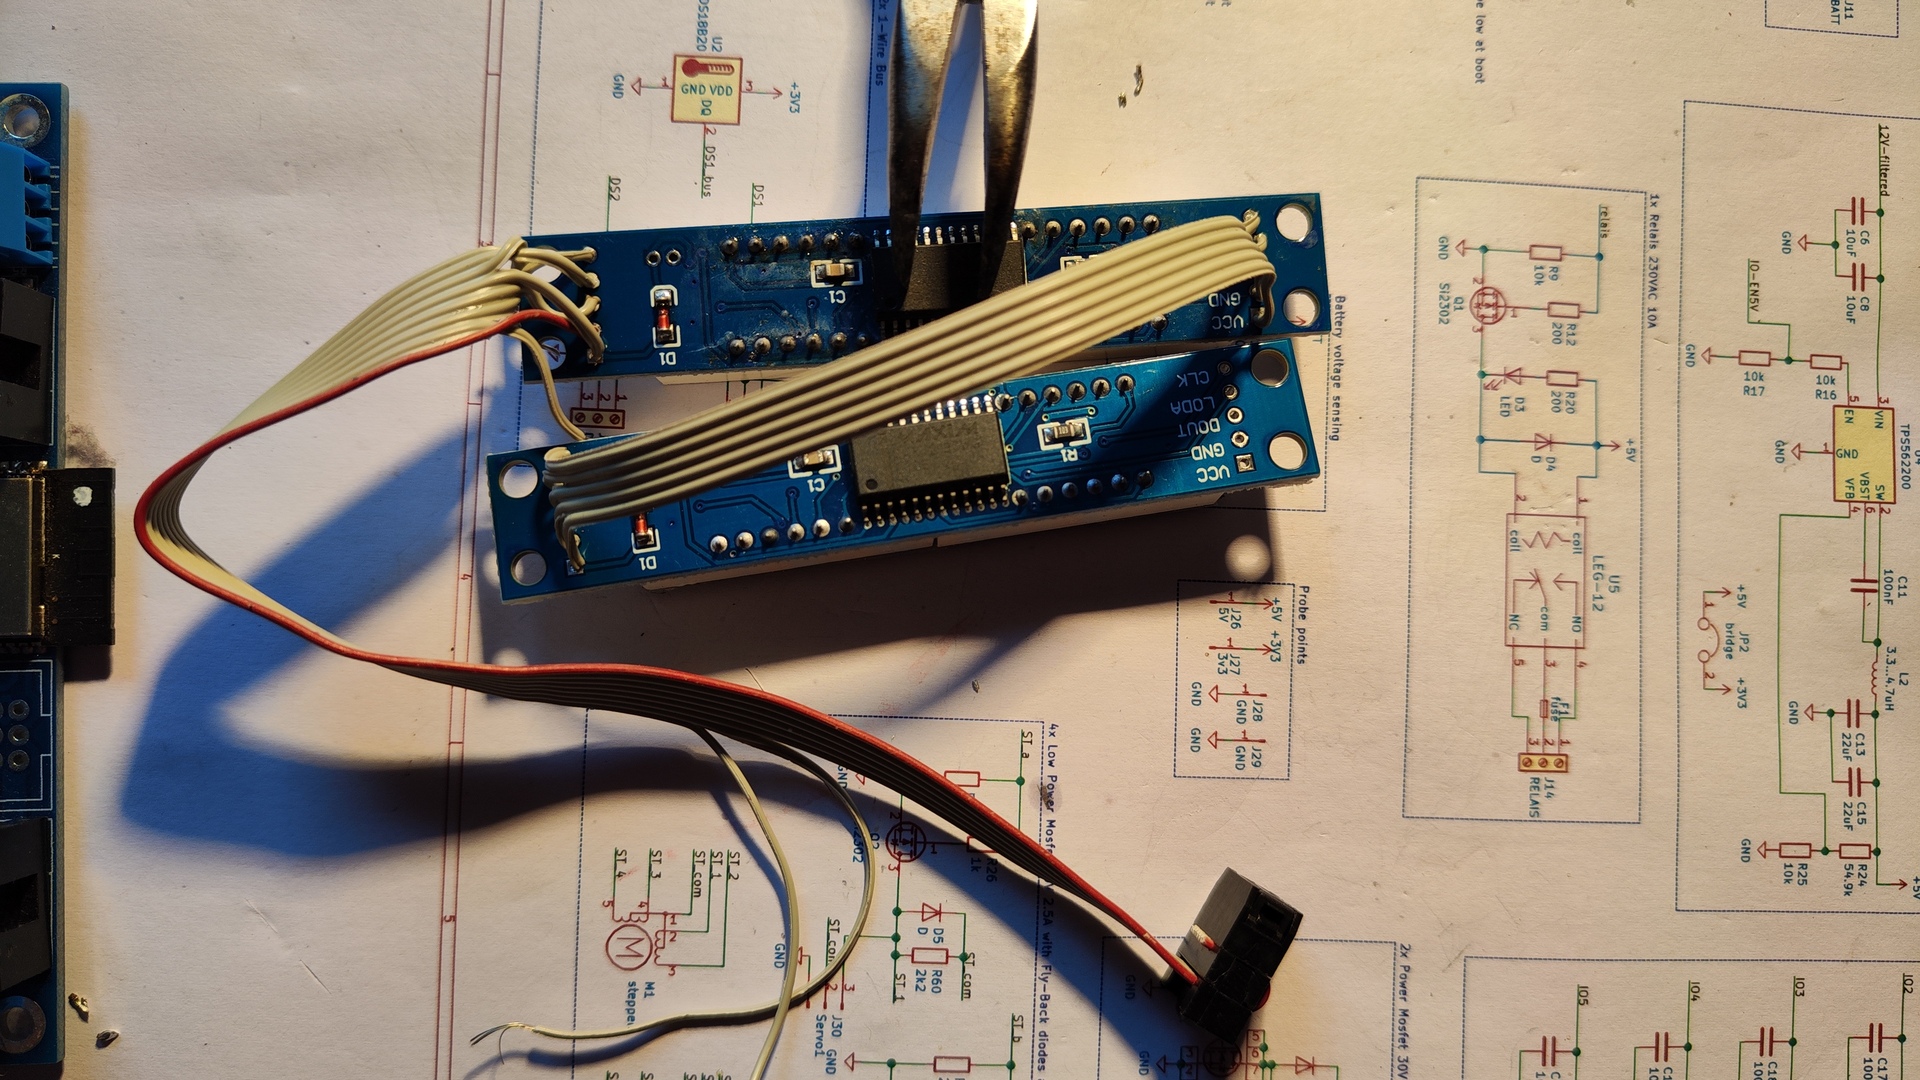
Wiring
The wiring was straightforward using the beforehand created connection plan.
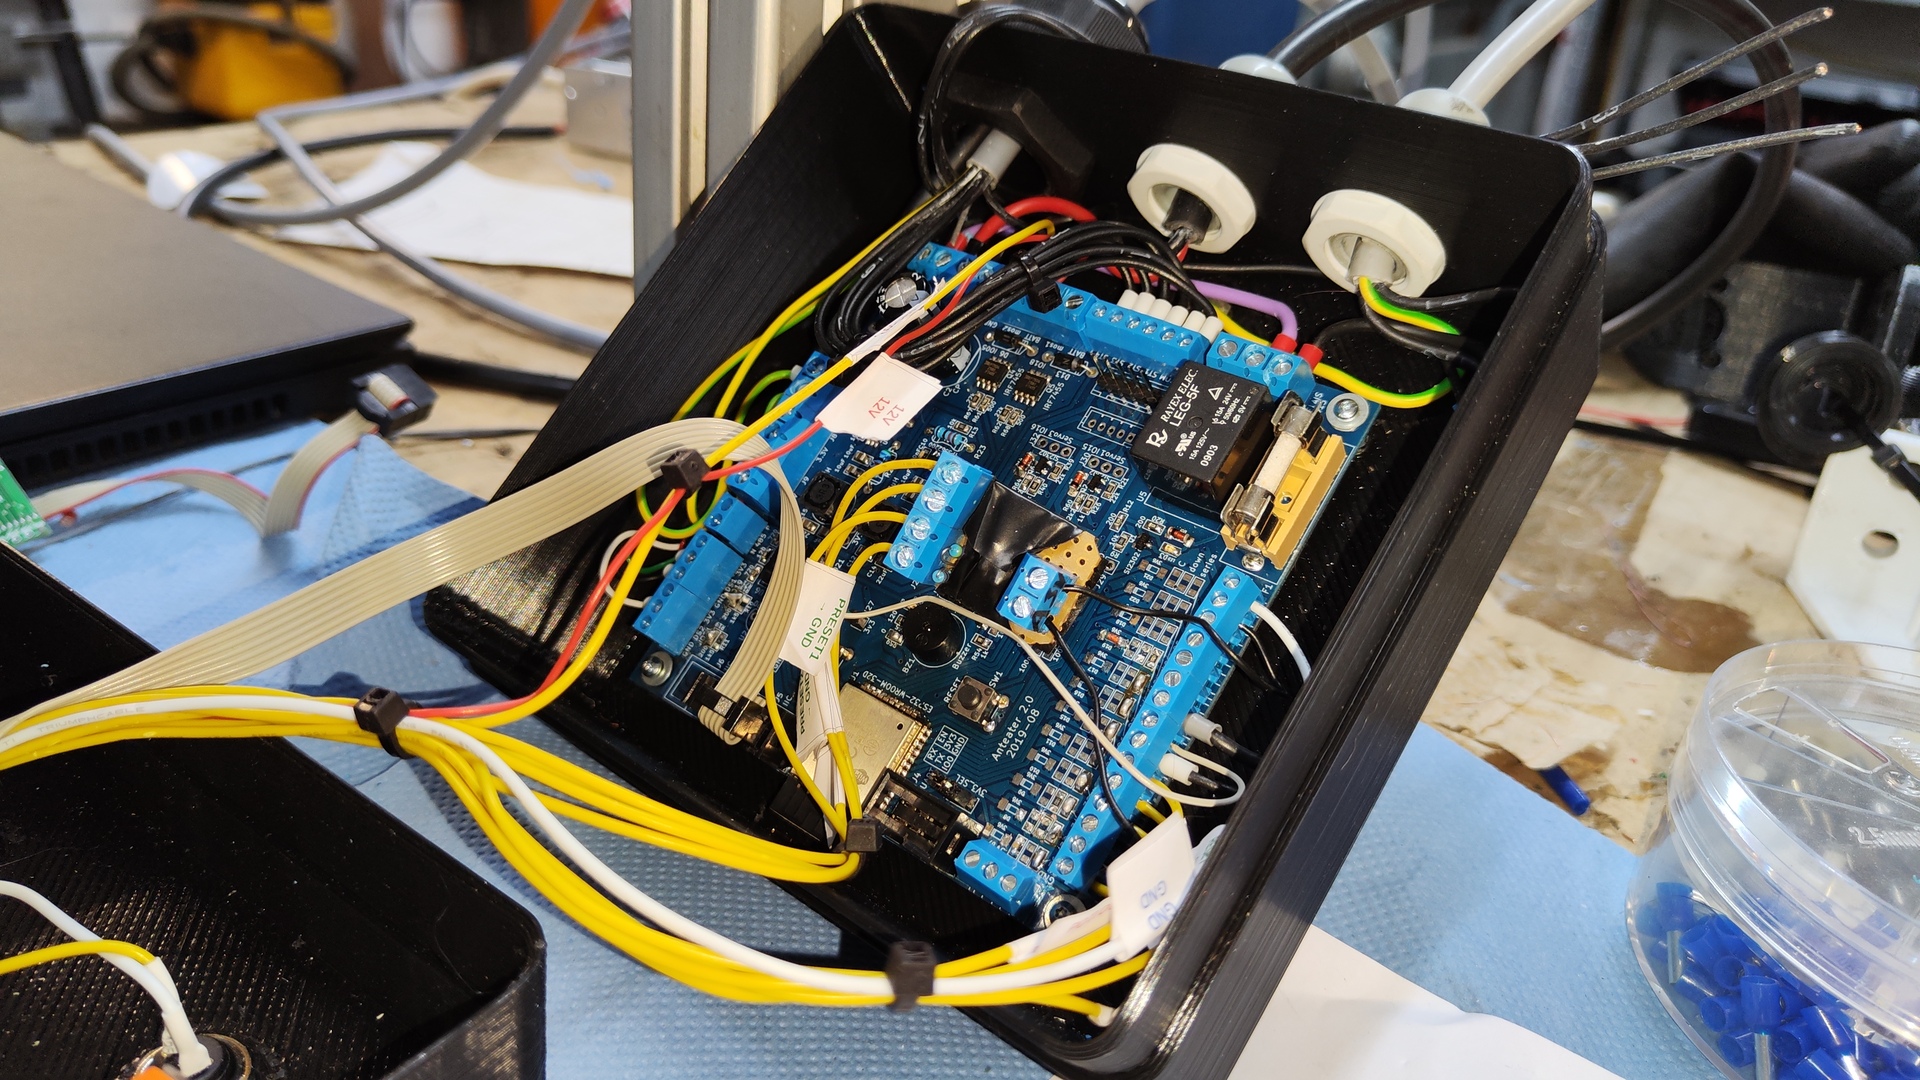
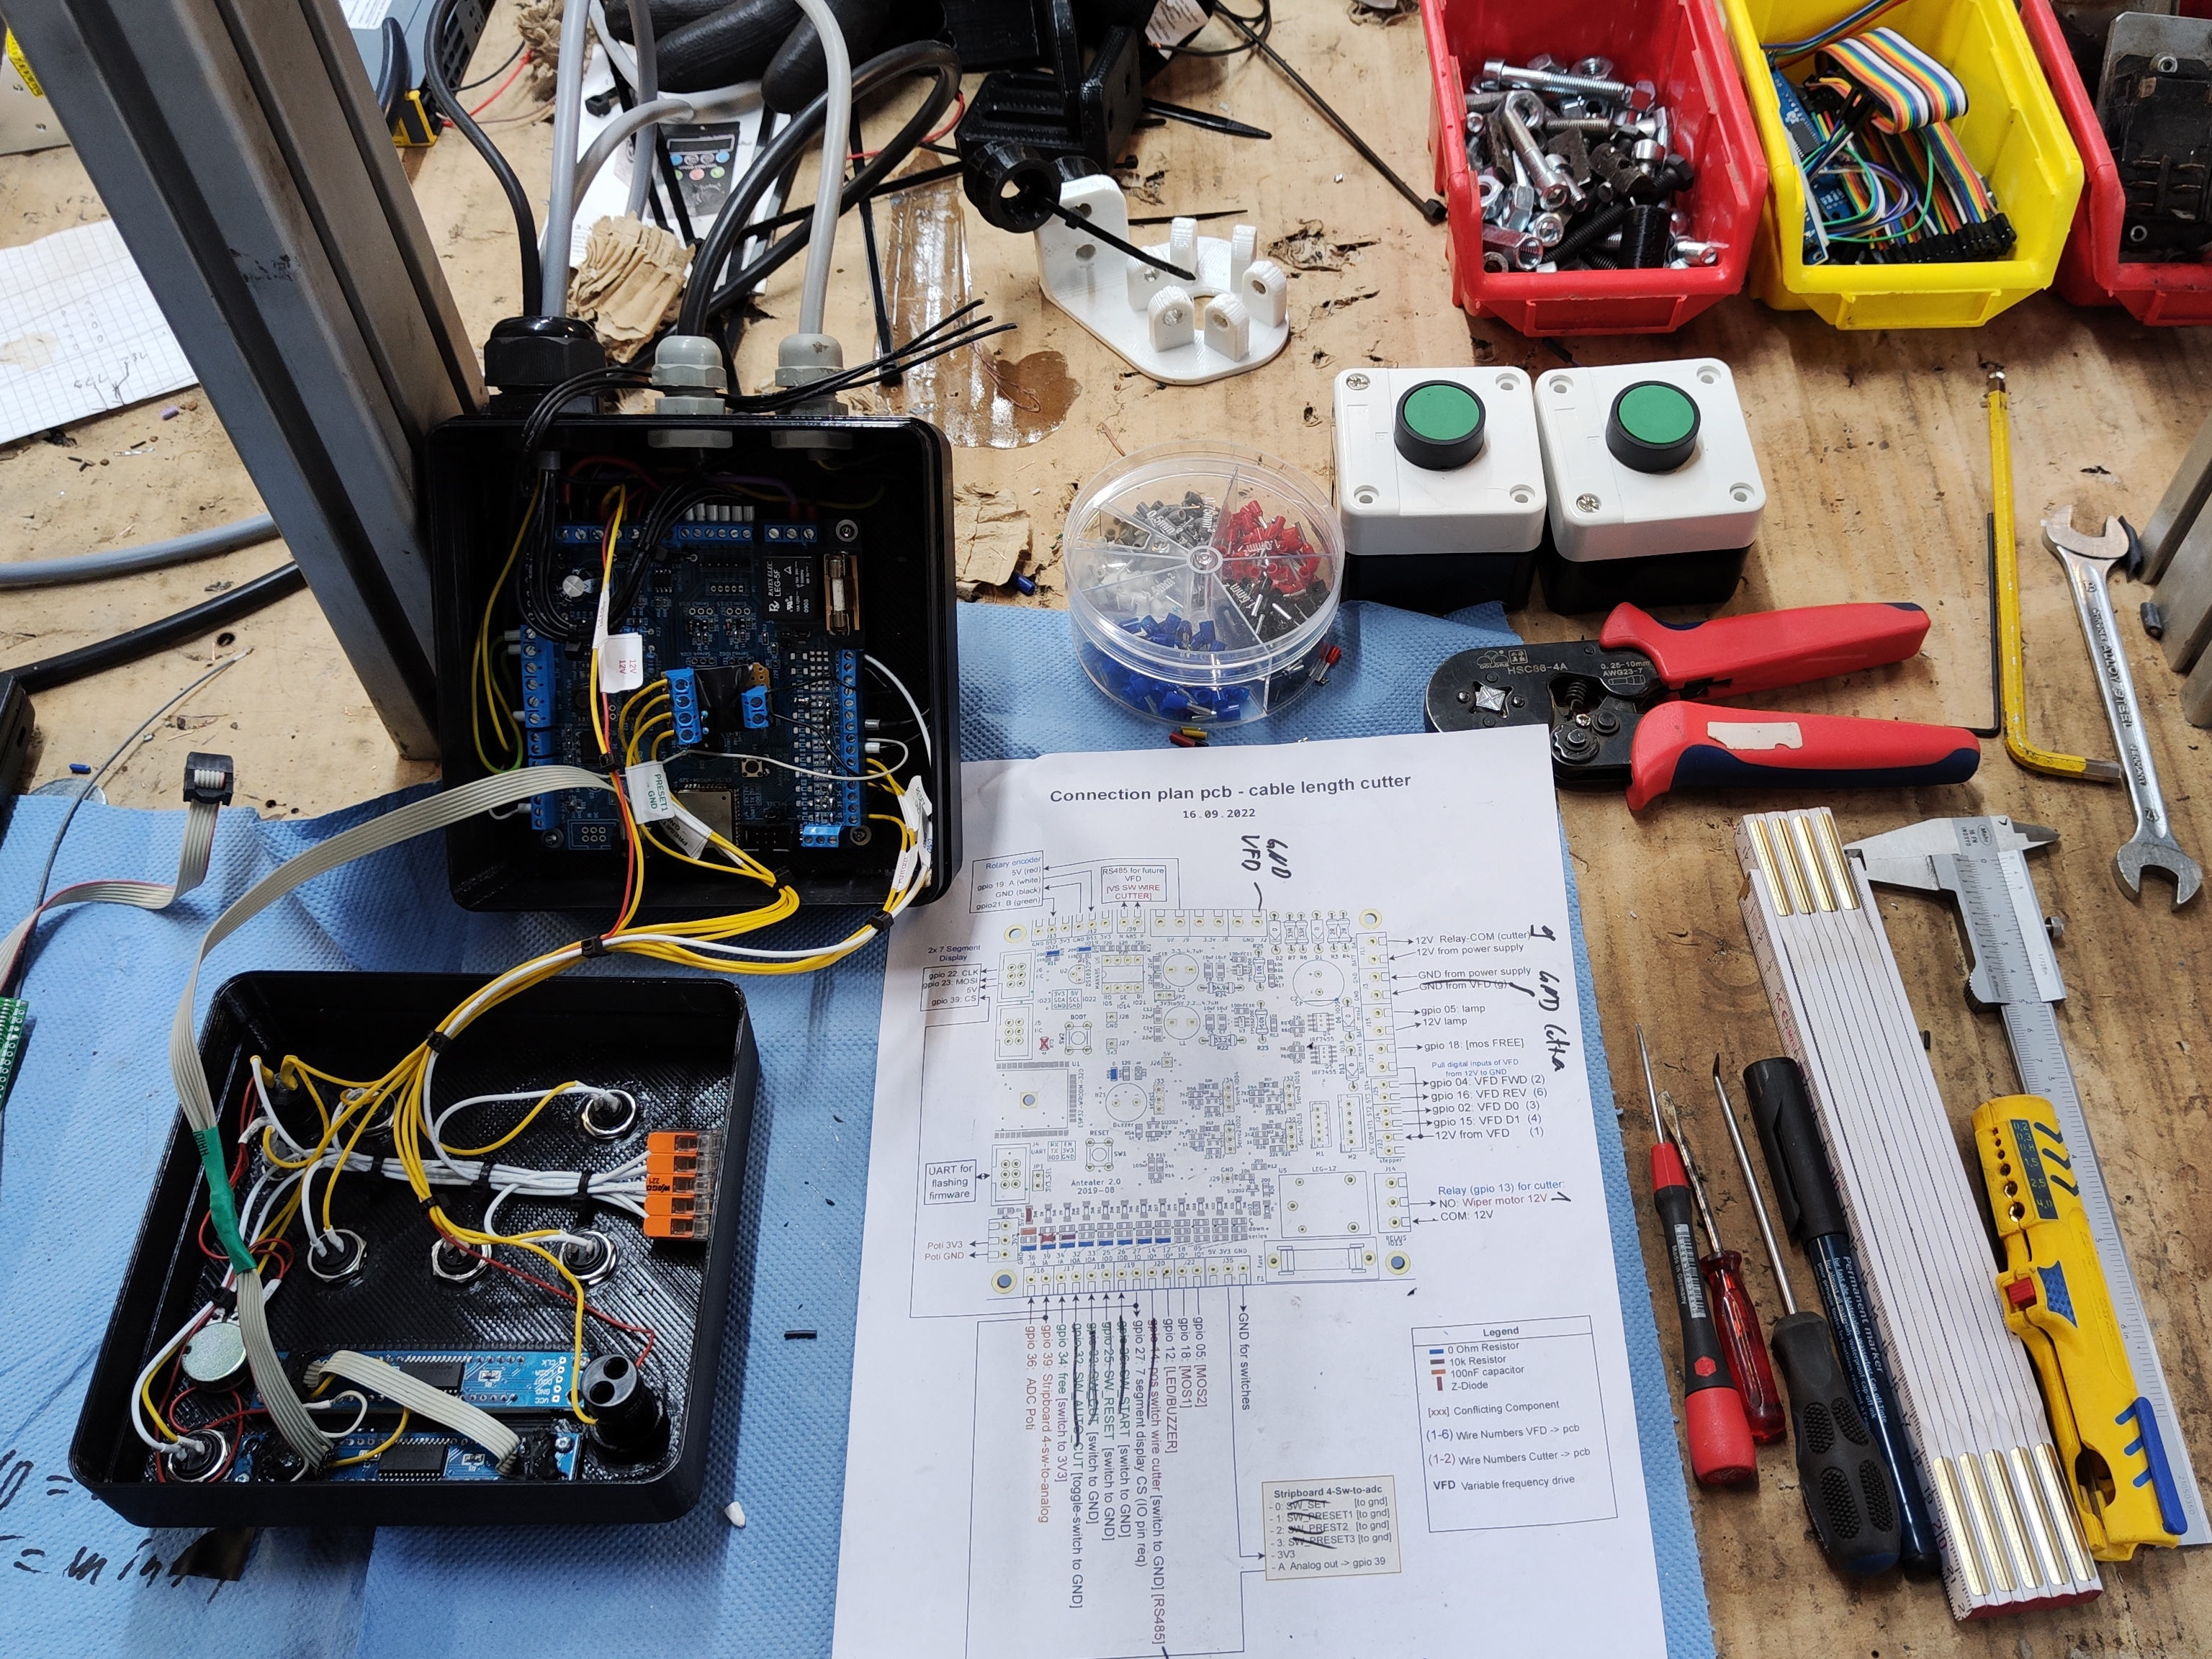 Wiring the control box
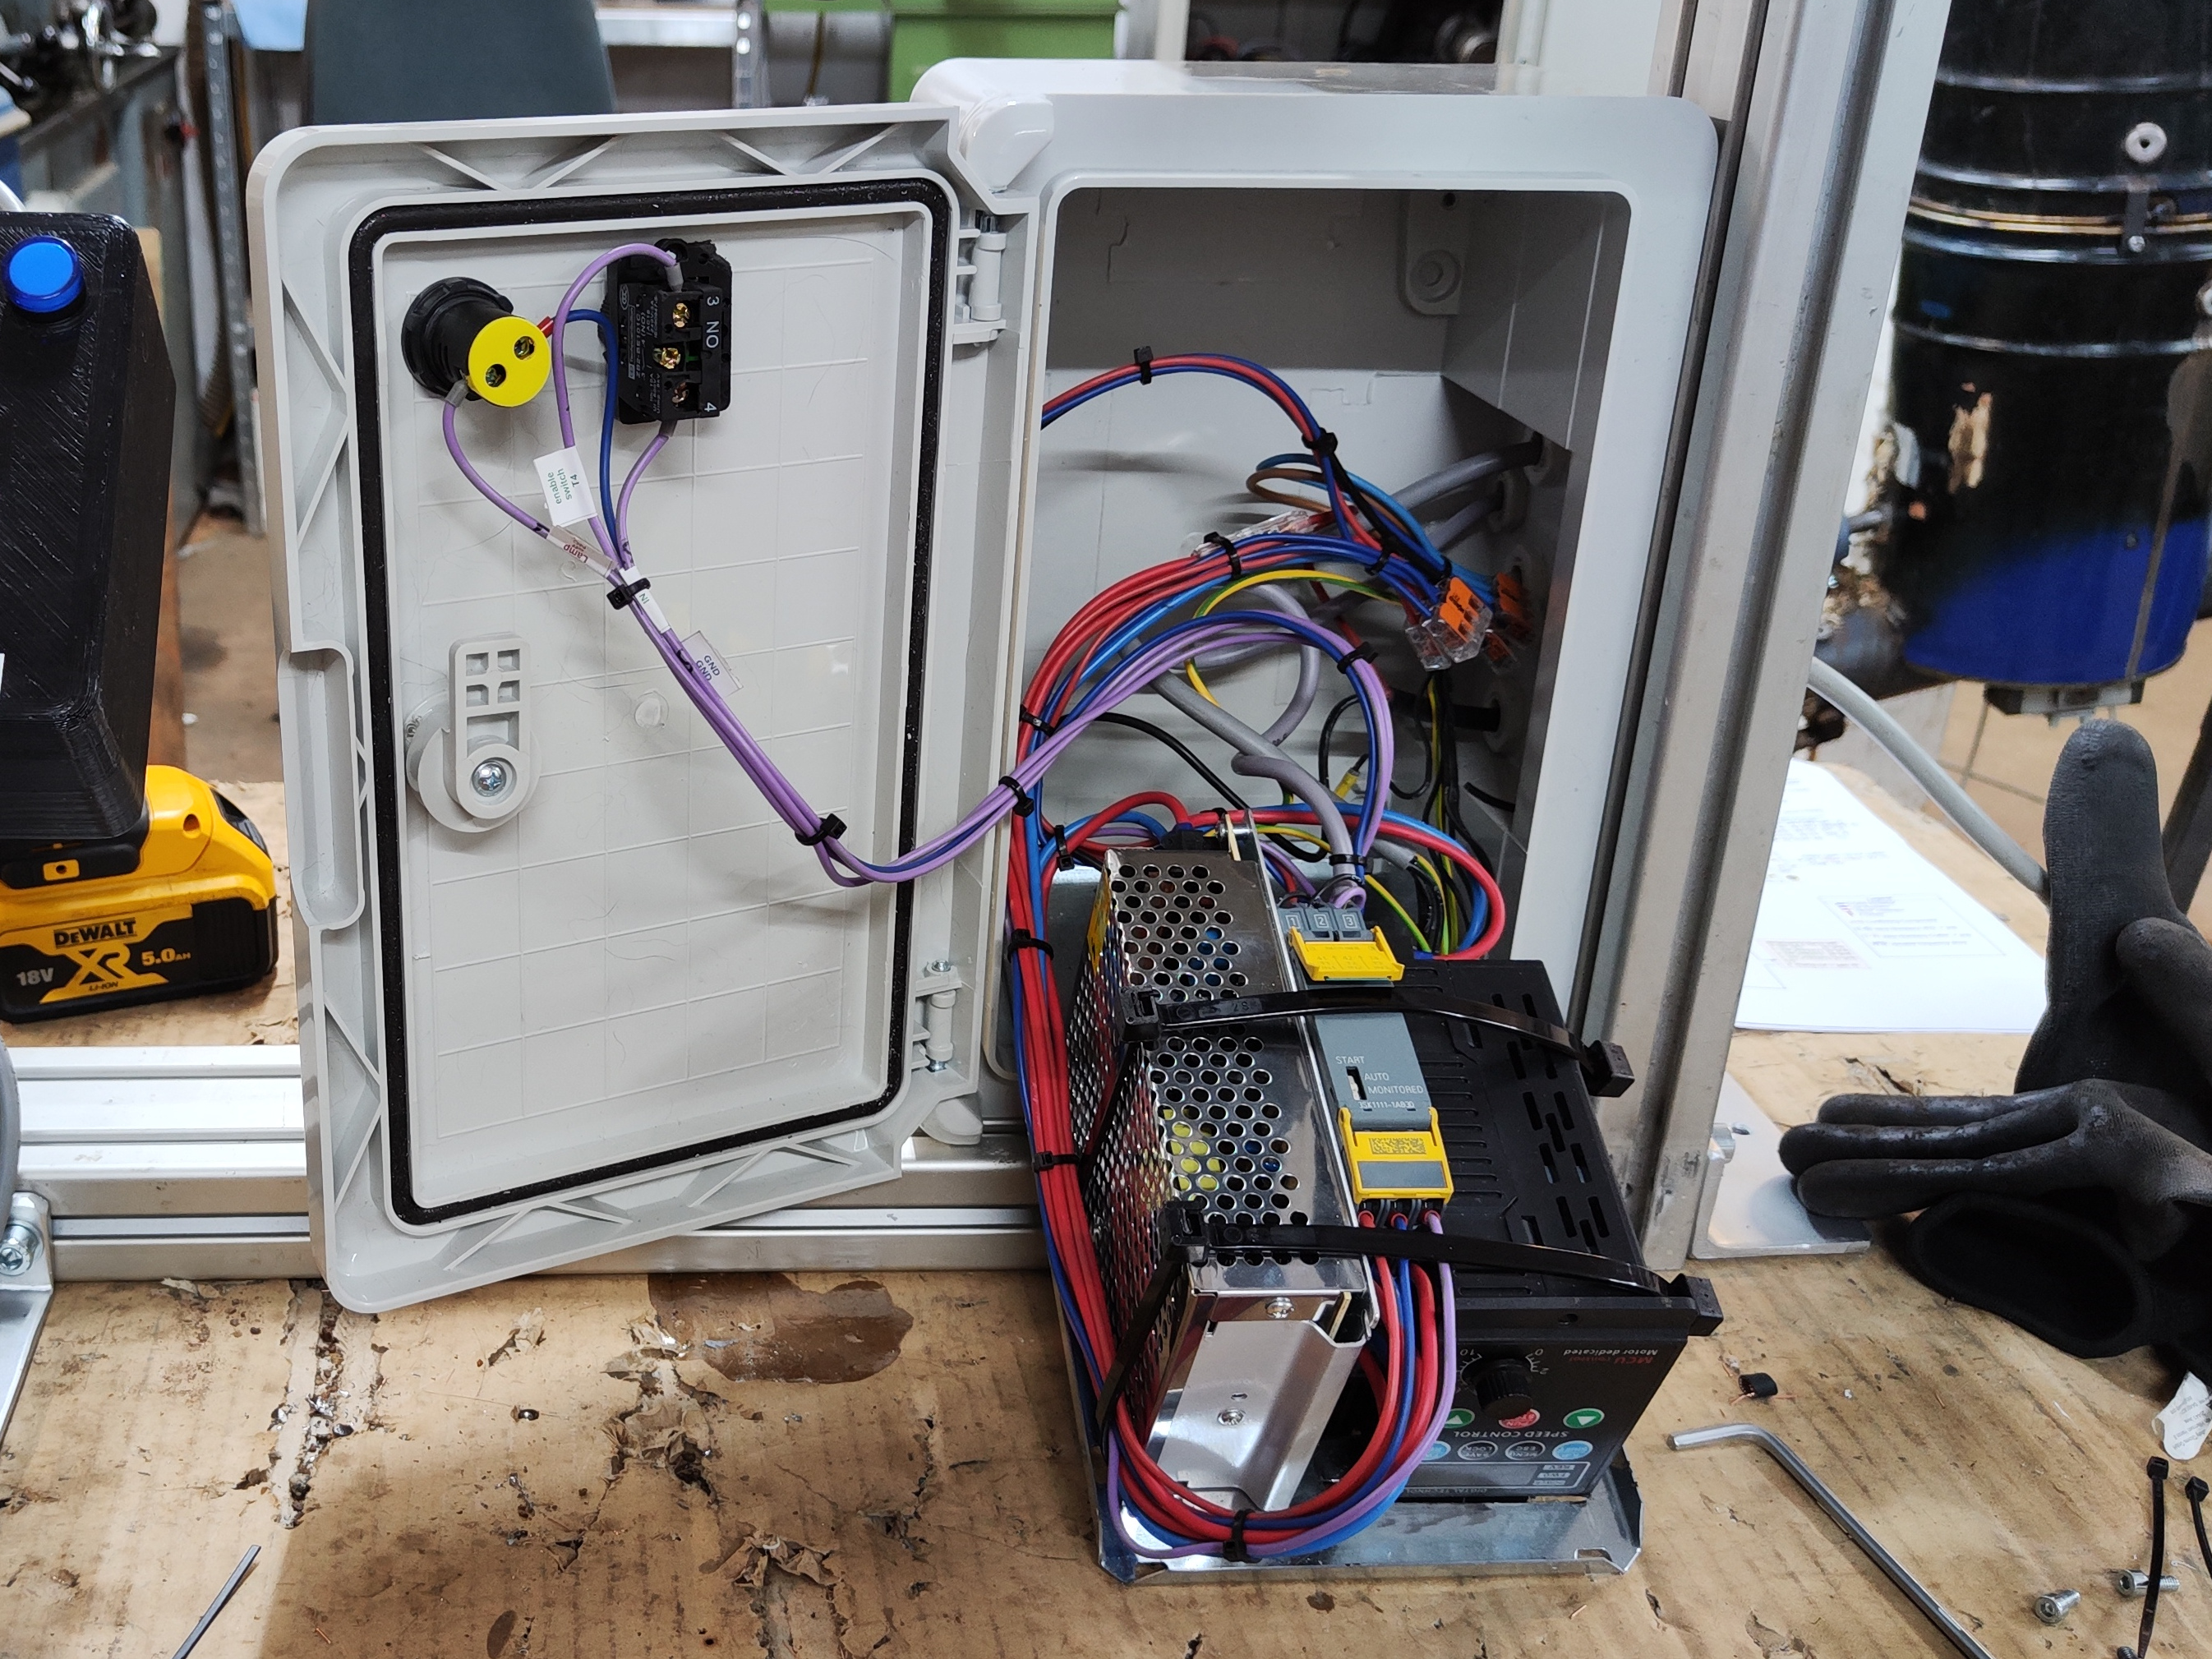 Wiring the cabinet
Programming
The firmware for this custom pcb was created using the following components:
- Programming Language: C++
- Development Framework: ESP-IDF
- Flowchart Design: diagrams.net
- Version Control: Git
The repository with the source code and all relevant documents is available on GitHub
 Small segment of the created flowchart while planning the firmware
Videos
Tests
First setup
2022.08.18
Cutter
2022.09.02
Cable guide
2024.03.13
Without bearings
2022.09.17
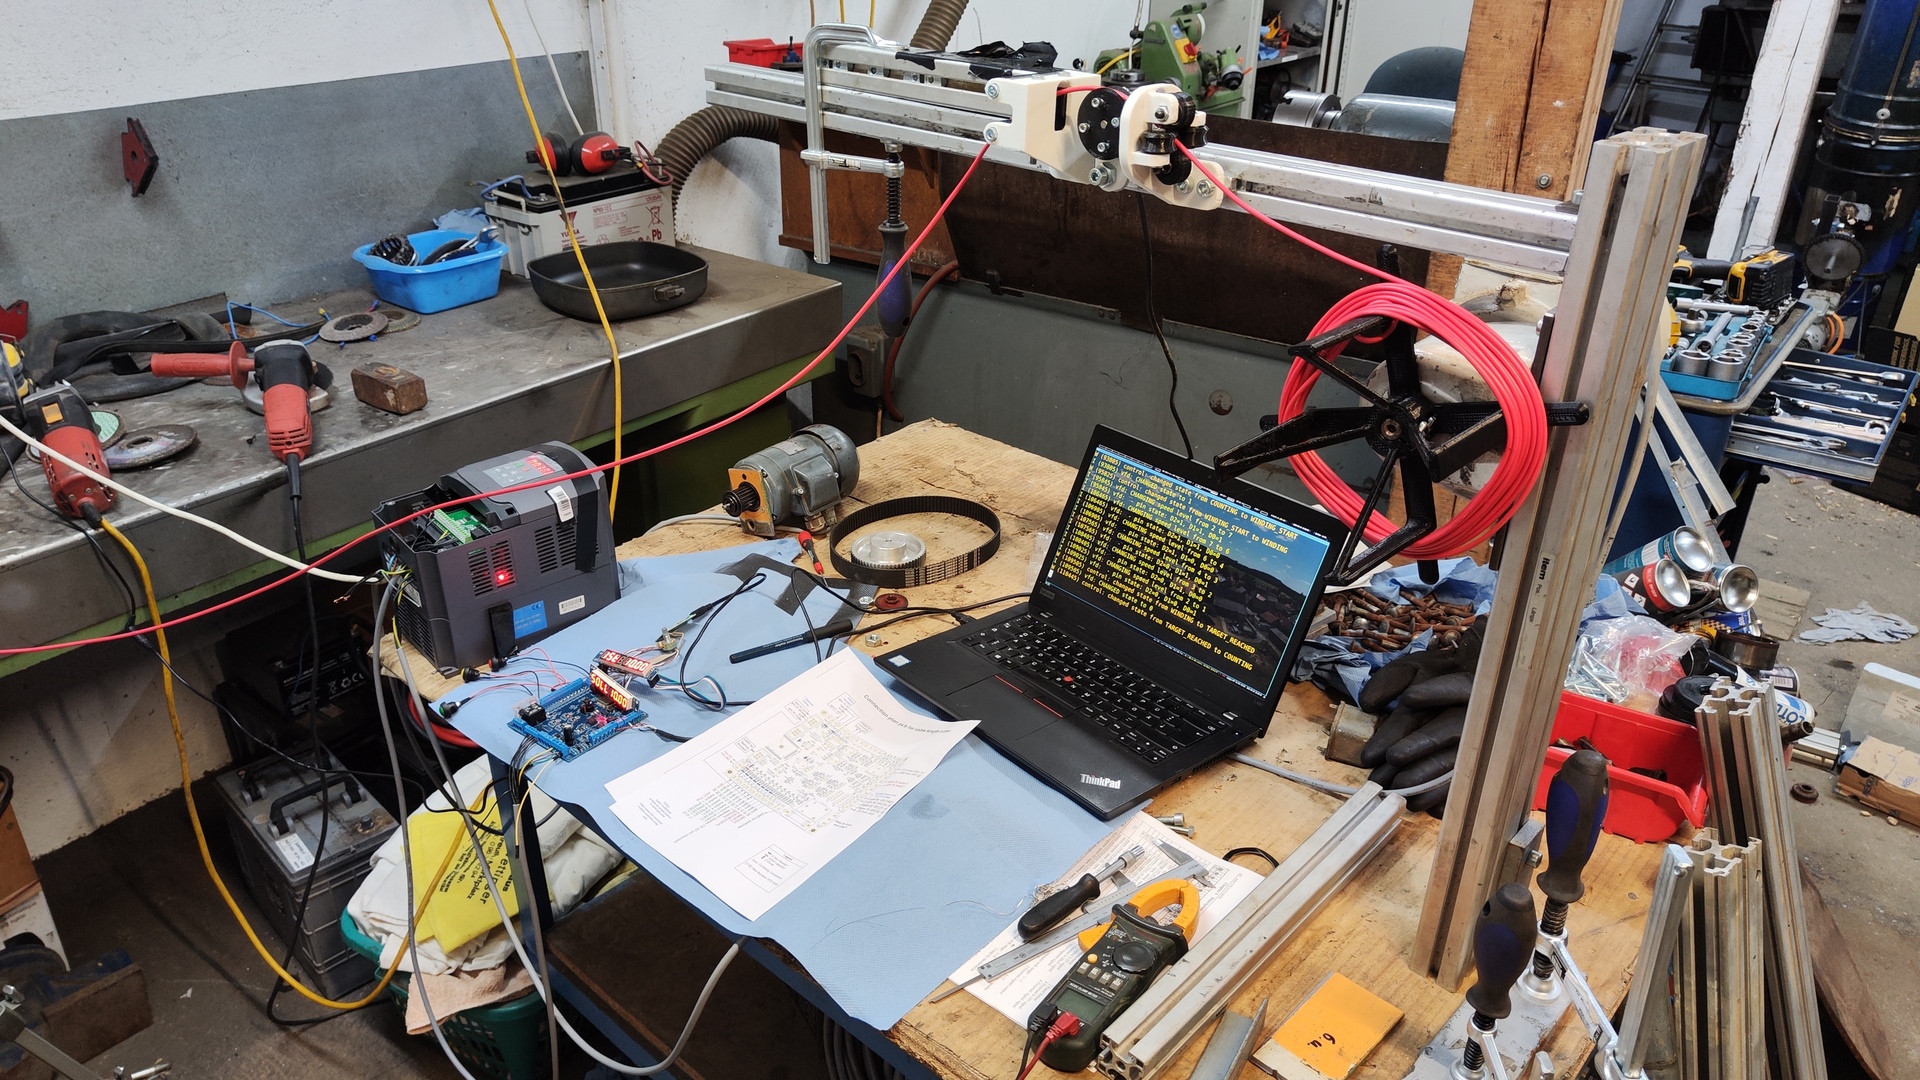
Demonstration
Complete start
2022.09.30
Closeup
2022.09.30
Cable guide
2024.03.13
Gallery